
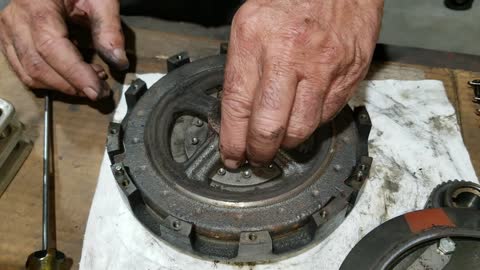
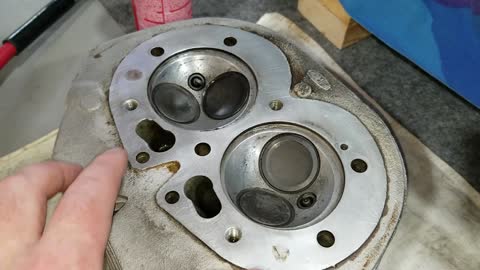
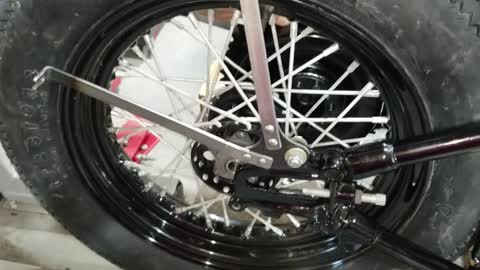
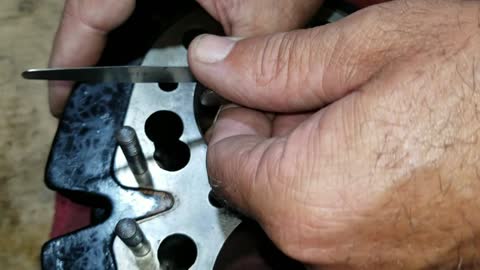
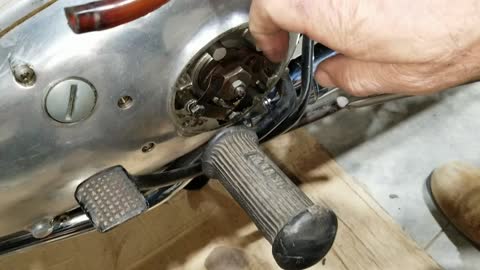
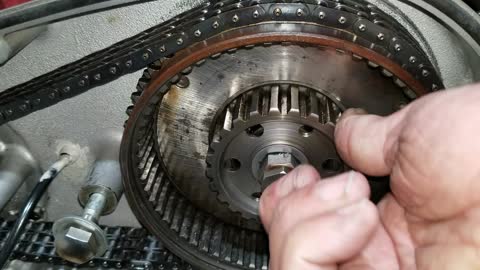
1974 Triumph Trident restoration Part: 4 The clutch
In this video we remove the clutch and check it out and talk about key things to look for and address if needed. We then also talk about each part and inspect the cush drive assembly.
12
views
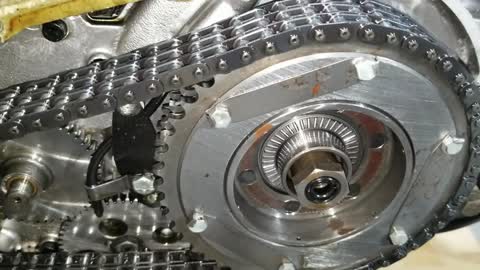
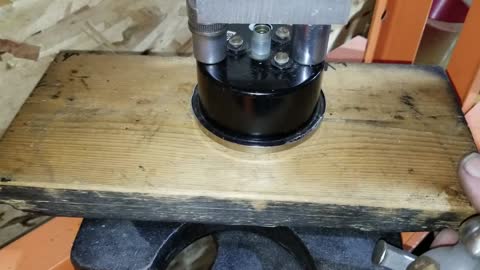
1974 Triumph Trident restoration Part: 3 Taking the primary chain case apart
In this video were back to working on the Trident were going to fix the clutch. So starting off we need to disassemble the primary chain case.
14
views
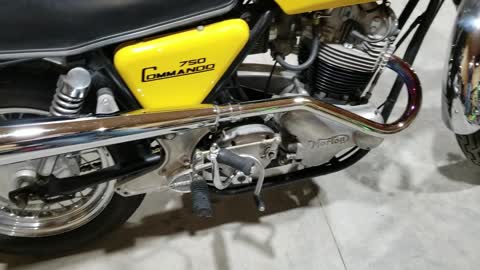
1972 Norton Commando Roadster Combat, What makes it a Combat model and some modifications we made
In this video, We talk about my 1972 Norton Commando 750cc Combat model motorcycle and what makes it a combat model and some history. We also go over the modifications that we made while we were restoring this beautiful vintage machine. We also talk about the engine modifications that we needed to do so it would keep from blowing up like they are notorious for doing, We really hope you enjoy this nice informative video
26
views
2
comments
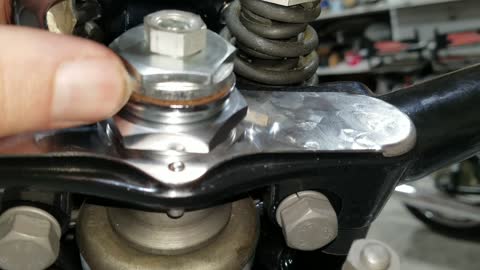
1940 Harley Davidson UH restoration Part: 7 Installing the damper and some other parts
In this video, After first removing the sheet metal so it can all go to get painted, I work on installing the damped assembly and demonstrate that it functions properly. Then install the coil bracket assembly and coil then install the tool box bracket. Then install the proper gloss black painted ride control knob. Then we install the foot rocker clutch and kick stand assemblies. That way we can take the bike off the lift and it can sit on its own while we wait on the paint to get back and work on some other things.
27
views
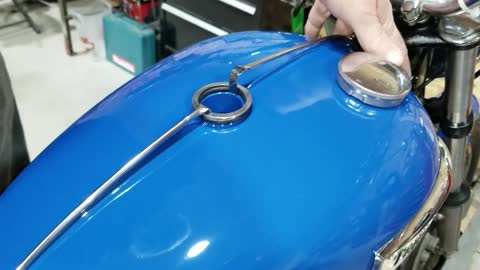
1940 Harley Davidson UH restoration Part: 6 Fitting the tanks for paint
In this video, We work on the 1940 Big Twin Flathead again this time we move on to fitting the fuel tanks and get them ready to be painted. We work on fitting them to the frame and then check the fuel shut off area to see if it is aligned then we try to install the tank badges and come across a problem after that is addressed we fit the shifter handle and shift gate which gets installed on the tank after that we remove the 1941 style strip mounts and finally make sure the dash will fit.
12
views
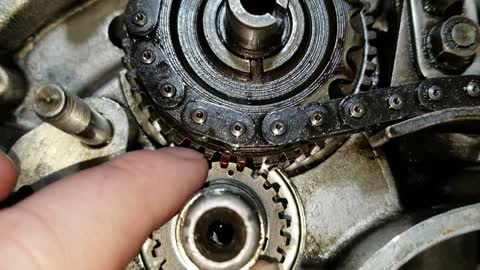
1974 Triumph Trident restoration Part:2 Starting the Trident
In this video, We work on the Triumph Trident again, With wanting to know if it will run, we work on the Trident to see what it will take to get this bike that hasn’t run in quite some time to run again. Starting off we go over removing the carburetor manifold assembly, clean the carbs up and go over the Trident carb parts then assemble the carb manifold system. Then we move to dropping the oil adding a oil pressure gauge, While having to drop the sump plate we swap it out with a machined one that has a drain plug in it, We then move on to changing the oil filter and then talk about the important information about the filter that shouldn't be overlooked. After that we check the electrical system. We then static time the engine and check the points so we can assure we have spark and increase the chances for the Trident to fire up and hopefully run. But how well will this bike run that hasn't for possibly 20+ years?
33
views
1940 Harley Davidson UH restoration Part: 5 The Damper and installing the Ride control and headlamp
In this video, I move on to talking about the damper assembly because were at a stand still with fitting the tanks. So with wanting to do something I move on to installing the headlamp and ride control assemblies.
11
views
1940 Harley Davidson UH restoration Part: 4 Installing the springer front fork
In this video, Part 4 of working on restoring this 1940 80 inch big twin Flathead. We are trying to get the front fender to fit for painting. So starting off we install the springer front fork and then go on to installing the front fender, also we mount the horn so we can find out where to drill the mounting holes.
9
views
1974 Norton Commando engine bottom end rebuild Part 6, Installing the head and finishing up
In this video, The last video in this series, part 6, we finish the 1974 Norton engine rebuild. We start out reinstalling the boyer ignition module and static time the engine, Then we move on to installing the engine cylinder head with some nice new hardware. Following that we install the rest of the parts. Then I start it up for the first time after the rebuild and take the bike for a quick ride. After that we check the timing and adjust the idle. One thing is that out of all of this the bike runs better than it ever did before.
19
views
1940 Harley Davidson UH restoration Part: 3 Mocking up the rear fender again for paint
In this video, The 80 cubic inch UH Big Twin Flathead starts to take shape, So planned is a complete mock up of the complete bike but starting out here we get the rear fender refit again with the oil tank this time, So starting off we install the transmission, then the oil tank assembly, then the rear fender, next we install the rear wheel and brake assembly. Some items will have to come back off and be put on again but, its part of the process,
12
views
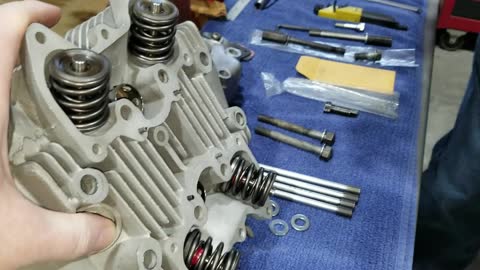
1974 Norton Commando engine bottom end rebuild, Part: 5 Fitting the pistons and cylinder assembly
In this fifth video of the engine rebuild on a 1974 Norton commando 850cc. We install the cylinder assembly. First off we take the fresh re-machined cylinder prepare it for installation to the bottom end and then fit the piston rings, then we move on to installing the group on to the bottom end,
31
views
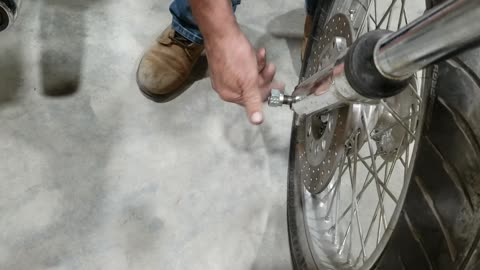
1974 Triumph Trident restoration Part: 1 Accessing the motorcycle
In this video we check over the newly acquired 1974 Triumph Trident, we check over a couple key areas that were not working when we got it like the clutch and then we go over a couple nice features Tridents had,
19
views
1
comment
1974 Norton Commando engine bottom end rebuild, Part: 4 Bottom end install and primary reassembly
In this video we install the rebuilt bottom end in to the frame set up the front Isolastic adjustable motor mount, then install the primary chain assembly and we discover the primary chain is tighter due to the new bearings,
10
views
1975 Norton commando Mk3 restoration Part: 2 Fixing the tachometer
In this video we go over most of the different gauges used on British bikes from 1970 to 1979 and then we fix the tachometer that we got with the Mk3 basket case a while back that had a broken lens,
11
views
1975 Norton commando Mk3 restoration Part: 1 The rolling chassis
In this video, We start to work on one of the recently acquired projects the 1975 Norton Mk3 though not getting to involved yet we work on just putting some of the parts together to just make a rolling chassis so we can move it around a little easier when we start restoring this motorcycle.
36
views
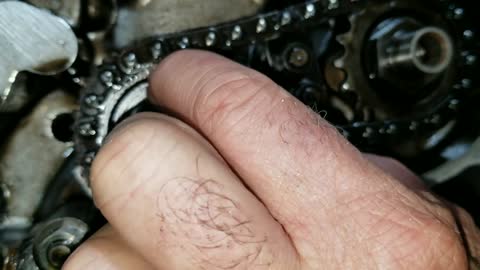
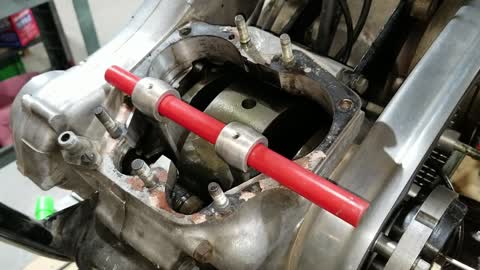
1974 Norton Commando engine bottom end rebuild, Part: 3 Bottom end reassembly
In this video part 3 of the Norton engine rebuild we move on to putting the bottom end back together. We remove the old races from the cases and install new main bearings. We reassemble the crank with rods and slide the case halves back together. We then reassemble the timing chest components, getting it ready to go back in the frame
14
views
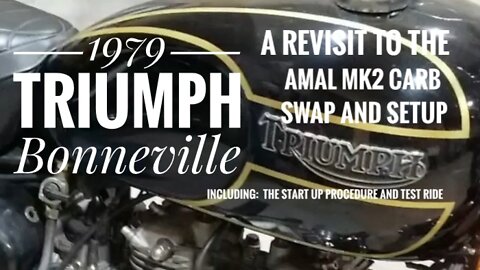
1979 Triumph Bonneville Mk2 Amal carburetor change follow up and more info on the Mk2 carbs
In this video we talk about the Mk2 AMAL carburetors in greater detail and the setup we chose for this 1979 Triumph Bonneville, we go over the parts and other details of the Mk2 carbs. Next I go over our way of starting up a bike with Mk2 carbs as for its different then starting a bike with Mk1 AMAL carbs the I take the 1979 Triumph out for a test ride,
20
views
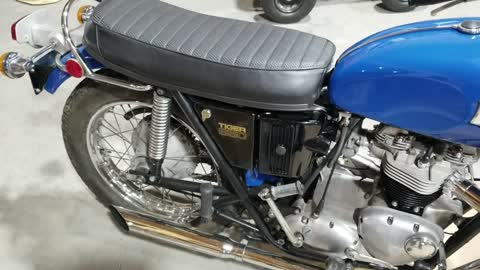
1971 Triumph Tiger restoration, Part 13 Starting and testing the Tiger
In this video, We final actually finish the 1971 Triumph Tiger, We put in fuel check to see if the petcocks leak. I go over the start up procedure and start it for the first time since finishing the rebuild. We next move on to checking if the valve clearance changed any. Then we start it again to check the timing with a strobe light. Finally at the end, I take it on its first ride. I hope you enjoy this final chapter on this bike rebuild. It was a great journey to get to this moment. With lots of satisfaction from the journey as well.
10
views

New project announcement
In this video, I am happy to announce another new project coming up while in the middle of a couple other projects were trying to finish,
10
views
2
comments
1974 Norton Commando engine bottom end rebuild, Part: 2 Bottom end disassembly
In this video, We do a descriptive approach on the disassembly of the Norton 850 engine bottom end and talk about the parts and inspect the parts. We then decide what to do going forward. I hope you enjoy this inside look of a Norton 850 engine.
12
views
1974 Norton Commando engine bottom end rebuild, Part: 1 Assessment and disassembly
In this video we start working on a 1974 Norton Commando Roadster engine that seems to have a bottom end engine noise, so starting off we assess the bike and start the engine removal process,
14
views
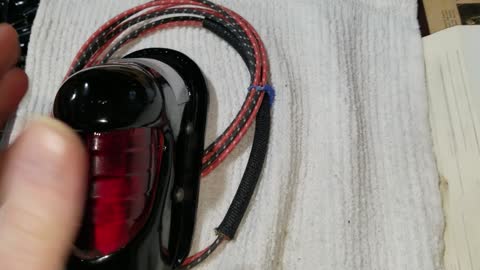
1940 Harley Davidson UH restoration Part: 2 Preparing the rear fender
In this video we modify the reproduction fender to fit correctly on my 1940 UH frame. Starting off we install the fender and find out where the hinged area sits for proper alignment. Then we install the rear stand and latch to get the right curve figured out. Then we modify and reform the braces and trim them. Then we move on to fitting the original taillight and fit the license plate bracket as well. We hope you enjoy this exciting segment as this 1940 UH starts to finally go back together.
7
views
1971 Triumph Tiger restoration, Part 12 Finishing the Tiger
In this video, We finish the journey of restoring this Triumph Tiger. We start off by installing the carburetor. Route the throttle and choke cable properly. Install some custom exhaust parts. Then install the air box covers. Then move on to the tank and install it properly. Then run the fuel lines. Fill it with oil, and get it ready to start for the first time. So be on the look out for the video coming out sometime when we start it for the first time.
7
views
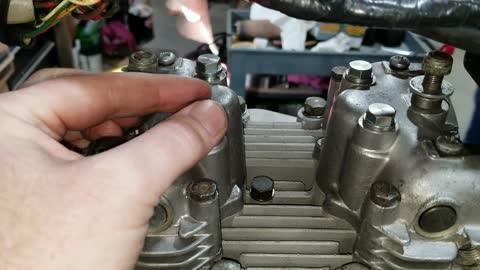
1971 Triumph Tiger restoration, Part 11 Installing the rocker boxes
In this video we move on to installing the rockers assemblies in the boxes the proper way cause so many were not. We also go into detail on that situation and explain how to setup the rocker box assemblies the proper way, then we install the rocker box assemblies and set the valves. Set spark plug gap and install spark plugs as well.
26
views
1971 Triumph Tiger restoration, Part 10 Installing the engine head
In this video we install the engine head, We start off by setting the pushrod tube clearance for proper fit, each of the two tubes have two type of seals an oring on top and on bottom is a silicone seal and we get the proper fit and go over that process then we set the wedding band retainers properly. Then we move on to the copper head gasket and show how to properly anneal it. Then we install the head and talk about some head bolt history, we hope you enjoy this informative video of this restoration as we keep moving forward with it.
27
views