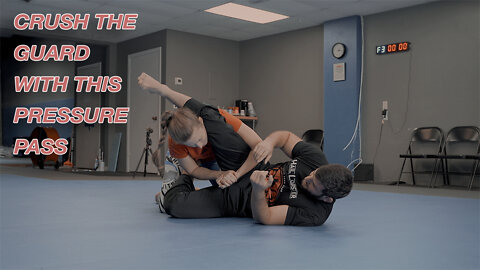
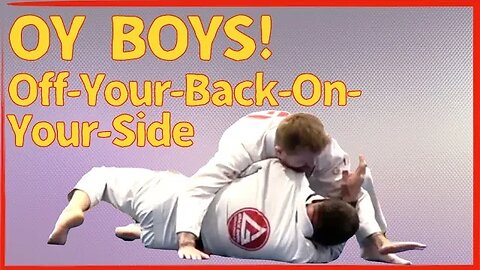
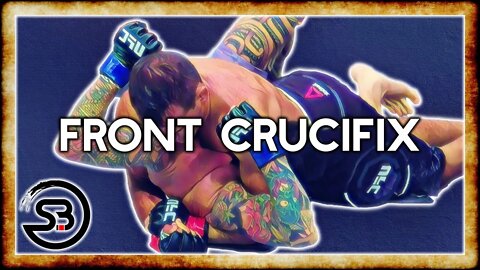
1 year agoOY BOYS! Off-Your-Back-On-Your-Side. Develop This Habit NOW! Training with Cameron QuinnCameronQ
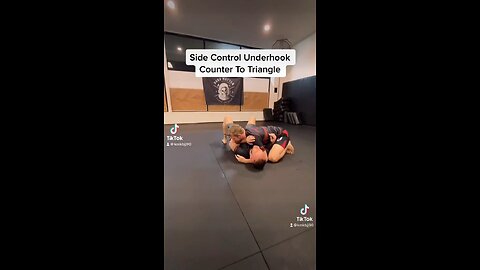
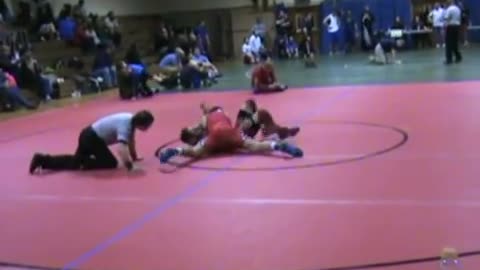
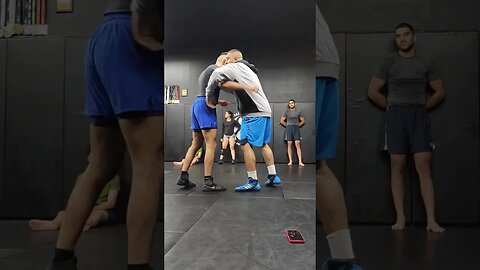
2 years agoAetherial CQD Training Clip: Coach Kay executes stationary swing single leg from underhook positionAetherial
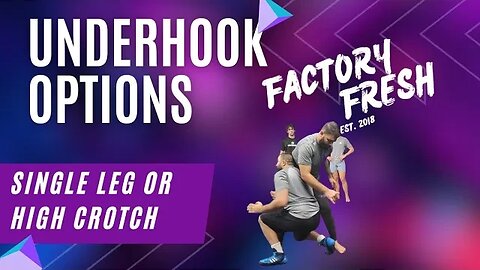
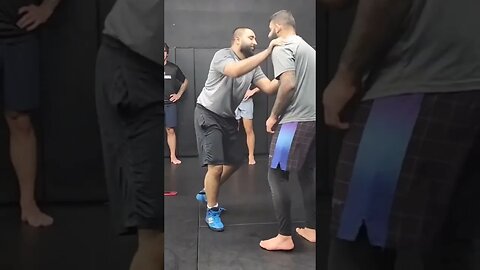
10 months agoUse the Underhook to Enter These Takedowns: Single Leg and High Crotch #bjj #nogi #wrestlingFactoryFreshBJJ
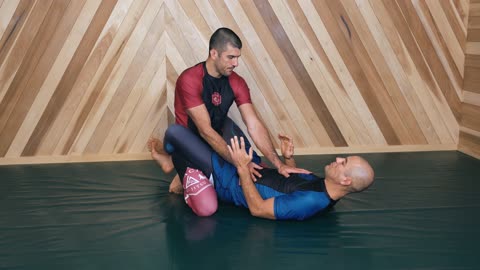
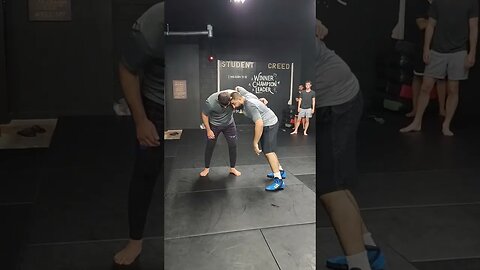
9 months agoDefeat Your Opponent with This Wrestling Technique: Overcoming the UnderhookFactoryFreshBJJ