


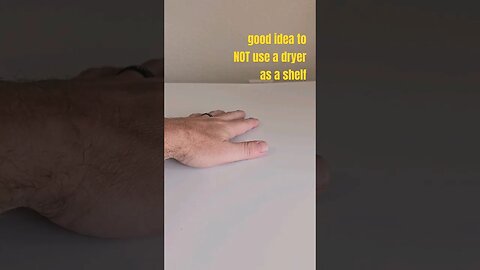
Good idea to NOT use a clothes dryer as a shelf #homeinspection #dryer #noise
If your clothes dryer drum is rubbing on the outer part of the appliance, it's likely due to an issue with the dryer's alignment or internal components. Here are some steps you can take to address this problem:
Inspect for Obstructions: Before taking any major steps, make sure there are no objects or pieces of clothing caught between the drum and the dryer's walls. Sometimes, foreign objects can cause the drum to become misaligned.
Check Leveling and Feet: Ensure that the dryer is sitting level on the floor. Use a level to check both side-to-side and front-to-back leveling. Adjust the leveling feet if necessary to ensure proper alignment.
Belt and Rollers: The dryer drum is typically supported by rollers or glides, and it's turned by a belt. If any of these components are damaged or worn out, it can lead to misalignment. Check the rollers, glides, and belt for signs of wear or damage and replace them if needed.
Rear Drum Seal: There is usually a rear drum seal that prevents clothes from slipping into the gap between the drum and the dryer's rear wall. If this seal is damaged or worn, it can cause the drum to rub against the back of the dryer. Replace the seal if necessary.
Front Drum Seal: Similar to the rear seal, there's also a front drum seal that prevents clothes from getting caught between the drum and the front of the dryer. If this seal is damaged, it can cause rubbing. Replace it if needed.
Drum Glides or Slides: Some dryers use drum glides or slides on the front to support the drum. If these glides are worn or damaged, they can cause the drum to sag and rub against the front of the dryer.
Motor Mount or Idler Pulley: Misalignment of the motor mount or a faulty idler pulley can also cause the drum to rub against the sides. Inspect these components for issues.
Professional Repair: If you're not comfortable diagnosing or repairing the issue yourself, it's a good idea to call a professional appliance repair technician. They can accurately diagnose the problem and carry out the necessary repairs to ensure proper alignment.
13
views
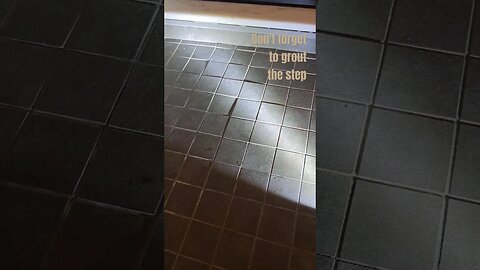
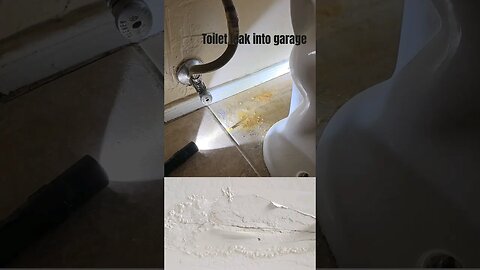
Missing caulk at the shower step is a common oversight #homeinspection #tile #bathroom
The step to a tiled shower should generally not be grouted. Instead, it's common to use a flexible and waterproof material like caulk or silicone sealant to fill the joint between the step and the adjacent tiles. Grout is a rigid material that can crack over time due to movement or settling, and the step area is a common location for such movement.
Water getting underneath tiles in a shower floor can lead to several potential issues:
Water Damage: Water that penetrates underneath tiles can lead to damage to the substrate (such as cement board or mortar) over time. This can weaken the structural integrity of the shower floor and surrounding areas.
Mold and Mildew Growth: Moisture trapped underneath tiles can create a conducive environment for mold and mildew growth. This not only compromises the appearance of the shower but can also pose health risks.
Tile Disbonding: If water continues to accumulate beneath the tiles, it can weaken the adhesive that holds the tiles in place, causing them to come loose or pop off.
Grout Deterioration: If water penetrates grout lines, it can cause the grout to deteriorate and crack. This can lead to further water infiltration and exacerbate the issues mentioned above.
To prevent water from getting underneath tiles and causing these problems, it's crucial to ensure proper waterproofing and sealing in your shower:
Waterproofing Membrane: A waterproofing membrane should be installed beneath the tile to create a barrier that prevents water from penetrating the substrate. This is especially important in shower floors and areas prone to water exposure.
Shower Pan Liner: In shower floors, a shower pan liner is typically installed beneath the mortar bed to channel water toward the drain. This prevents water from seeping into the subfloor.
Caulk or Silicone Sealant: As mentioned earlier, use caulk or silicone sealant around joints, edges, and corners, including the step area. These flexible materials will provide a water-resistant barrier while allowing for some movement.
Grout Sealing: Even though grout lines should not be used to prevent water penetration, they should still be properly sealed to protect against staining and moisture absorption.
40
views
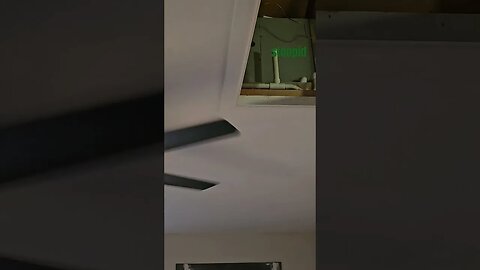
Home Inspector calls out stupid ceiling fan placement #shortvideo #homeinspection #safetyfirst
The distance between a ceiling fan and an attic access hatch is not typically regulated by building codes, but there are some practical considerations to keep in mind when determining the placement of a ceiling fan relative to an attic access point. Here are some general guidelines to follow:
Clearance Space: It's a good idea to provide a minimum of 3 feet (about 0.9 meters) of clearance around the ceiling fan blades. This ensures that there is enough space for the fan to operate effectively without any obstructions.
Access Hatch Accessibility: The attic access hatch should remain easily accessible. Placing the ceiling fan too close to the hatch could make it difficult to open and close the hatch when needed.
Airflow Distribution: Ceiling fans are installed to circulate air and provide comfort. Placing a fan too close to the attic hatch might disrupt the airflow and prevent the fan from efficiently distributing air throughout the room.
Aesthetics and Balance: The placement of the ceiling fan should also consider the overall aesthetics of the room. Make sure the fan is centered in the room and not obstructed by other fixtures, including the attic access hatch.
Manufacturer Recommendations: Always consult the manufacturer's guidelines for the specific ceiling fan model you are installing. They might provide recommendations for optimal placement and clearance distances.
In summary, while there are no strict rules about the distance between a ceiling fan and an attic access hatch, it's advisable to provide sufficient clearance for the fan's effective operation, maintain access to the attic, and ensure proper airflow distribution in the room.
20
views
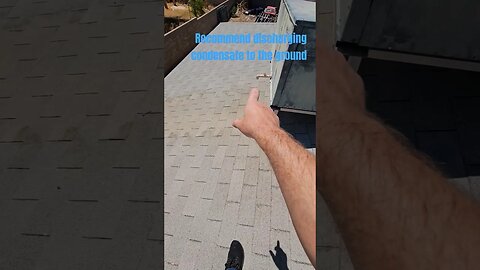
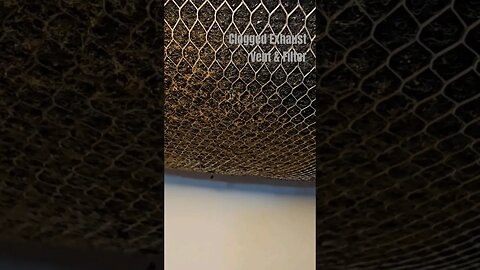
Home Inspector recommends condensate lines discharge to the ground #homeinspection #hvac #shortvieo
Routing a condensate line from a roof-mounted HVAC (Heating, Ventilation, and Air Conditioning) system to the ground serves several important purposes related to both functionality and safety. Here's why it's important:
Drainage and Water Management: HVAC systems, particularly air conditioners, produce condensation as they cool and dehumidify indoor air. This condensation collects as water, and if not properly managed, it can cause damage to the system and the surrounding area. By routing the condensate line to the ground, excess water is directed away from the HVAC system and the roof, preventing potential water leakage and damage.
Preventing Roof Damage: If condensate were allowed to accumulate on the roof, it could lead to deterioration of roofing materials, increased wear and tear, and potential water penetration. By directing the condensate away from the roof, you protect its structural integrity and prolong its lifespan.
Minimizing Algae and Mold Growth: Condensate lines can be a breeding ground for algae, mold, and other microbial growth due to the presence of moisture. If these contaminants were to accumulate and grow within the line, they could clog the line or even spread into the HVAC system itself. Routing the line to the ground minimizes the risk of such growth.
Preventing Ice Formation: In colder climates, if the condensate were allowed to flow onto the roof and freeze, it could lead to the formation of ice dams and icicles, which can cause roof damage and create safety hazards.
Safety Concerns: If condensate were to drip or flow off the roof, it could pose a slipping hazard for people walking below, especially during rainy or icy conditions. Routing the line to the ground helps prevent potential accidents.
Compliance with Codes and Regulations: Many building codes and regulations require proper drainage of HVAC condensate to prevent water damage and promote safety.
Environmental Considerations: Directing condensate to the ground can also be more environmentally responsible, as it allows for controlled water drainage rather than uncontrolled water runoff from the roof.
To ensure proper routing of the condensate line, it's important to follow manufacturer guidelines, local building codes, and the recommendations of HVAC professionals. The line should be designed with appropriate slope and materials to ensure efficient drainage and prevent clogs. Regular maintenance, such as clearing the line of debris and potential blockages, is also essential to keep the HVAC system functioning optimally and to prevent issues related to poor condensate drainage.
34
views
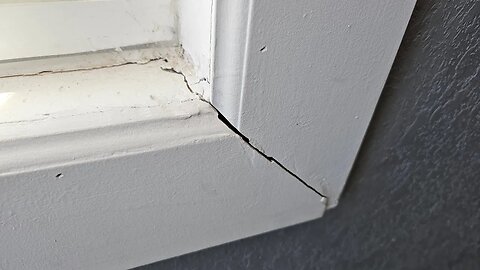
Signs of structural movement in brick walls after remodel
Signs of structural movement in a brick home can indicate underlying issues that need to be addressed promptly. Here are some common signs to look for:
Step Cracking: This type of cracking often occurs along mortar joints and appears like a staircase pattern. It's a clear indication of settling or shifting in the foundation or structural elements.
Diagonal Cracks: Cracks that appear diagonally across walls can be a sign of foundation movement or soil issues. These cracks often start at corners of windows or doors.
Horizontal Cracks: Horizontal cracks, especially those that run across the middle of walls, could be indicative of excessive pressure from the soil against the foundation or other structural problems.
Widening Cracks: Cracks that continue to widen over time can suggest ongoing movement. This could be due to factors like poor drainage, soil erosion, or foundation problems.
Doors and Windows Misalignment: Difficulty in opening or closing doors and windows, or visible gaps around frames, can be a result of shifting or settling foundations.
Uneven Floors: If you notice sloping or uneven floors, it might be due to foundation settlement or other structural issues.
Bowed Walls: When a wall curves inward or outward, it can be due to pressure from the soil, water damage, or other structural problems.
Cracks in the Foundation: Cracks in the foundation itself can indicate significant structural issues and should be addressed urgently.
The causes of step cracking and other structural movement in brick homes can be attributed to several factors:
Foundation Settlement: Poor soil compaction, changes in soil moisture content, and improper foundation construction can lead to settlement and movement.
Soil Shrinkage and Expansion: Changes in moisture content can cause soil to shrink or expand, putting pressure on the foundation and leading to movement.
Poor Drainage: Improper drainage can cause water to accumulate around the foundation, leading to erosion and potential foundation movement.
Earthquakes: Seismic activity can cause significant structural movement, including cracking in brick homes.
Tree Roots: Large tree roots near the foundation can exert pressure on the structure, leading to movement.
To correct step cracking and other structural movement, it's important to consult with a structural engineer or a qualified professional. The appropriate solution will depend on the underlying cause and severity of the issue. Possible corrective measures might include:
Foundation Repair: Depending on the extent of the issue, foundation repair methods like underpinning, helical piers, or slabjacking may be employed to stabilize the foundation.
Improving Drainage: Addressing drainage issues around the property can help prevent further soil movement. This might involve grading, installing gutters and downspouts, and ensuring proper drainage away from the foundation.
Soil Stabilization: Techniques like soil injection or grouting can stabilize the soil around the foundation and prevent further movement.
Brick Repointing: If the step cracking is due to minor settlement, repointing (replacing deteriorated mortar) might be sufficient to address the issue.
Remember, it's crucial to involve professionals who specialize in foundation and structural repairs to accurately diagnose the problem and recommend the appropriate solution. Ignoring structural issues can lead to more severe and costly problems down the line.
32
views
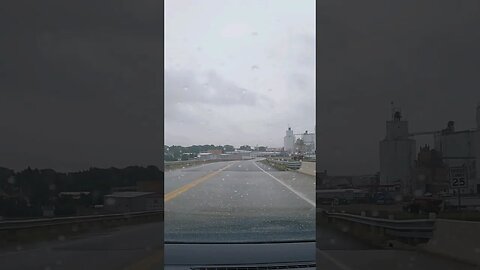
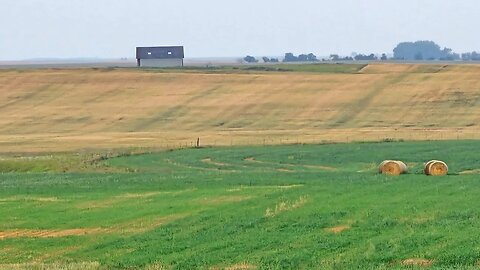
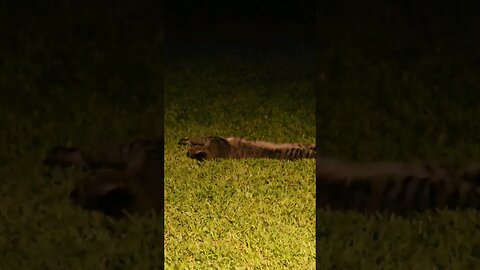
Marsh Hawk feasting down Pheasant Alley on the family farm | Live in North Dakota
Walking down our shelter belt looking for pheasants but found a marsh hawk earing one instead. then another pair of hawks were circling overhead and one chased around for awhile.
4
views