

Restoration Complete! Final Boat Cruise for the Year - Boston Whaler 13 Restoration Part 21

How to Install a Sierra Teleflex Safe-T QC Steering System - Boston Whaler Restoration Part 20

How to Mount an Outboard - Set Height Correctly and Rig - Boston Whaler 13 Restoration Part 19
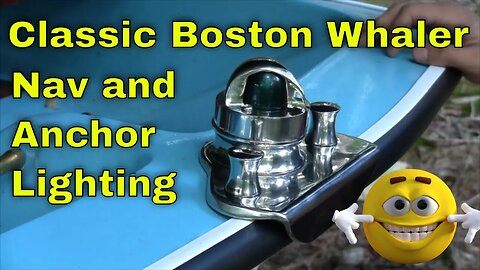
Boat Navigation Light and Anchor Light LED Mods and Wiring - Boston Whaler Restoration - Part 18

How to Install and Wire a Boat Switch Panel - Boston Whaler Restoration - Part 17

Installing the Rub Rail and Decals - Boston Whaler Restoration Part 16

Installing the Mahogany Super Sport Interior - Boston Whaler Restoration Part 15

Priming & Rolling NOT Tipping Topside Paint on Hull ! - Boston Whaler 13 Restoration - Part 14

How to Fair and Prep the Hull with Epoxy Primer - Boston Whaler Restoration - part 13

Hull Restoration and Damage Repair - Boston Whaler Restoration - part 12

Varnishing a Boston Whaler Mahogany Interior - Boston Whaler 13 Restoration Part 11
Transom Hole Repair and Fairing - Boston Whaler Restoration Part 10

How to Take Boat off Trailer and Roll over for Hull Repair - Boston Whaler 13 Restoration - Part 9

How to Topcoat Paint Your Boat - Roll and Tip - Boston Whaler 13 Boat Restoration - Part 8

How to prep Fiberglass & Gelcoat Crazing for Primer and Topcoat - Boston Whaler Restoration part 7

Fiberglass Gelcoat Repair of Large Missing Areas - Boston Whaler Restoration Part 6

Fiberglass Transom Repair - Boston Whaler 13 Restoration Part 5

Fiberglass Boat Repair of Small Holes - Boston Whaler 13 Restoration Part 4

How to Clean Brass with Homemade Bronze and Brass Cleaner Hack - Bonus on Polishing!

Epoxy Resin Fiberglass Repair - Large Anchor Locker Hole - Boston Whaler Restoration Part 3

How to Fix Fiberglass Delamination - Boston Whaler 13 Restoration Part 2
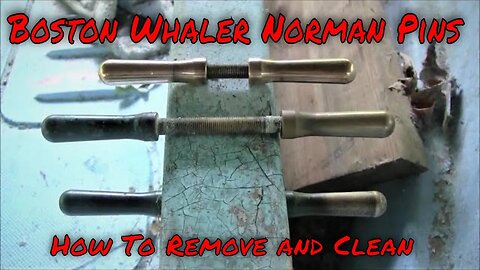
How to Remove and Restore Norman Pins (Cleats) - Boston Whaler Restoration Part 1
Installing the Rub Rail and Decals - Boston Whaler Restoration Part 16
Here's a video on how to install the rub rail on a Boston Whaler boat restoration. I also apply the official Boston Whaler decals in the appropriate locations. There was at least one mistake made along the way and I cover how to avoid making the same mistake when installing a boat rub rail. These whalers used a 3 part rub rail system. I opted to use only two of the parts which gives me the look and protection I was looking for.
I used a heat gun to help with radiusing the vinyl rail. Two thing about using the heat gun, use the lowest setting if possible to not deform or damage the rail and use gloves!
Parts List (affiliate Links)
GE Silicone: https://amzn.to/3gpE2SY
10x1" 316 SS Screws https://amzn.to/2D5363w
Rigid Drill Set: https://amzn.to/2D9ZVHy
Heat Gun (similiar to the one I used)
https://amzn.to/33hXwW0
Husky Mini Clamps https://amzn.to/3gzDXMV
NON Affiliate Links:
Decals: http://www.magicbrushsign.com (Authorized Boston Whaler Decal Source)
Rub Rail: https://www.integritymarinecorp.com/
Parts R1078 and F878
-
 LIVE
LIVE
TubButter
1 day ago $0.10 earnedMy aim is sharper in 1440P Warzone! (Maybe). 😉 Live now! #Warzone #1440p #FunnyFails #TubButter
50 watching -
 1:49:01
The Confessionals
9 hours agoThe Invisible War They Don’t Want You to See (It Didn’t Start With You)
3742 -
 LIVE
LIVE
Adam Does Movies
1 day agoMovie Hangout + Ask Me Anything - LIVE!
35 watching -
 LIVE
LIVE
Anthony Rogers
22 hours agoEpisode 371 - Exposing the Devil's Playbook
67 watching -
 9:42
9:42
The Shannon Joy Show
3 hours ago🔥 AI Tyranny Unleashed — Trump & Gates Just Sold Us Out 🔥
3927 -
 LIVE
LIVE
Spartan
9 hours agoPro Halo Player | SWTOR for a little bit then scrims vs SSG @ 4 EST
227 watching -
 LIVE
LIVE
blackfox87
1 hour agoFortnite Assemble! | #DisabledVeteran
20 watching -
 LIVE
LIVE
Athlete & Artist Show
6 hours ago $2.83 earnedStanley Cup Final: GAME 6 WATCH PARTY
252 watching -
 1:16:00
Josh Pate's College Football Show
3 hours ago $0.24 earnedSEC & Big Ten Clashing | 2025’s Biggest Questions | DeBoer OR Lanning | Dominant Teams Gone?
13.7K -
 LIVE
LIVE
megimu32
1 hour agoON THE SUBJECT – Degrading or Just Clever? + The Mixtape Era
101 watching