Honeywell IPCAM-WI2: Review
This video covers the Honeywell IPCAM-WI2 features and setup, so you know exactly what to expect from this amazing camera.
Honeywell IPCAM-WI2: http://alrm.gd/honeywell-ipcam-wi2
Get Monitored! http://alrm.gd/get-monitored
This video review of the WI2 indoor camera from Honeywell walks you through each feature from box opening to operation. The WI2 was the first Honeywell camera designed for the AlarmNet system.
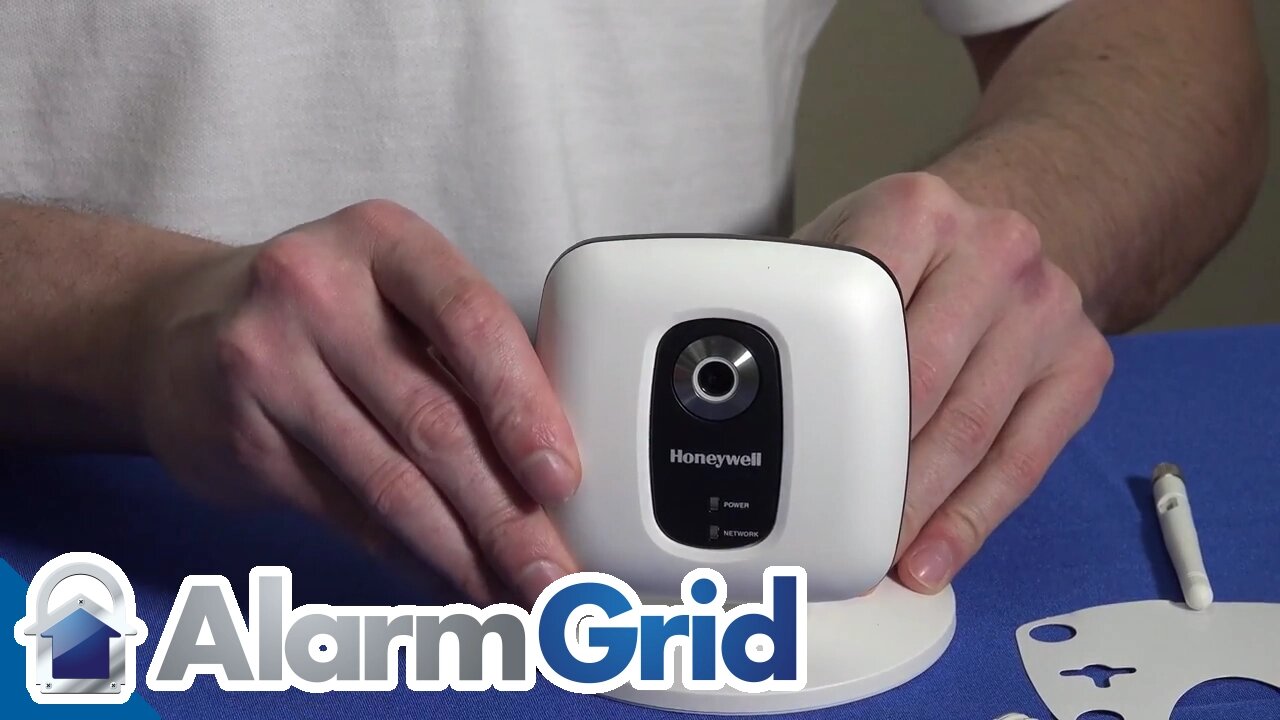
The camera is not outdoor ready, so it does not have the outdoor casing like the similar WO model. As the video will show you, the mount can be placed directly on the table for easy setup.
Once you have everything out of the box, the video will walk you through the instructions. Each camera comes with an instruction sheet, and it is highly recommended that you read through it while watching the video. Once you finish with set up, you should keep the instruction sheet in a safe place for future reference.
The WI2 indoor camera is straightforward to piece together. You will learn from the video all the essential parts used for connecting and mounting. As shown in the tutorial, the mount screws directly into the threaded receptacle in the back of the camera. Once it is securely fitted to the bolt, you can adjust the vertical positioning and lock it in with the lock screw.
Each Honeywell camera uses either your wireless network or ethernet cable to connect. It is recommended to use the ethernet cable when applicable to ensure the best reception. However, the WPS enables WiFi has excellent quality. The antenna is screwed into the port and can be positioned in multiple directions to ensure you have the best connection possible.
As seen in the tutorial video, The only thing left to do is plug in the power supply and connect to the network. The power supply ships with an extension connector that allows you to mount the camera virtually anywhere.
The WPS button on the back of the camera is used to connect to the router with the help of the WPS connection. As the video discusses all you have to do is press the WPS button on the top of your router and then the connection button on the back of the camera.
Once the green LED on the camera illuminates, you will know the camera is connected tot he WiFi network. The camera is ready to use out of the box. Using any household outlet you just need to plug in the DC transformer and connect the camera to the Honeywell WAP Plus network.
You can watch the WAP Plus video to learn how to set up and use the WAP Plus system with your AlarmNet ready camera. The instructions will also show you how to pair your camera to the network and offers trouble shooting any issues you may have. The video covers these instructions as well.
The video will show the mounting template which allows for easy wall mounting by using the template to position the screws in their correct place and orientation.
-
 6:05
6:05
Alarm Grid Home Security DIY Videos
1 year agoPROA7 or PROA7PLUS: Using Lyric Sensors
15 -
 1:46:28
Steve-O's Wild Ride! Podcast
15 hours ago $6.76 earnedJiDion: The GOAT of Catching Creeps | Wild Ride #259
25.5K6 -
 4:01:31
Akademiks
7 hours agoDay 4/30. Diddy TRIAL Day 4! Durk Denied Bond. Another Indictment on the way shortly?
64.7K10 -
 1:00:28
Rob Braxman Tech
1 day agoCan You Trust Wikipedia?
32.2K20 -
 1:29:59
Savanah Hernandez
9 hours agoDOGE unveils BILLIONS in waste, fraud & abuse... Congress does NOTHING
169K37 -
 2:57:26
TimcastIRL
8 hours agoNEW POPE IS WOKE, Pope Leo XIV Named, Old Anti-Trump Posts Go Viral | Timcast IRL
375K102 -
 3:42:37
Barry Cunningham
12 hours agoTHE VATICAN ELECTS A NEW POPE? IS HE GOOD FOR MAGA? AND LOSERS WHINE ABOUT U.K. TARIFF DEAL!
93.1K125 -
 2:59:30
Nerdrotic
1 day ago $7.16 earnedNerdrotic at Night
86.7K4 -
 1:59:21
Man in America
14 hours agoEpstein’s SICK Royal Pedophile Web Unravels—But Where is BONDI?? w/ Ryan Matta
61.7K17 -
 1:38:39
Glenn Greenwald
11 hours agoGlenn Reacts to Breaking News: American Pope Chosen, Trump and Netanyahu Split Over War with Iran, MAHA Drama, and More| SYSTEM UPDATE #451
220K57