Premium Only Content

Honeywell VISTA: Addressing 1st Keypads
Have you powered up your system but are unable access the keypad? Our video guide on how to address the first keypad has the solution you’re looking for.
Honeywell VISTA 21iP: http://alrm.gd/honeywell-vista-21ip
Honeywell VISTA 20P: http://alrm.gd/honeywell-vista-20p
Honeywell VISTA 20P: http://alrm.gd/honeywell-vista-15p
Get Monitored: http://alrm.gd/get-monitored
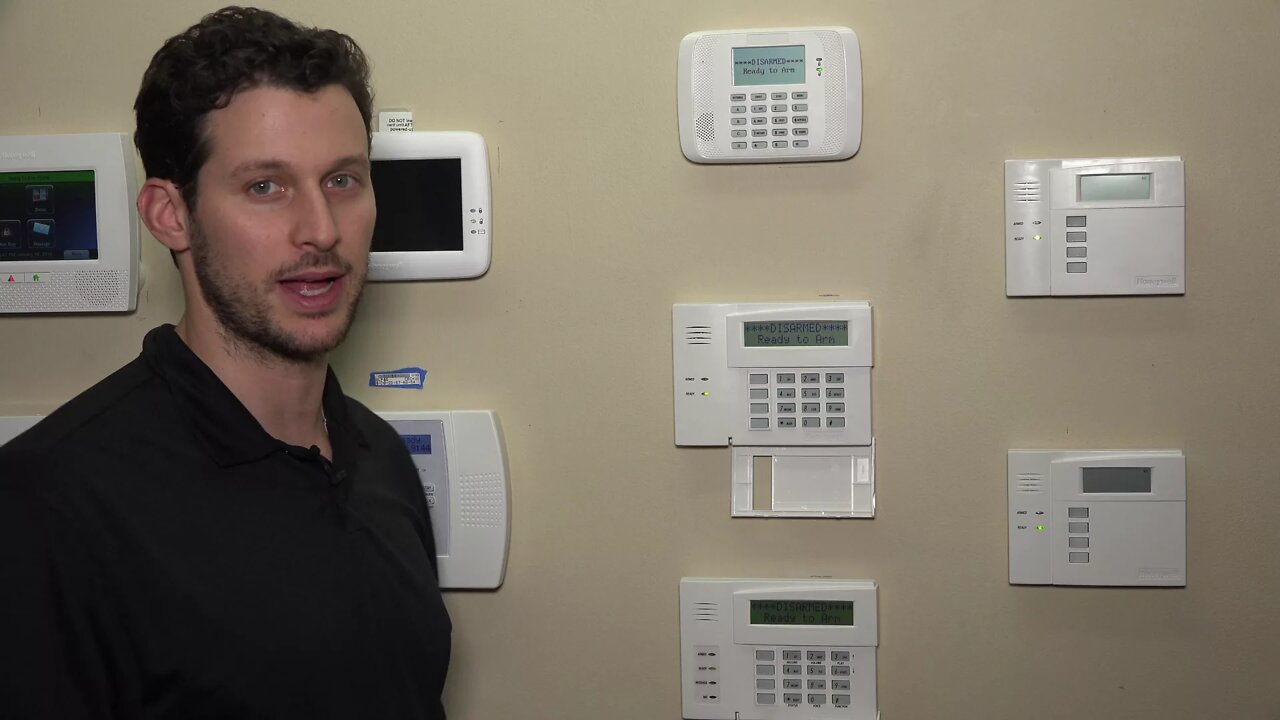
One of the most common problems DIYers have when setting up their security systems involves addressing the keypad. This full video guide explains how to setup the 6160V keypad for the Honeywell VISTA.
Here’s a common scenario: Your system is powered up, the keypad is installed and the system looks like its ready-to-go. When you press buttons on the keypad you hear beeps. But there’s no visible display.
Don’t worry – nothing is broken. The keypad just needs to be addressed. Basically, this means the keypad needs to setup a communication channel with the security system.
Addressing the keypad is the first step you’ll take after connecting all the components and powering up the system. Each keypad assigned to the system will need to be assigned to a separate address.
Before activation, the keypads have a default address of 31. This is a non-working address used in production. You’ll need to re-assign the address to a working slot.
While you can choose any available slot, we recommend address 16. Sixteen is the first keypad address available. Using the default address allows for easier system synchronization, and helps you stay organized if you ever add additional keypads to the system.
A keypad can only be addressed after a system power cycle. To do so, remove either the red or black lead from the VISTA panel. Then remove power from the AC outlet. Don’t remove power from terminals one and two on the system because then you’ll be dealing with live power.
When power is totally disconnected, you won’t see any display on the screen or hear any noise when you press the buttons. Now you’re ready to re-connect power by plugging the AC transformer back into the wall outlet.
The keypad will beep to signal its receiving power. You now have 50 seconds to address the keypad. This limited time window is a safety feature. The video will help familiarize you with the exact steps to take, so 50 seconds should be plenty of time.
First, press and hold buttons one and three. The display will show “CON ADDR = 31.” This shows that the keypad is currently on the non-working 31 address. Press 16 and then the star key. This will change the address to 16.
As the video shows, you’ll then be taken to a Voice Chime screen. The voice chime is a small tone emitted with each button press. Press the star key to turn the chime on or the zero key to keep it off. Finally, a prompt will appear asking if you want to add an additional keypad. Press one for yes or the star key for no. Now your keypad is properly addressed to the system.
Failing to address the keypad is a very common issue do-it-yourselfers encounter when setting up their security system -- but the solution is simple and easy.
-
 4:37
4:37
Alarm Grid Home Security DIY Videos
1 year agoQolsys IQ Panel 4: Change the Master Code
31 -
 26:46
26:46
The Finance Hub
4 hours agoI CAN'T BELIEVE WHAT JUST HAPPENED TO ZOHRAN MAMDAMI!
44 -
 LIVE
LIVE
LFA TV
22 hours agoLFA TV ALL DAY STREAM - MONDAY 6/30/25
1,599 watching -
 LIVE
LIVE
RalliedLIVE
3 hours ago $3.01 earnedSHOTTY BOYS WARZONE CHALLENGES
312 watching -
 LIVE
LIVE
The Michelle Moore Show
4 hours agoNow Streaming LIVE >>> Guest, Lt. Mark Taylor: The Michelle Moore Show (June 30, 2025)
1,309 watching -
 2:04:40
The Quartering
4 hours agoIdaho Shooter NAMED, Social media Scrubbed W/ Owen Shroyer!
297K24 -
 3:26:51
Nerdrotic
19 hours ago $5.27 earnedTemu WWIII Canceled Pride Month, but Not Ironheart - Nerdrotic Nooner 497
54.4K8 -
 1:04:26
Jeff Ahern
2 hours ago $3.17 earnedMonday Madness with Jeff Ahern
17.6K7 -
 LIVE
LIVE
StoneMountain64
3 hours agoPUBG maximum LOGIC + STRATEGY for the WIN
86 watching -
 57:20
57:20
HotZone
8 hours ago $1.58 earnedWar Continues as Israel Strikes HARD in Lebanon and Iran
15.5K10