Honeywell 5800PIR-RES: Program to L5210
In this video tutorial we will show you how to program the Honeywell 5800PIR pet immune motion detection sensor to the L5210 control panel.
Honeywell L5210: http://alrm.gd/honeywell-l5210
Honeywell 5800PIR-RES: http://alrm.gd/honeywell-5800pir-res
Get Monitored! http://alrm.gd/get-monitored
The Honeywell 5800PIR is a residential graded, pet immune motion sensor. It is calibrated to pets weighing less than 80 pounds. The motion sensor is a great addition to home security with indoor pets, to help prevent false alarms set off by furry wanderers.
In this video we will program the Honeywell 5800PIR to the L5210 control panel. It is assumed that the sensor is already installed. If you have not yet installed your sensor, you can view our other video that will walk you through the process of installation.
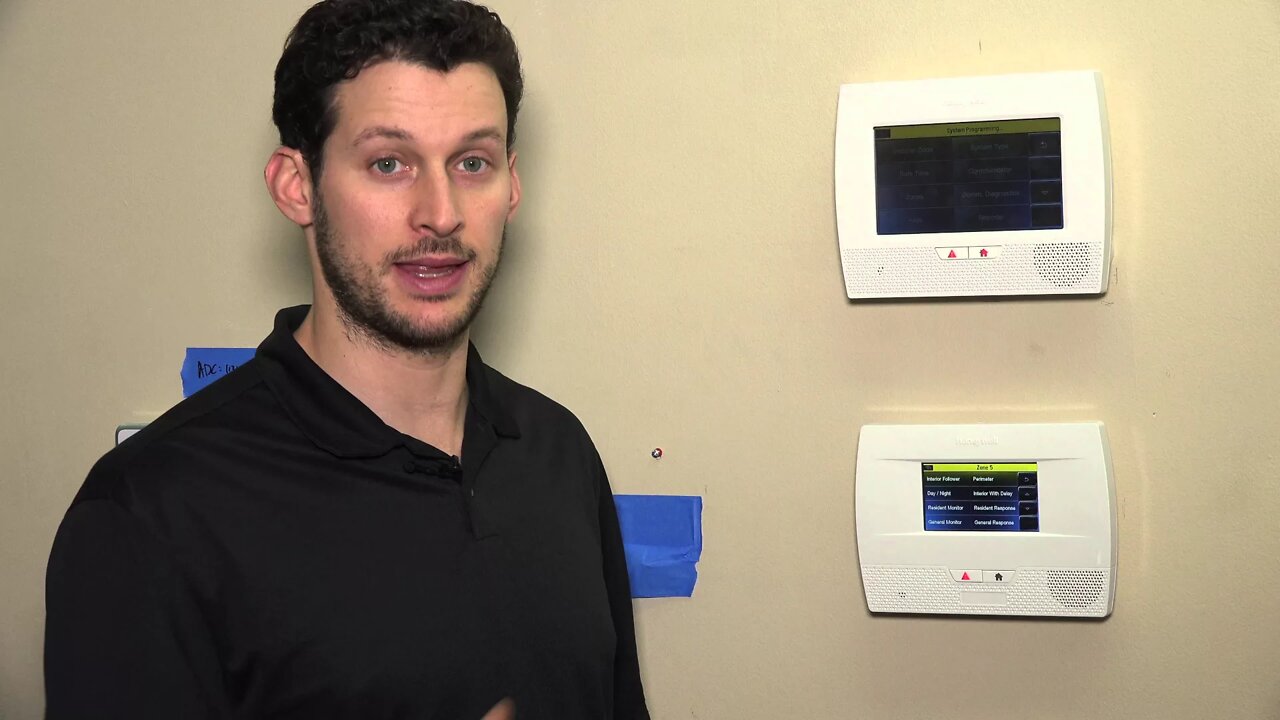
To program the motion sensor to the control panel you need to access the Tools option from the menu and provide your installer code when prompted. The video will discuss how this is done.
As the video will warn, you need to use the installer code to access the tools options, not the master code. If you have forgotten the installer code you can see our other video to learn how to bypass or recover it.
From the programming menu, press Program followed by Zones. The video will discuss how to choose the proper zone based on your circumstances. If you already have a motion sensor zone listed you can use that one, otherwise you will choose New.
When you edit from the Zone menu it will ask for the serial number. As you will see in the video it is always best to auto enroll your sensors when possible (glass break detectors are more difficult, for example). This will ensure the serial number is correct and the sensor is enrolled properly.
Because of the battery saving lock out of the motion detector, auto enrolling is very difficult. It is advised to manually enter the serial number and press done to lock it in to the system.
You will need to define the different zone attributes. Our detailed walk through video will discuss each aspect of this procedure and ensure you have the correct set up for motion detection. Be sure to follow along with the video to enable the proper zone settings.
As you follow along you will learn what the different zone settings are for and how they should be set. You should note that before you hit save, there is one further option by pressing the down arrow button. After all the zone settings are defined according to your specifications, press the save button to lock in the sensor details.
You should always test the new sensor after it is enrolled. However, this can be a tricky process because of the safety features of the sensor. The video will discuss the two safety features in detail. Follow along to learn all about the features and how to test the sensor properly.
You can view our other videos to learn how to install the sensor or other features of the L5210 control panel.
-
 6:05
6:05
Alarm Grid Home Security DIY Videos
1 year agoPROA7 or PROA7PLUS: Using Lyric Sensors
15 -
 1:03
1:03
thegrovefitness
3 years agoProgram
43 -
 1:03
1:03
thegrovefitness
3 years agoProgram
109 -
 2:07:07
Robert Gouveia
4 hours agoFBI Files Coverup! Bondi FURIOUS; SCOTUS Stops Judge; Special Counsel; FBI Does
40.5K32 -
 56:15
56:15
Candace Show Podcast
5 hours agoBREAKING: My FIRST Prison Phone Call With Harvey Weinstein | Candace Ep 153
107K69 -
 LIVE
LIVE
megimu32
1 hour agoON THE SUBJECT: The Epstein List & Disney Channel Original Movies Nostalgia!!
180 watching -
 9:06
9:06
Colion Noir
10 hours agoKid With Gun Shoots & Kills 2 Armed Robbers During Home Invasion
16.9K3 -
 54:28
54:28
LFA TV
1 day agoUnjust Man | TRUMPET DAILY 2.27.25 7PM
19.7K2 -
 DVR
DVR
CatfishedOnline
7 hours ago $1.19 earnedGoing Live With Allen Weekly Recap
21.8K -
 20:10
20:10
CartierFamily
7 hours agoAndrew Schulz DESTROYS Charlamagne’s WOKE Meltdown on DOGE & Elon Musk!
36.8K45