Premium Only Content

Honeywell 5811: Program to Lyric
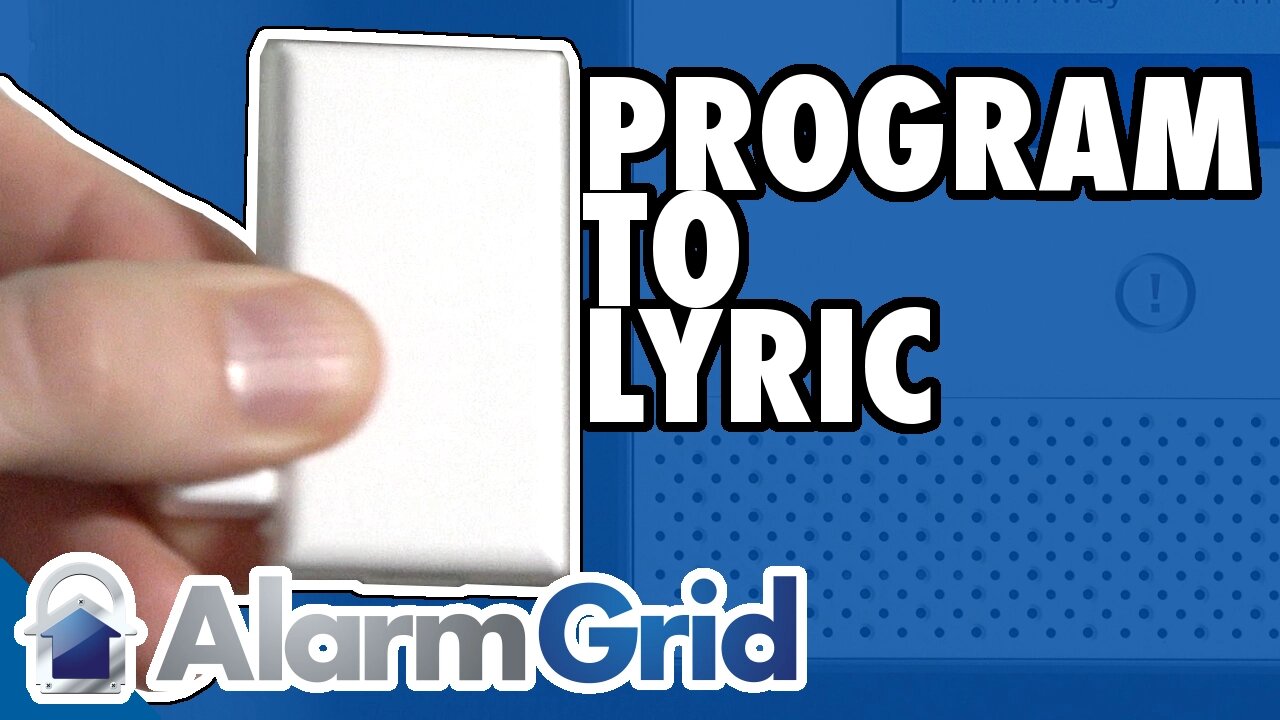
In this video tutorial we will show you how to program the Honeywell 5811 wireless door and window sensor to the Lyric control panel.
Honeywell 5811: http://alrm.gd/honeywell-5811
Honeywell Lyric Controller: http://alrm.gd/lyric-controller
The Honeywell 5811 is a wireless door and window sensor. It is the most common used door sensor from Honeywell and has some great advantages over other models. Because it is not a SIX series sensor, there is no encryption or bidirectional communication to the control panel.
In this video we will program the Honeywell 5811 to the Lyric control panel. The Honeywell Lyric is designed to be used with the SIX series sensors. However, Honeywell included backwards compatibility for all 5800 wireless sensors, so the 5811 will work just fine in the Lyric system.
If you have existing sensors in the 5800 series and upgrade your panel to the Lyric system, you will still be able to use your sensors. This is great news for the budget conscious because you don’t need to replace all of your sensors.
This video will show you step by step how to enroll the sensor into the Lyric control panel. Follow along to ensure you have a properly working system.
To add a sensor, access the programming section of the Lyric panel with the use of the installer code. If you use the master code you will not have the options to enroll sensors. Make sure you use the correct code.
The video will take you through the menu options to begin setting up the sensor. From the program menu you will enter zones to program a zone. There will be default zones already set up in the system. You can edit an existing zone, or create a new one.
Our video will walk you through the editing of the existing zone 3, which is a template set up for front door sensors. Click the zone and then choose edit to be taken to the zone edit screen.
Here you will need to enter the serial number of the motion sensor. As with most other wireless sensors you can enter the serial number two different ways: either manually entering the serial number or by tripping the sensor three times.
Our video will show you how to enroll the sensor with the activation method and discuss how to manually enroll using the serial number. Once the sensor is enrolled with the serial number you will need to edit the other zone parameters.
Follow along with the video to define the other parameters of the zone edit screen. Such options as the name, chime and supervision can all be set to your personal needs. The video will cover each option and the optimal settings for these zone parameters.
Once you have the zone set, press save to lock in all the information and return to the program screen. Return to the home screen and test the sensor. Testing is important to ensure everything reports and responds as you want it.
You can view our other videos to learn how to install the sensor or find more information about the Lyric control panel.
-
 6:05
6:05
Alarm Grid Home Security DIY Videos
1 year agoPROA7 or PROA7PLUS: Using Lyric Sensors
20 -
 2:03:51
TimcastIRL
9 hours agoTrans Minneapolis Shooter BLAMED Massacre On Mom & Gender Transition | Timcast IRL
187K353 -
 47:29
47:29
Man in America
16 hours agoIT DOESN'T ADD UP: The Trans Shooter's Story Is FULL of Holes
59K67 -
 3:59:36
StevieTLIVE
9 hours agoFriday Night Warzone HYPE
44.5K1 -
 3:47:10
SynthTrax & DJ Cheezus Livestreams
1 day agoFriday Night Synthwave 80s 90s Electronica and more DJ MIX Livestream Michael Jackson / AI Art Compilation Edition
53K2 -
 1:03:57
Sarah Westall
9 hours agoMara Lago Accord Joins the Fed, Fed Waves the White Flag & more w/ Andy Schectman
34.8K3 -
 2:44:12
I_Came_With_Fire_Podcast
1 day ago*BREAKING* Special Guest Katarina Szulc
44.8K9 -
 3:22:20
megimu32
9 hours agoOFF THE SUBJECT: FAFO Friday! Bodycams & Mario Kart Mayhem!
29.8K6 -
 55:36
55:36
Flyover Conservatives
1 day ago4 Strategies to Create Opportunity from Nothing - Clay Clark | FOC Show
33.1K1 -
 1:49
1:49
Gaming on Rumble
15 hours agoWhat is the Rumble Creator Program!?!? (Active Premium Creators) | Lvl UP
30.9K2