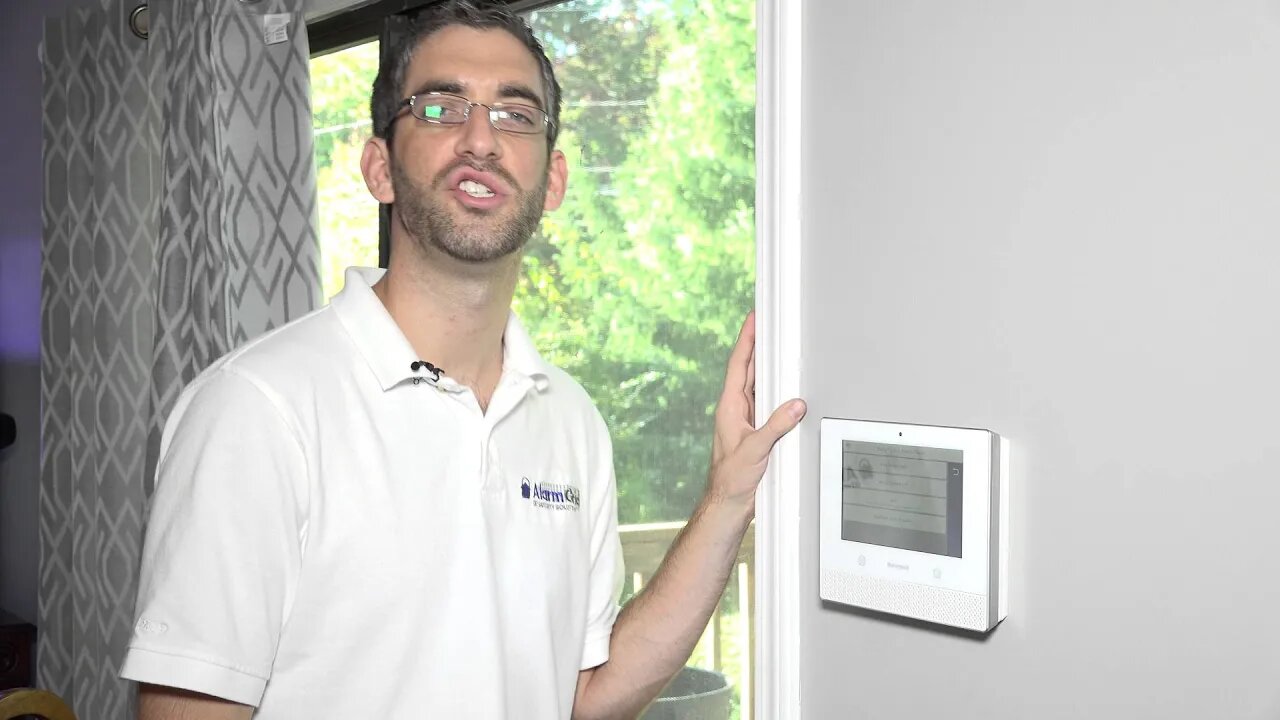
Lyric Security System: Join Lyric to WIFI Network
In this video tutorial you will learn how to join your Honeywell Lyric control panel to your existing WiFi network.
Honeywell Lyric Controller: http://alrm.gd/lyric-controller
Get Monitored: http://alrm.gd/get-monitored
The new Honeywell Lyric control panel doesn’t need a WiFi module installed by the end user to take advantage of wireless network communications. Honeywell has included the WiFi module with the Lyric.
All that is left for the end user is to enable wireless communications and connect the Lyric Security System to the home WiFi Network. This video will show you step by step how to connect to the wireless network in your home.
There are numerous advantages to joining the wireless network. The most obvious is for communication to the alarm monitoring company. However, the remote system Total Connect 2.0 also uses the wireless network to allow remote monitoring and access to the system as well as text and email alerts to your phone from the system.
There are two ways to join the wireless network. This video will cover both options so you can chose the one that is easiest for you.
Both methods utilize the Tools menu from the home screen. When asked for the code, you can use either the master code or the installer code. This video will use the master code first.
Enter your master code and select security. You will see the security options listed on the screen that are available to the master user. From this screen you will press the “WiFi Config” option. The video will briefly discuss the other options on this screen before moving on to the wireless configuration.
Follow the video to perform the standard connection method of scanning for a network. Note that this option will not work if the network you wish to join does not broadcast the SSID. In this instance you will need to do a manual configuration.
When you press the scan for network option, the system will search for broadcast SSIDs and return the options to you on the screen. The scan button will run the scan over, in case you need to look for your network again. When you see your network SSID press it once to highlight and then press the edit button.
Follow the video to learn about the security options and how to enter the network password into the panel. The control panel will join the network and as long as the password was correct, the control panel will be active on the network.
If you choose to use the installer code instead of the master code, you will press “Comm diagnostics” and then “Configure WiFi” to get to the menus for accessing the wireless network.
From this point, as you will see in the video, everything else is the exact same as with the master code method of configuration.
Be sure to return to the home screen after you are connected to the wireless network, all settings will be locked in to the system and should remain unless you change your wireless password at some point in the future.
-
 4:37
4:37
Alarm Grid Home Security DIY Videos
1 year agoQolsys IQ Panel 4: Change the Master Code
31 -
 0:25
0:25
ViralHog
3 years ago $0.03 earnedSecurity System Hits A Snag
217 -
 LIVE
LIVE
Ark of Grace Ministries
2 hours agoProphetic Alert: A Boiling Point in America and the Earth
2,141 watching -
 LIVE
LIVE
Stephen Gardner
33 minutes ago🔥Lindsey Graham Betrays Trump as Putin Readies MASSIVE ATTACK!
619 watching -
 38:55
38:55
Kimberly Guilfoyle
7 hours agoThe Trump effect, live with Jarrett Stepman & Mike Davis | Ep226
19.2K9 -
 39:27
39:27
Redacted News
1 hour ago“The 9/11 Hijackers Never Flew the Planes” – Airline Captain Dan Hanley Drops BOMBSHELL | Redacted
6.32K78 -
 LIVE
LIVE
LFA TV
20 hours agoLFA TV ALL DAY STREAM - MONDAY 6/2/25
1,215 watching -
 1:14:25
Untamed Nation
1 hour ago🚨URGENT WARNING: THEY ARE ABOUT TO DO ANOTHER 9/11 ⚠ | 2 JUNE 2025
5205 -
 DVR
DVR
Tommy's Podcast
16 hours agoAI Tsunami | Dr. Sean Carr (TPC #1,758)
908 -
 1:37:40
vivafrei
4 hours agoTerror in Boulder! From Silence to Crocodile Tears! The invasion of Canada Continues! And more?
80.8K29