Premium Only Content

Honeywell IPCAM-WO: Review
A closer look at the Honeywell IPCAM-WO, which can be used to provide video monitoring services at your home or business.
Honeywell IPCAM-WO:
Get Monitored: http://alarm.gd/get-monitored
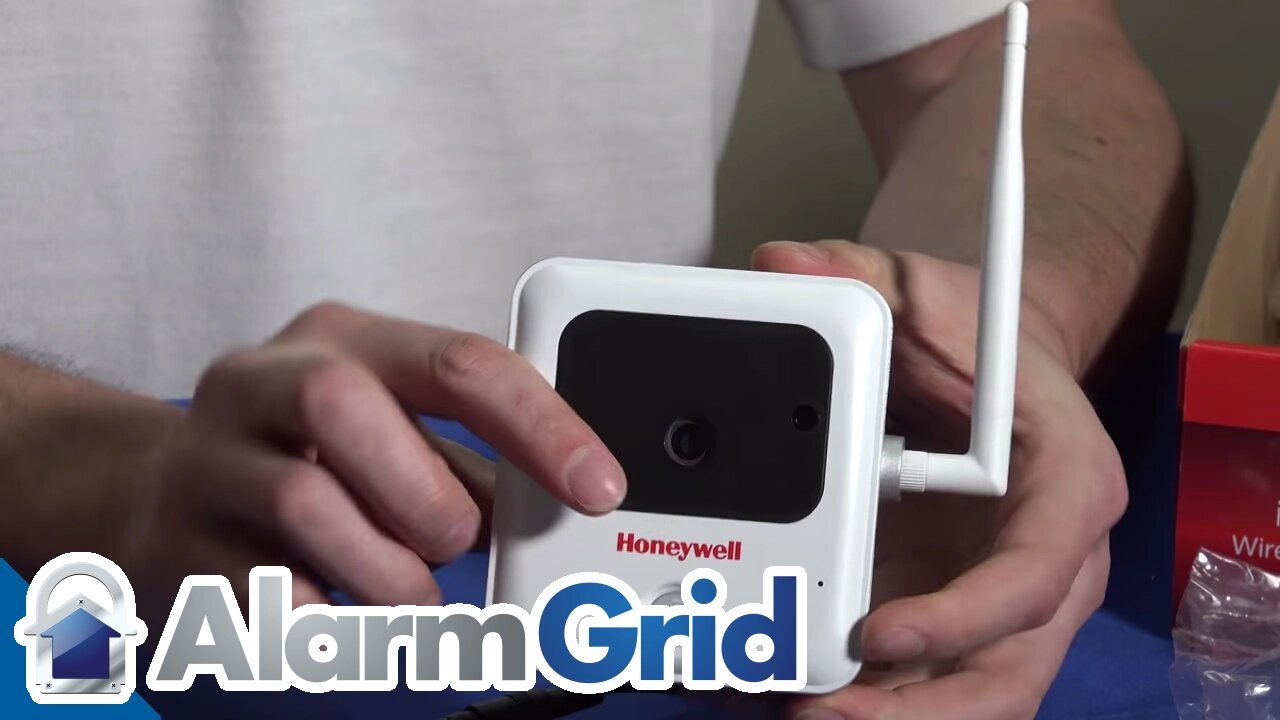
The IPCAM-WO from Honeywell is an option for those looking to enhance the security services at their home or office.
On the front face of the camera, you’ll find the lens, along with a motion sensor and IR illuminators designed to help provide clear video in low or no light situations. The rear case of the camera is made from metal.
On the rear of the camera, there are connections for an Ethernet cable as well as system power. The Ethernet jack is covered with a silicon plug designed to prevent rain, snow, and sleet from entering the Ethernet jack.
Many home or business owners choose to connect the IPCAM-WO with wifi as opposed to a wired Ethernet connection. At that point, you may want to further reinforce the protective plug over the Ethernet jack with silicon to ensure a watertight seal.
The included power cord and Ethernet cable include silicon boots which are designed to fit over their receptacles. These boots provide similar protection from the elements as the silicon plug that comes affixed over the Ethernet port.
The camera also includes a power extension cable for applications where outlets are not available in proximity to where the camera is located. The barrel jack on the extension cable connects to the power port, and the actual transformer can then be plugged into the female barrel plug located at the other end of the extension cable.
Many users choose to attach the IPCAM-WO to the soffit on the exterior of their home or business. Once mounted, the power and/or Ethernet cables can run into the home or business through a small hole in the soffit.
This unit also includes a Wi-Fi antenna which may be useful for applications where the owner would like to connect the camera to Wi-Fi, but the router or access point is too far away to achieve a strong signal.
Pairing the camera to Wi-Fi involves depressing a small button located next to the DC plug on the rear of the camera. Once that button has been pressed, the owner can then switch the router to WPS mode so the router can discover the camera and complete the pairing.
In some cases, it can be helpful to have a partner working with you as you connect the camera to Wi-Fi. Once the button on the rear of the camera has been pressed to allow wifi discovery, there’s only a short period where you can pair the router and camera. During this time, it can be helpful to have another set of hands at the router so that the router can be put into WPS mode immediately once the button on the rear of the camera has been pressed.
For mounting to the home or business, the camera includes a circular plate and three screws which can be attached to the exterior of the home or business, or to a pole or tree nearby. The camera itself mounts to the circular plate with the help of a wooden dowel which secures to the center hole on the mounting plate.
-
 4:37
4:37
Alarm Grid Home Security DIY Videos
1 year agoQolsys IQ Panel 4: Change the Master Code
33 -
 0:20
0:20
AgentofSocialMediaChaos
3 years agoBitten Review
37 -
 0:22
0:22
AgentofSocialMediaChaos
3 years ago $0.01 earnedBecoming Review
53 -
 0:08
0:08
OSTC Movies
3 years agoMicro Review
261 -
 1:02
1:02
AgentofSocialMediaChaos
3 years agoOverlord Review
25 -
 0:26
0:26
AgentofSocialMediaChaos
3 years agoBody Cam Review
13 -
 1:22:15
Glenn Greenwald
8 hours agoCharlie Kirk Assassination Fallout: U.S. Reps Call for Censorship; Do Graphic Videos Serve the Public Interest? Plus: WIRED Reporter on the Dark Side of Surrogacy | SYSTEM UPDATE #513
184K172 -
 1:48:36
Right Side Broadcasting Network
14 hours agoLIVE: President Trump Attends the Yankees Baseball Game - 9/11/25
168K24 -
 1:54:32
Badlands Media
8 hours agoBadlands Media Special Coverage - FBI Press Conference on Charlie Kirk's Assassination
131K20 -
 1:06:19
BonginoReport
10 hours agoManhunt Underway for Charlie Kirk’s Assassin - Nightly Scroll w/ Hayley Caronia (Ep.132)
289K230