Premium Only Content
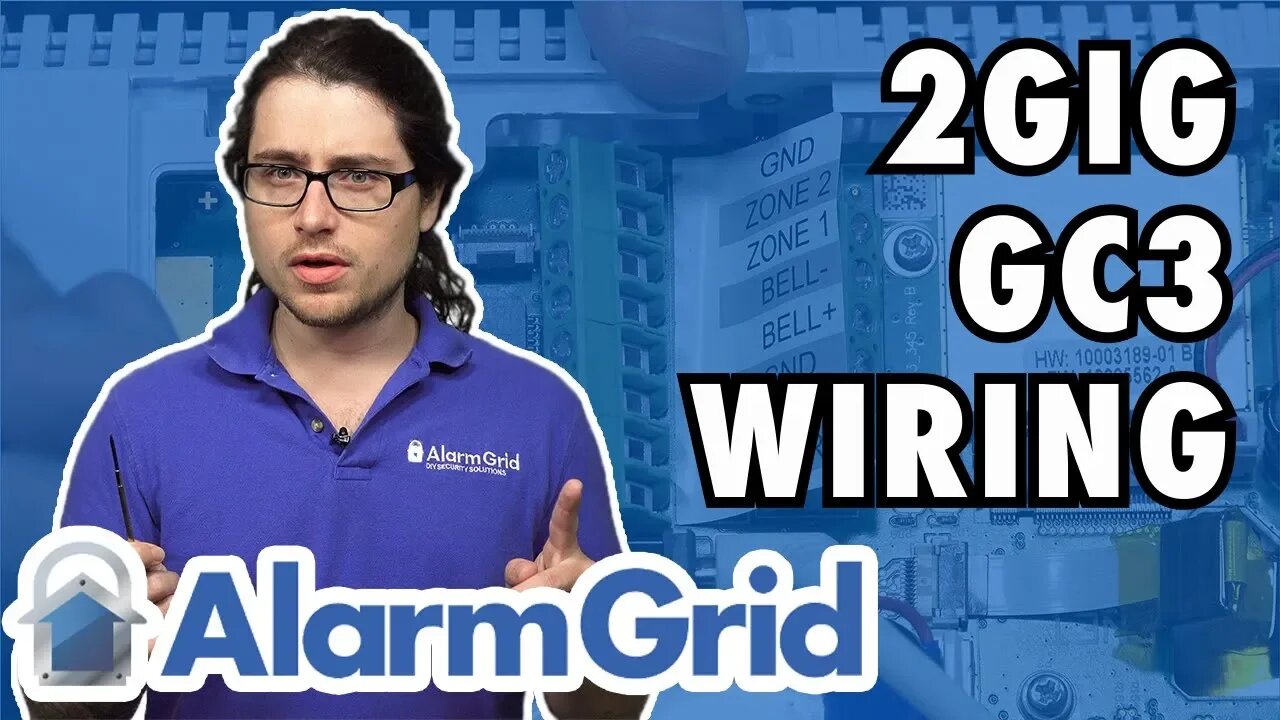
Wiring a 2GIG GC3
In this video, Dylan talks about how to provide power for a 2GIG GC3 Security System. This process is normally done using a standard 18-gauge 2-conductor wire that can be obtained from virtually any hardware store. But to make the wiring process even easier, a Honeywell LT-Cable can be used instead.
The GC3 System does not come with a power wire by default. Instead, a user will need to obtain their own wire separately. Therefore, most users just end up using a standard 18-gauge 2-conduction wire, since it is very easy to obtain. This will require some minor wire-stripping and connecting, but it is usually a simple task for a DIY user. However, a wire-stripper and a screwdriver will be needed.
The ends of the wire should be stripped to expose about a quarter-inch of copper. The back of the panel includes terminals that the two conductors will connect with. These are labeled PWR- and PWR+. Since DC power is used with the GC3, polarity matters, and it must be followed when wiring the system. The black wire should connect with the negative (-) power terminal, and the red wire should connect with the positive (+) power terminal. The other end of the wire will connect with the DC transformer that comes included with the system.
To avoid the need for stripping wires, it is possible to use a Honeywell LT-Cable instead of a standard wire. The Honeywell LT-Cable comes pre-prepared so that it is ready to go right away. On the back of the GC3 System, there is a barrel connector port that allows for an easy connection with the LT-Cable. The other end of the LT-Cable will connect with the DC transformer that plugs into the wall outlet. Again, polarity must be followed with DC power. A screwdriver will be needed to connect the wire to the screw terminals on the transformer. The other smaller portion of the LT-Cable is not needed when wiring the GC3.
-
 4:37
4:37
Alarm Grid Home Security DIY Videos
1 year agoQolsys IQ Panel 4: Change the Master Code
31 -
 1:15
1:15
VAWT035
3 years agoVAWT 035 - Lighting Application Wiring.
7 -
 1:17
1:17
BoostBySmith
3 years agoZX14 plug and play Wego Wiring
27 -
 0:55
0:55
JimApa
3 years ago $0.04 earnedSchecter Nick Johnston HSS + Wiring Diagram
2752 -
 4:40
4:40
PolarisnutsGarage
3 years ago $0.04 earnedPolaris Ranger Busbar Wiring
71 -
 10:00
10:00
RollinRhino
3 years agoRelay wiring made (kinda) easy
19 -
 0:57
0:57
EEVblog Channel
3 years agoSolar Install Wiring FAIL #SHORTS
11 -
 3:57
3:57
AccAutomation
3 years agoWiring Testing Analog PLC Input Click
13 -
 5:27
5:27
OneHornLarry
3 years agoShop Update and Wiring Tip
21 -
 0:21
0:21
Ceasersalad117
3 years agoResidential wiring luminaries
26