High Side Kick Preventing Injury Individual Kicking Height Tests Part 2 | ElasticSteel
https://elasticsteel.com/products/all...
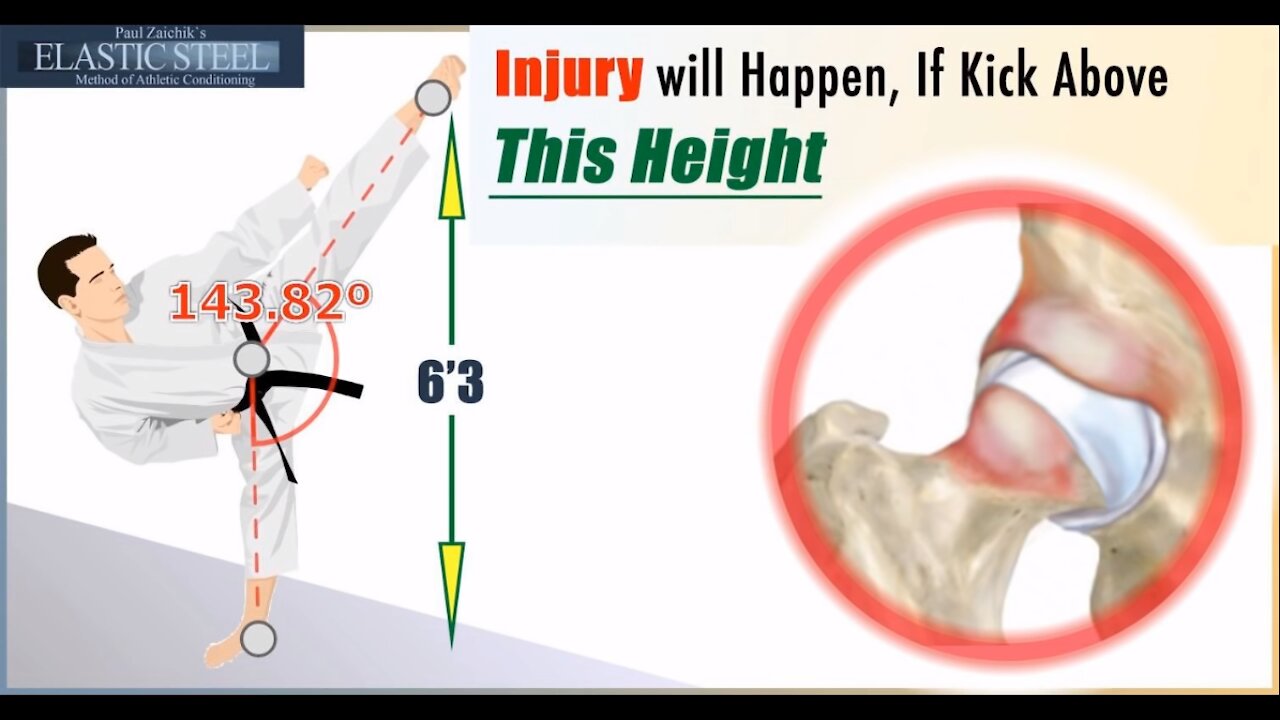
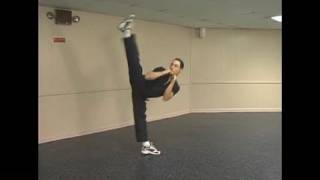
What is your safe kicking height, to avoid hip injuries, Part 2.
The kicking height can be calculated or found visually.
While many biomechanical concepts are best calculated, the safe height of a kick is best determined visually.
The kick’s range of motion is determined by the supporting leg. The range of motion of the kicking leg is about 45 degrees in most people and is restricted anatomically.
To calculate the supporting leg height, lay down on the floor and lift the top leg up with a turn out. Measure that angle. (Completely vertical leg is 90 degrees)
Next add that value to 45 degrees.
The total number is the passive range of motion for the kick.
There are several issues with measuring passive range of motion and transferring it to the kick.
1. If the pelvis tilts laterally, less than 45 degrees will remain. In that case the kicking leg will have less than 45 degrees to add to the ROM of the standing leg (which is measured with a turnout) To get proper calculations one must be very careful, to keep the pelvis stabilized.
2. Even if the passive angle is calculated correctly, active flexibility is not equal to passive flexibility.
3. The final angle must be converted to the kicking height. While this is not a problem with basic calculations one has to take into the account leg length, which differentiates from individual to individual.
Visual safe height is measured by three tests.
1. Slowly Extending the Kick.
2. Slowly Raising the Kicking leg
3. Holding the Extended Kick
If you can do at least 2 of those tests to a specific height, you can safely kick to that height. Kicking above that height (even if possible with momentum), comes with loss of control over joint position. Doing so increases the risk of injury.
https://elasticsteel.com
-
 2:22
2:22
ElasticSteel
3 years agoMechanics Of A Side Split
112 -
 7:05
7:05
ElasticSteel
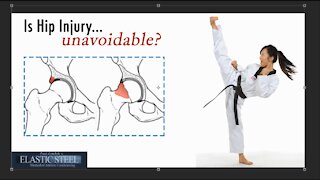
3 years agoHigh Side Kick Hip Pain | Is Hip Injury Unavoidable in High Side Kicks | ElasticSteel
32 -
 4:04
4:04
Stretching Made Easy
3 years agoStrength vs Flexibility Importance for Leg Height - Paul Zaichik - Easyflexibility - ElasticSteel
47 -
 8:45
8:45
ElasticSteel
3 years ago $0.01 earnedHIGH SIDE KICK Training High Kick Side Kick Powerful Fast Side, Roundhouse and Hook Kick.
170 -
 2:46
2:46
ElasticSteel
3 years agoWinter Workout Warm Up Injury Prevention l Paul Zaichik l ElasticSteel l EasyFlexibiity
44 -
 2:01
2:01
KSHB
4 years agoHigh demand for COVID-19 tests
20 -
 1:13
1:13
ElasticSteel
3 years agoTwist Kick Anatomy Bituro Chagi Taekwondo Karate Kicking
171 -
 2:44
2:44
Stretching Made Easy
3 years agoInjury Prevention | Fallacy of Scheduled Progress #2 | Paul Zaichik | Elasticsteel | Easyflexibility
53 -
 12:24
12:24
ElasticSteel
3 years ago $0.01 earnedKarate TKD Taekwondo Martial Arts Kick Kicking Core Training Drills
80 -
 5:01
5:01
ElasticSteel
3 years ago $0.01 earnedDynamic Kicking of Martial Arts Instructional Martial Arts Kicking DVD Basic Kick Preview
1321