Premium Only Content
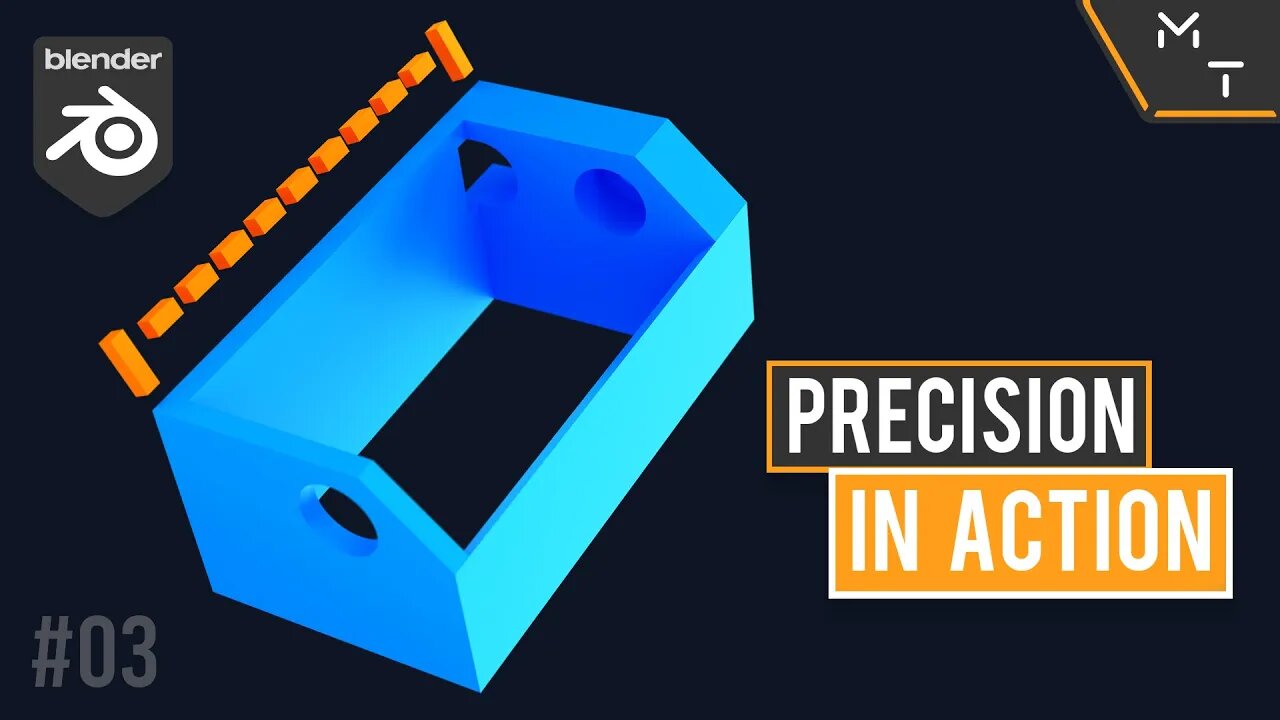
3D Print Time-lapse Trigger Holder | Blender 3.0 / 2.9 Precision Modeling In Action | 03
Recently I showed how to turn your 3D printer into a Timelapse robot. This here is how I went about and modelled the attachment to connect my timelapse trigger system to my cr10.
These videos are an extension of my Learning Blender 3.0 / 2.9 through precision modelling playlist. I'm going through a wide variety of random models where I hope to share not only what my current workflow is but additional tips and to actually show you what is possible with blender when it comes to precision modelling.
- - Learn Blender Fast For 3D Printing Through Practical Modeling (Paid Course) - -
https://academy.makertales.com/p/how-to-use-blender-for-3d-printing
If you have any questions the best place to leave them are in the discord community.
Dimensions: https://bit.ly/2QXCMiw
How To Do 3D Printing Timelapses: https://youtu.be/XfwfQQWLGBA
Blender Addons : https://youtu.be/v9tbXF410SU
Learn Blender 2.9+ through precision modelling playlist:
https://youtube.com/playlist?list=PL6Fiih6ItYsXzUbBNz7-IvV7UJYHZzCdF
💬 Maker Tales Discord Server
https://discord.gg/Ezx9hUD
🛠 Subscribe To Keep Making:
https://bit.ly/sub2MT
📨 Share with a friend:
https://youtu.be/NrSJg6D1s2Y
📺 Watch My Most Recent Upload:
https://bit.ly/recentMT
Other Places Where you can find me:
Patreon: https://www.patreon.com/MakerTales
Instagram: https://www.instagram.com/makertales/
Twitter: https://twitter.com/themakertales
Facebook: https://www.facebook.com/MakerTales
Time Stamps:
0:00 - Intro
0:22 - Creating The Cut Away Mesh
01:06 - Adding The Main Body
02:53 - Adding The Holes
8:46 - Mesh Cleanup
12:55 - Inside Of Slicer
13:36 - Closing Notes
-
 13:14
13:14
itsSeanDaniel
2 days agoIlhan Omar EXPOSED for LYING about Somalian Fraud
9.58K14 -
 1:52:46
Side Scrollers Podcast
19 hours agoNintendo Fans Are PISSED at Craig + Netflix BUYS Warner Bros + VTube DRAMA + More | Side Scrollers
74.7K4 -
 18:43
18:43
Nikko Ortiz
14 hours agoWorst Karen Internet Clips...
8.72K3 -
 11:23
11:23
MattMorseTV
15 hours ago $13.37 earnedTrump just RAMPED IT UP.
19.1K54 -
 46:36
46:36
MetatronCore
2 days agoHasan Piker at Trigernometry
8.19K2 -
 29:01
29:01
The Pascal Show
17 hours ago $2.40 earnedRUNNING SCARED! Candace Owens DESTROYS TPUSA! Are They Backing Out?!
11.6K14 -
 6:08:30
Dr Disrespect
19 hours ago🔴LIVE - DR DISRESPECT - ARC RAIDERS - FREE LOADOUT EXPERT
65.5K7 -
 2:28:08
PandaSub2000
1 day agoMyst (Part 1) | MIDNIGHT ADVENTURE CLUB (Edited Replay)
32.3K -
 21:57
21:57
GritsGG
1 day agoBO7 Warzone Patch Notes! My Thoughts! (Most Wins in 13,000+)
39K -
 LIVE
LIVE
Lofi Girl
2 years agoSynthwave Radio 🌌 - beats to chill/game to
706 watching