Blender: Quick camera transitions using marker - 2023
How to achieve camera transitions using markers:
Step 1: Set up your scene
pressing Shift + a. Then, choose "Camera" from the menu.
Step 2: Position and rotate the camera to achieve the desired composition.
Repeat these steps for any additional cameras you want to use.
Step 3: In the Timeline or Dope Sheet editor, go to the frame where you want the camera transition.
Press M to create a marker at the current frame.
Then Press Control + b. to Bind Camera to Marker
Step 4: Select the second camera you want to transition to.
In the Timeline or Dope Sheet editor, and repeat Step 3.
Step 5: Preview and refine the transition
Play the animation to preview the camera transition.
If necessary, adjust the marker positions or the cameras' timing to fine-tune the transition until you're satisfied.
Step 6: Render the animation
go to the "Output" properties and choose the desired output format and settings.
Click on the "Render" button to render the animation with the camera transitions included.
That's it! Easy camera Transition. Thanks for watching.
Please Like. Share. and. Subscribe for more Short Short Lessons
-
 9:00
9:00
blessedonw1
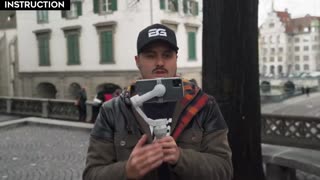
1 year agoQuick Guide On How to Create In Camera Transitions with Your iPhone
7 -
 13:58
13:58
Jen Abbott Creates
9 months agoHow to make 5 video transitions using the Holdout Modifier in Blender 3.6 #animation #mograph
-
 9:00
9:00
ehsansam8766
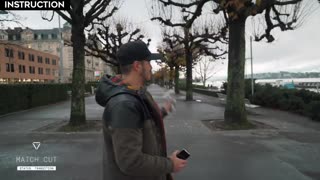
1 year agoHow to Create In Camera Transitions with iPhone
4 -
 7:08
7:08
Always Creating
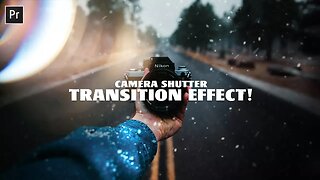
6 years agoCamera Shutter TRANSITION Effect! - Adobe Premiere Pro CC 2018 (Tutorial)
6 -
 2:05
2:05
Always Creating
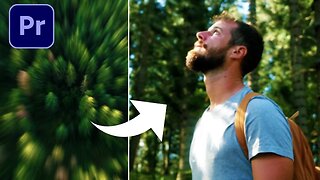
2 years agoHow to Create a SMOOTH ZOOM In/Out Transition - Adobe Premiere Pro CC Tutorial
1 -
 8:10
8:10
Darkon
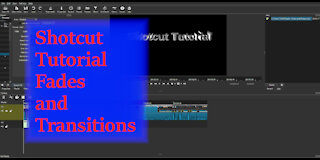
3 years agoShotcut Tutorial - Transitions and Fades
25 -
 8:06
8:06
ITAnimAndVFXstudio
4 years agoBlender 2.82. How to rig camera. Part 2 Real TimeCamera Animation
236 -
 5:57
5:57
keduse
1 year agoCreative_Video_Editing_Transitions_For_You_To_Try_ADYSsiEQKtc
-
 9:00
9:00
TDunn91
9 months agoHow to Create In Camera Transitions with iPhone
7 -
 3:56
3:56
ProculNotitia - Streaming and coding resources / information
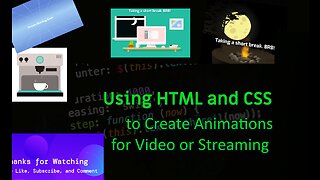
11 months agoHow To make simple transition animations for streaming or videos -- with examples.
20