Premium Only Content

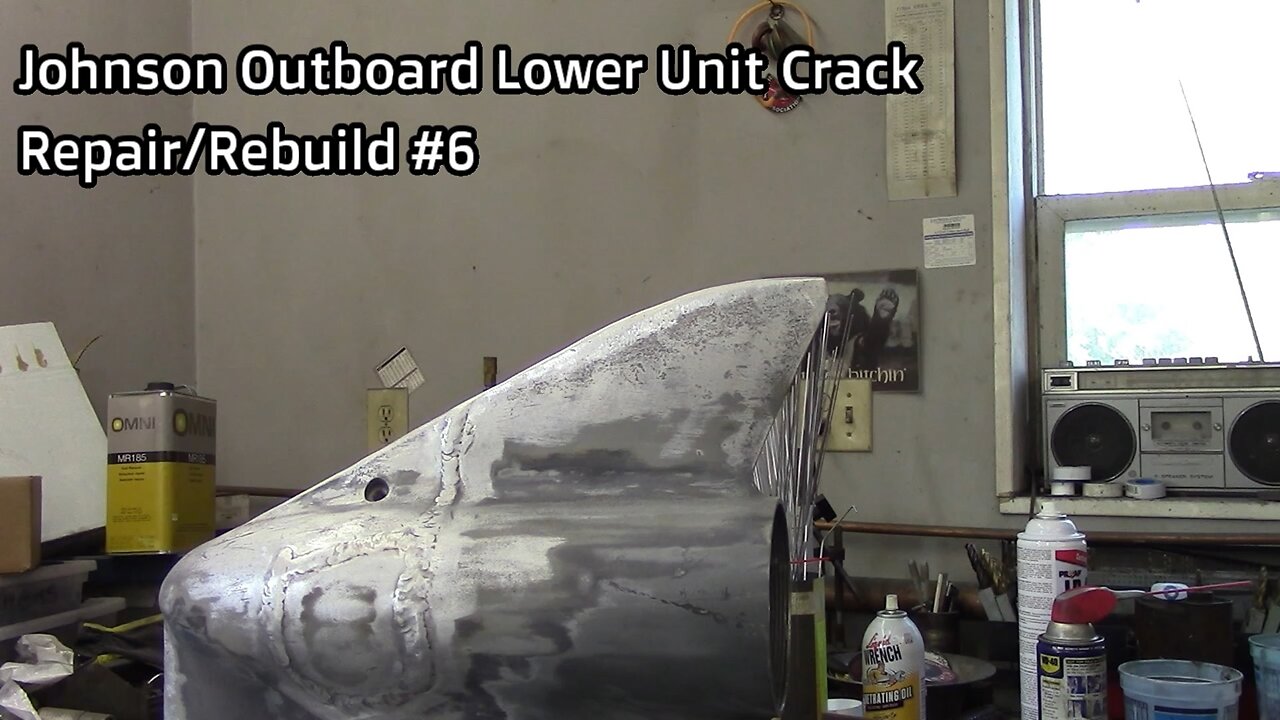
Johnson Outboard Lower Unit Crack Repair/Rebuild #6
Video #6 of the Johnson GT 150 lower unit crack repair/rebuild is on grinding the inside of the case. In this video I will grind the back side of the welds inside of the case, the only sections that need to be super smooth and accurate are bearing carrier surfaces which in this case the weld does not cross, snap ring areas, which in this case are the worst, and I will need to clean up the o-ring sealing surface which is important to keep the water section separate from the grease. The black/red arrow in the next picture shows the double snap ring area, and the white/red arrow shows the o-ring sealing surface. One part I do not have video of is grinding out the snap ring grooves which I used the same die grinder with a 1/16” x 3” diameter cut off wheel to clean the weld out of the snap ring grooves. The first bit I use is a deburring bit, very coarse. I am using a ¼” die grinder @ 60 PSI or so, the lower pressure gives the grinder a little less power and makes it more controllable. I use a 80 grit hard stone about 7/8” diameter. I have the trigger taped as the diameter of the case being small I cannot fit my hand in, also needing a flashlight, being able to see what I’m doing, and the angle of the grinder are all more important. You will see I start with a deburring tool on the die grinder, work to a hard stone, and to an 80 grit flap disc if it needs a very smooth surface like the o-ring sealing surface. You have to be careful going in and out of the case so you do not inadvertently touch an area in the case and create damage that will require more repair. Larger diameter wheel also require more care! Most areas in the case only require deburring, unless they are an o-ring sealing surface or where the bearing retainer is supported. You will need to rotate the case and support it so it cannot move while you are grinding. The best position to work/grind is always on the bottom!!!! Very gentle slow and accurate movements are needed I cannot stress this enough and you never want to grind below the original surface contour. Safety, safety, safety, I have ear plugs, safety glasses, and a face shield, if you get something in your eye while doing this you will probably bump the side of the case with the grinder where you don’t want to. I have added a section of steel angle to the grinder so I have more control of the grinder and can reach in just a little farther. Where I have to reach farther in was not a critical area, just some basic weld clean up. You can hear how low powered the grinder is at 60 PSI. An 80 grit flap wheel, 2 ½” diameter this is what you want for the final clean up of the o-ring sealing surface or a bearing retainer mounting surface. I looked but could not find an after grinding internal case photo, sorry! Make sure to take your time cleaning out the case internals after you complete the grinding. Video 7 will start reassembly. Thank you for watching.
Great information including videos and exploded views of many different OMC models: http://www.sterndrive.info/outboardmotor/index.html
https://www.youtube.com/@HRIservicesllcSturgeonBay
https://www.instagram.com/hri_services/
https://www.facebook.com/HRIServicesllc/
https://www.millerwelds.com/
-
 29:23
29:23
DeVory Darkins
1 day ago $12.92 earnedTrump makes BOMBSHELL Announcement as Democrat Judge issues SHOCKING Order
12.8K165 -
 28:31
28:31
James Klüg
1 day agoDemocrats Are FURIOUS With Trump’s Immigration Policy But Know Nothing About It | Part 2
14K10 -
 13:55
13:55
itsSeanDaniel
2 days agoWOKE Nutjob Liberal Finally Proved JUST HOW DUMB She Really is
4.32K4 -
 8:01
8:01
MattMorseTV
10 hours ago $8.50 earnedHe's ACTUALLY doing it...
65.9K57 -
 15:04
15:04
GritsGG
14 hours agoHow the Rank 1 Player Warms Up on Warzone Before Stream!
6.57K -
 1:54:43
Side Scrollers Podcast
18 hours agoVoice Actor ROASTED For Racist Double Standard + Influencer FELONY After Con Threat | Side Scrollers
30.9K7 -
 11:03
11:03
The Pascal Show
18 hours ago $0.66 earned'THAT BABY IS GONE!' Neighbors Break Silence On Emmanuel Haro Case... Wildlife Took Remains?!
7.9K -
 LIVE
LIVE
Lofi Girl
2 years agoSynthwave Radio 🌌 - beats to chill/game to
355 watching -
 2:54:09
Badlands Media
15 hours agoDEFCON ZERQ Ep. 007: Flynn, Q Signals, and the Venezuela Strike
121K58 -
 2:29:05
FreshandFit
6 hours agoOwen Shroyer leaves Alex Jones But Here's the Truth!
28.2K19