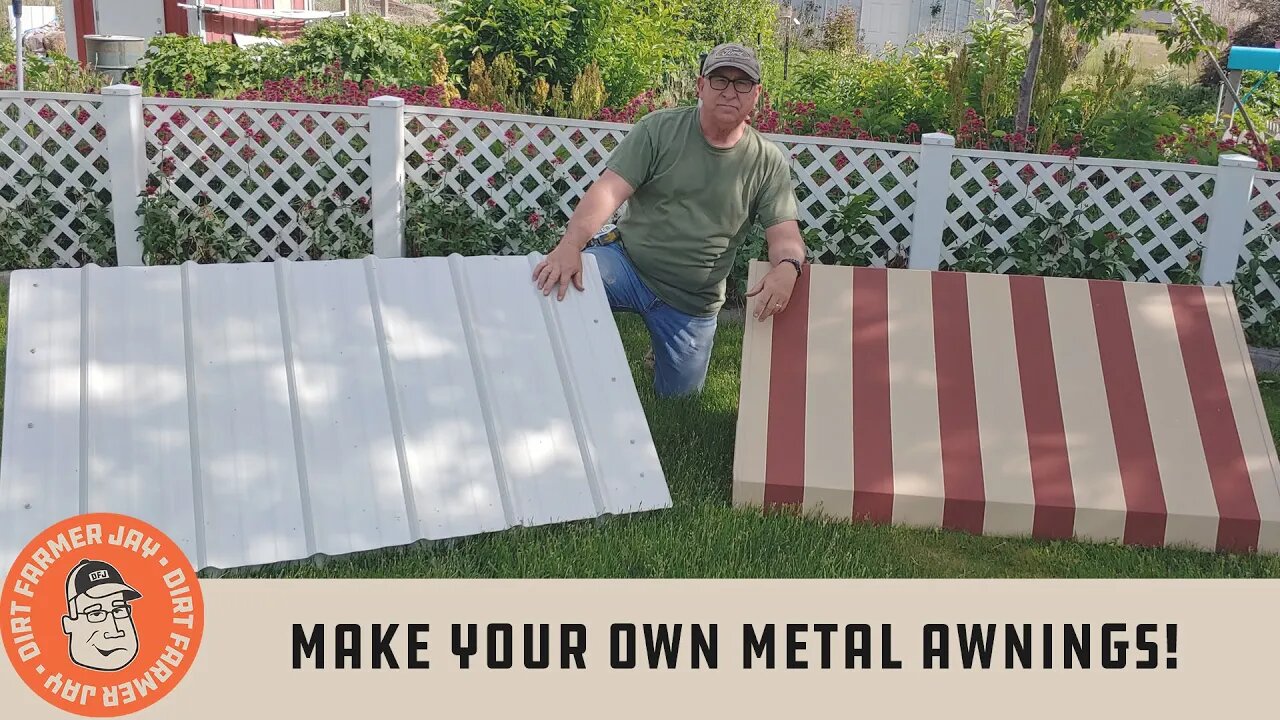
Make Your Own Metal Awnings!
Awnings are literally a cool addition to add to your home. We had fabric-covered units and didn’t like how they performed or looked - so we re-skinned them with metal. You can do the same thing!
#metalawnings #awning #awnings
Buy your DFJ T-Shirt, Cap, or Coffee Mug at https://www.dirtfarmerjay.com/shop
The south-facing windows on our home have awnings on them. The summer room temperatures in those rooms are almost impossible to control without the windows being shaded. We love what the awnings do for creature comfort, but we were not pleased with the covering performance or appearance of our awnings.
A common approach for awning coverings is specially treated fabrics meant to resist the sun's ultraviolet (UV) rays - which fade and “sun-rot” the fabric over time. The first coverings we had were a dark gray, but they didn’t last long and the manufacturer replaced it with our choice of a more sun-resistant fabric (even though the first one we had in the original installation was supposed to be). We saw fading and discoloration beginning again after a couple of seasons, and frankly, we didn’t like the striped look - it didn’t go with anything else on the house!
DirtFarmerMaggie suggested we cover them with metal. At first, I thought this was a way too ambitious project, but the more I thought about it, the more it made sense. We were getting the house painted, and white metal awnings would look and perform WAY better than what we had.
Join me as I walk you through the process of “re-skinning” the awnings, and some tips and tricks learned along the way. While we were able to “repurpose” our existing awning frames, you may not have that luxury and need to start from scratch.
If you do, here are some basic dimensions and proportions to remember. First, you want the shade about the top 2/5ths of the window. That means that the bottom edge of both the front and sides of the awning should not rest any more than about 2/5ths of the distance from the top of the window and certainly more than one-half.
Second, you can have the front edge be narrow, or have a skirt along the front (like we did). We think the skirt, which is about 4” tall, looks classy.
Third, the angle the top runs down is about 45 degrees (or for you roof builders - 12/12 pitch).
Fourth, overbuild. Attach skins to the framework with lots of pop rivets where the connection allows and use lots of “metal-building” screws elsewhere. These units are going to be exposed to the elements - including high winds, so make them stout.
Finally, the frames are attached to the house using specialized clips that the awning hangs on, and then the bottom of the sides are drilled into the house. These are not moving!
We are really pleased with how these turned out. Not only do they look fantastic and are extremely durable - but there’s NOTHG like the sound of the rain on them.
Sure, you can have someone do this for you, but why? JUST DO IT YOURSELF!
Buy your DFJ T-Shirt, Cap, or Coffee Mug at https://www.dirtfarmerjay.com/shop
Follow us on Social Media to know when we’re building projects or releasing new episodes!
Instagram: https://www.instagram.com/dirtfarmerj
Facebook: https://www.facebook.com/dirtfarmerjay
You can help support this channel by buying our merchandise or supporting us on Throne or Patreon
-
 LIVE
LIVE
Candace Show Podcast
1 hour agoTrump Drops "F" Bombs On Israel | Candace Ep 205
4,906 watching -
 1:23:50
vivafrei
3 hours agoDid Trump Secure a Cease-Fire Between Israel and Iran? Update on the Canadian Ostrich Farm AND MORE!
71K15 -
 1:16:08
Awaken With JP
2 hours agoThey Know What The F*CK They're Doing - LIES Ep 97
32.8K18 -
 LIVE
LIVE
LFA TV
19 hours agoLFA TV ALL DAY STREAM - TUESDAY 6/24/25
1,404 watching -
 2:13:20
The Quartering
4 hours agoYoutuber Takes Her Own Life Over Harassment, Why Women Are Single, Trans Creep Faces JAIL & More
116K22 -
 LIVE
LIVE
The HotSeat
1 hour agoTrump Keeps Winning — They Keep Whining While America Rises
1,005 watching -
 LIVE
LIVE
StoneMountain64
3 hours agoCasuals > Ranked ... I said it
258 watching -
 3:13:18
Barry Cunningham
4 hours agoPRESIDENT TRUMP IS ANGRY TODAY! CEASEFIRE IS BACK ON AND OTHER NEWS!
35.6K23 -
 1:39:42
Winston Marshall
3 hours agoHistorian Reveals Why Peace Has Been Impossible: Israel & Iran w/ Dr Benny Morris
34.7K7 -
 10:08
10:08
China Uncensored
1 hour agoThe REAL Reason Trump Bombed Iran
5.86K7