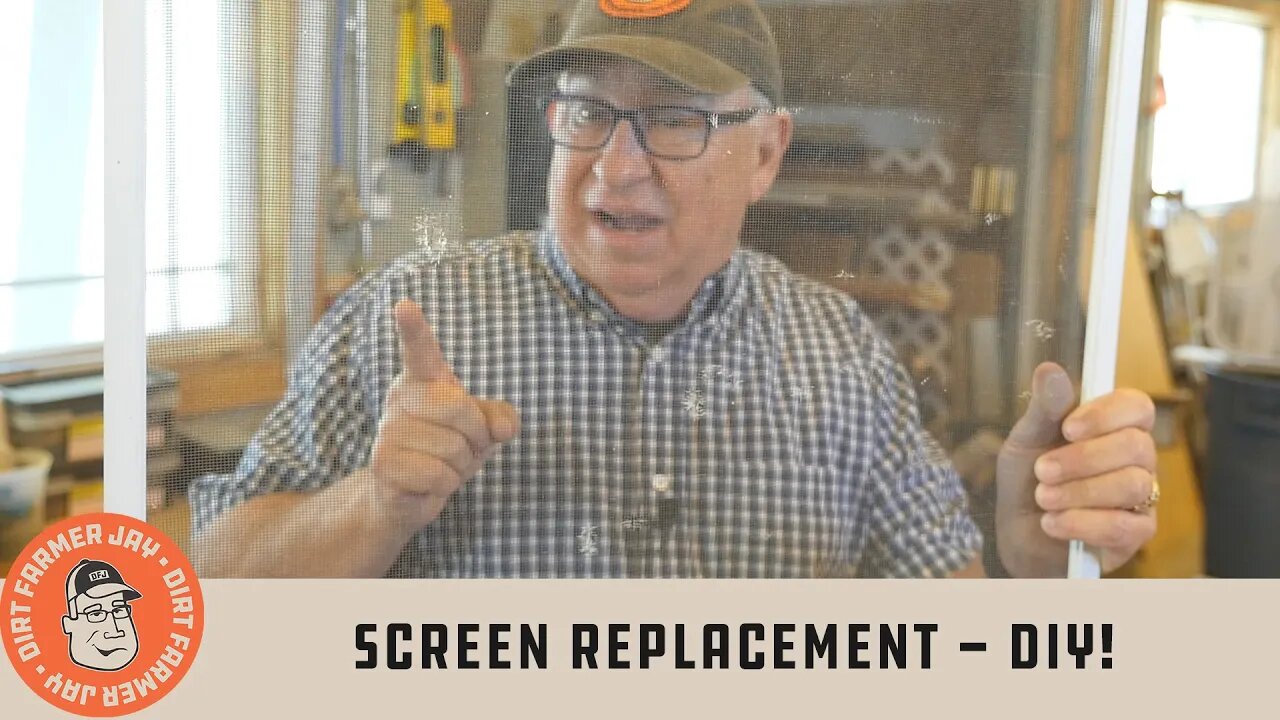
Screen Replacement DIY!
When it comes time to replace or repair window or door screens at your home, you can just do it yourself! The supplies are readily available, and only simple tools are needed.
Buy your DFJ T-Shirt, Cap, or Coffee Mug at https.//www.dirtfarmerjay.com/shop
#screenrepair #screenreplacement
Screen repair or replacement is surprisingly simple and takes only a minimum of tools: a tape measure, hacksaw, masking tape, and needle-nosed pliers. The supplies are easily obtainable at your local home-improvement store. You’ll need replacement screen, screen spline, and a spline roller. If you are also replacing the frame, you’ll need frame stock, corners, tabs, and screen frame tension springs. All of these are easily obtainable and at a very reasonable price.
If at all possible, use the existing frame to measure from. This will reduce measuring errors. If the screen frame is heavily damaged or missing, you’ll need to measure the opening into which the screen will be placed. You will need to subtract about 1/8” top to bottom, and up to ½” side to side to allow the screen room to be placed in the opening, pushed to one side, and fit into the space it will be held in.
If you are using the existing frame, use your needle-nosed pliers to grip the old spline at a beginning point and pull it out carefully. Hold the frame to the work surface as you go to avoid bending the frame or breaking the corners. Once all is cleared out and the screen removed, you are ready to place a new screen, using properly sized spline material.
Cut a piece of replacement screen about 2” oversized both in width and height. Center the screen over the frame and make sure the pattern in the screen is running square to the frame. If you like, you can tape the screen to the work surface along the top edge to resist movement as you begin installing the spline.
Beginning in the lower lefthand corner, press in the spline and work counterclockwise across the bottom and up the righthand side. As you come back across the top, right to left, make sure this is a slight amount of slack in the screen so that when the spline is pressed in, the screen is taut, but not overly tight to either tear the screen or to “hourglass” the frame. In large screens, it’s helpful to place spacers between the top and bottom frame pieces, to resist bowing while the screen is being splined in place.
If the screen frame needs to be replaced, determine the finished screen size and cut the frame pieces to length, shortening each piece by the amount used up by the corner piece. The pieces can be cut using a hacksaw, or even a carbide circular blade on a miter saw. If cutting by hand, be sure to support the frame stock so that it is not distorted when you cut it.
Before assembling the frame with the four corner pieces, be sure to install any frame springs and pull tabs. The frame springs are usually secured by the corners, so don’t get ahead of yourself!
Once the frame is assembled, then you can proceed to install the screen as outlined above. It takes a little practice, and we mean that literally. After working with the materials and the tools only for a bit, you’ll have the process going smoothly with great results, and you’ll enjoy being able to replace or repair window screens easily and economically. Why? Because you JUST DO IT YOURSELF!
Buy your DFJ T-Shirt, Cap, or Coffee Mug at https.//www.dirtfarmerjay.com/shop
Follow us on Social Media to know when we’re building projects or releasing new episodes!
Instagram: https://www.instagram.com/dirtfarmerj
Facebook: https://www.facebook.com/dirtfarmerjay
You can help support this channel by buying our merchandise or supporting us on Throne or Patreon
-
 19:01
19:01
Russell Brand
13 hours agoTheo Von Just SHOCKED EVERYBODY With His Take on Trump Tariffs
94K109 -
 14:22
14:22
Tundra Tactical
7 hours ago $5.07 earnedTRUMP DOJ Decides CZ Scorpion Is A Decepticon.
43.3K15 -
 4:53:37
Culturama Podcast
6 hours ago $4.52 earnedEaster Special! Hollow Knight Stream!
33.3K4 -
 1:04:29
Sarah Westall
9 hours agoThe Philippines and Massive Stores of Gold for all the People of the World w/ Joseph Allain
57.1K43 -
 17:23
17:23
Exploring With Nug
17 hours ago $7.36 earnedCorvette Found Underwater! Continuing The Search For Laresha Walker!
52.4K2 -
 3:06:31
Damysus Gaming
6 hours agoWeaving into the Deep South: South of Midnight First Play! Part 2
12.1K2 -
 24:55
24:55
MYLUNCHBREAK CHANNEL PAGE
13 hours agoDams Destroyed China
72.2K44 -
 5:44:44
BigTallRedneck
7 hours agoFORTNITE - THE QUEST FOR THE OPAL PICKLE
11.8K3 -
 7:05:52
Razeo
10 hours agoEpisode 3: 1st playthrough - Mandragora. What happens when The Pancake King goes eats Waffles?
9.91K -
 1:45:48
Joker Effect
6 hours agoWHY IS EVERYONE SO ANGRY?! Just play on Motherland and have fun! Enjoy life!
8.33K1