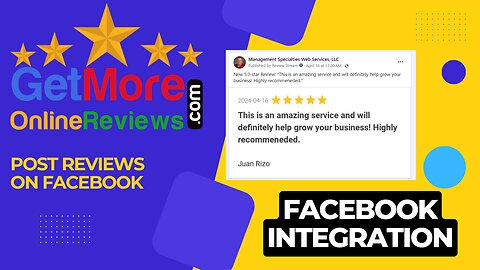
getmoreonlinereviews
Verified
All
Videos
Live
Channels
About
0:59
1:34
1:26
0:50
1:05
1:14
1:22
1:04
2:05
1:00
0:48
1:15
1:40
0:41
1:06
1:51
1:48
1:32
0:50
1:07
2:48
0:13
0:55
1:20
0:36
Rumble logo
Go Ad-Free
Sign In
Sign Up
Go Ad-Free
Home
Browse
Editor Picks
Trending
Shop
Latest
Library
Watch History
Watch Later
Featured Channels
Featured
Badlands Media
5.81K
Price of Reason
4.54K
Bannons War Room
1.02K
NEWSMAX
500
The Official Steve Harvey
101
Lofi Girl
100
Kim Iversen
Friday Beers
tether
Nerdrotic
Athlete & Artist Show
The Rubin Report
Candace Show Podcast
The White House
Roseanne Barr
Barry Cunningham
Ghosts and Grit With Jack Osbourne Podcast
JustKiddingNews
Matt Kim
DeVory Darkins
The Brett Cooper Show
Kimberly Guilfoyle
VSiNLive
The Chris Cuomo Project
Bitcoin Magazine
OutdoorChannelTV
UnchartedX
Taylor Watch
JoBlo Originals
UFC - Ultimate Fighting Championship
UFC Fight Pass
Hannah Barron
The Kirk Minihane Show
Donald Trump Jr.
CAMELOT331
Akademiks
Barstool After Dark
The Why Files
Gia Mariano
Rubbin Is Racing
Phlopperchess
Medical Medium
Dr. John Campbell
Anthony Pompliano
Dr. Anthony M. Criniti IV (aka “Dr. Finance®”)
President Donald J. Trump
SLS - Street League Skateboarding
CartierFamily
Danny Polishchuk
The Jimmy Dore Show
Theme
System Default
Dark Mode
Light Mode