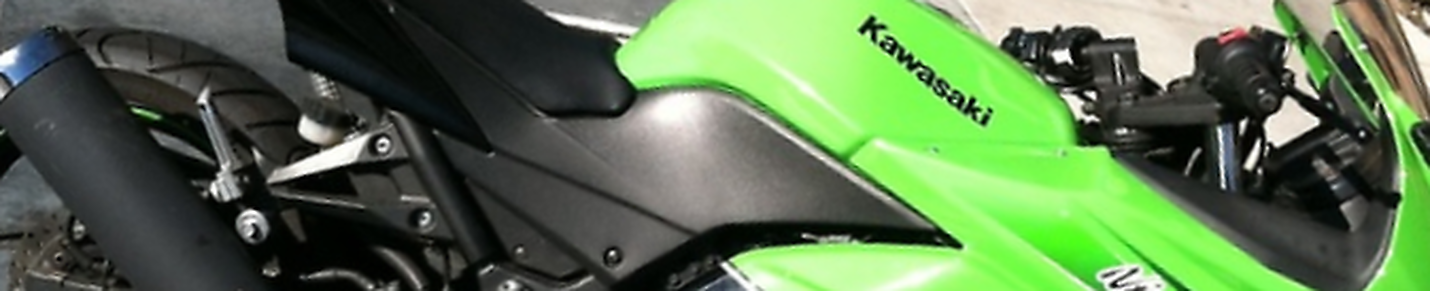
How to Inspect and Adjust Valve Clearance on a 2011 Ninja 250 (Part V)
If you like these videos, and want to see more, support the channel through PayPal or Patreon.
https://www.paypal.com/paypalme/MattGDellinger?locale.x=en_US
https://www.patreon.com/user?u=41261286
Email me directly: mattgd80@sbcglobal.net or joejohnjohnstonn@gmail.com (there are two n's).
Part five of a five part series showing every step of a valve inspection and adjustment on a 2011 Ninja 250. Use the arrow keys on your keyboard to jump five seconds forward or reverse or the "L" and "J" keys to jump ten seconds forward or reverse. Below are links to the four other parts of the series and a table of contents for this fifth video. Click on the numbers in the table of contents to take you to specific sections of the video. Go to the description in part one of this series for a list of special tools you'll need for this job.
Gas Tank Installation (continued) 00:23
Driver Seat Installation 6:11
Coolant Reserve Tank Installation 7:52
Clutch Cable Installation 10:19
Clutch Cable Free Play Adjust 14:11
Coolant Information 16:20
Filling the Primary Cooling System 17:37
Expelling Air from the Cooling System 19:12
Startup 23:48
Filling the Coolant Reserve Tank 26:39
Test Ride 28:26
Radiator Fairing Installation 30:21
Side Fairings Installation 33:55
Side Covers Installation 49:03
5
views
How to Inspect and Adjust Valve Clearance on a 2011 Ninja 250 (Part IV)
If you like these videos, and want to see more, support the channel through PayPal or Patreon.
https://www.paypal.com/paypalme/MattGDellinger?locale.x=en_US
https://www.patreon.com/user?u=41261286
Email me directly: mattgd80@sbcglobal.net or joejohnjohnstonn@gmail.com (there are two n's).
Part four of a five part series showing every step of a valve inspection and adjustment on a 2011 Ninja 250. Use the arrow keys on your keyboard to jump five seconds forward or reverse or the "L" and "J" keys to jump ten seconds forward or reverse. Below are links to the four other parts of the series and a table of contents for this fourth video. Click on the numbers in the table of contents to take you to specific sections of the video. Go to the description in part one of this series for a list of special tools you'll need for this job.
Camshafts Installation (continued) 00:23
Cam Chain Tensioner Installation 7:14
Holder Plate Information 9:26
Engine Timing Confirmation 16:14
Valve Clearance Inspection Results (after adjustment) 19:58
Oiling Lifter Pools 21:15
Timing Plugs Installation 22:23
Cylinder Head Cover Installation 23:35
Right Coolant Reserve Tank Mounting Bracket Installation 32:36
Thermostat Bolts Installation 33:39
Coolant Hose Installation 34:56
Right Engine Mounting Bracket Installation 37:49
Right Ignition Coil Wires Connection 44:34
Sparkplug Caps Installation 45:01
Air Suction Valve Hose Installation 46:49
Radiator Installation 47:43
Battery Reconnection 55:22
Gas Tank Installation 58:01
5
views
How to Inspect and Adjust Valve Clearance on a 2011 Ninja 250 (Part III)
If you like these videos, and would like to see more, support the channel through PayPal or Patreon.
https://www.paypal.com/paypalme/MattGDellinger?locale.x=en_US
https://www.patreon.com/user?u=41261286
Email me directly: mattgd80@sbcglobal.net or joejohnjohnstonn@gmail.com (there are two n's).
Part three of a five part series showing every step of a valve inspection and adjustment on a 2011 Ninja 250. Use the arrow keys on your keyboard to jump five seconds forward or reverse or the "L" and "J" keys to jump ten seconds forward or reverse. Below are links to the four other parts of the series and a table of contents for this third video. Click on the numbers in the table of contents to take you to specific sections of the video. Go to the description of part one of this series for a list of special tools you'll need for this job.
Camshaft Caps Removal (continued) 00:23
Side Cap and Cam Chain Guide Removal 00:40
Cam Shaft Removal 4:18
Exhaust Camshaft Removal 4:55
Intake Camshaft Removal 6:57
Account for the Eight Guide Pins and Two Sparkplug Gaskets 8:15
Lifter Removal (fingers) 8:45
Shim Measurements 13:03
Digital Caliper Information 13:27
Micrometer Information 13:53
Shim Kits and Shim Information 16:08
How to Calculate New Shim Size 18:19
First Shim Installation 20:26
First Lifter Installation 20:56
Molybdenum Disulfide Grease Information 20:56
Second Lifter Removal (magnet) 25:01
Second Lifter Removal (soft jaw pliers) 25:45
Second Shim Installation 26:51
Second Lifter Installation 27:12
Camshaft Installation 27:35
Timing the Engine 32:28
Head Cover Gasket Removal 32:53
Gasket Sealant Information 34:59
The EX and IN Timing Marks 37:37
Head Cover Gasket Installation 38:48
Gasket Sealant Application 38:47
Cam Caps Installation 41:25
Side Cap and Chain Guide Installation 43:35
10
views
How to Inspect and Adjust Valve Clearance on a 2011 Ninja 250 (Part II)
If you like these videos, and would like to see more, support the channel through PayPal or Patreon.
https://www.paypal.com/paypalme/MattGDellinger?locale.x=en_US
https://www.patreon.com/user?u=41261286
Email me directly: mattgd80@sbcglobal.net or joejohnjohnstonn@gmail.com (there are two n's).
Part two of a five part series showing every step of a valve inspection and adjustment on a 2011 Ninja 250. Use the arrow keys on your keyboard to jump five seconds forward or reverse or the "L" and "J" keys to jump ten seconds forward or reverse. Below are links to the four other parts of the series and a table of contents for this second video. Click on the numbers in the table of contents to take you to specific sections of the video. Go to the description in part one of this series for a list of special tools you will need for this job.
If you have trouble positioning the crankshaft, go to my video on "Trouble Positioning the Crankshaft at the 2T position."
Radiator Removal (continued) 00:32
Air Suction Valve Hose Removal 4:55
Sparkplug Caps Removal 5:59
Cylinder #2 Ignition Coil Wires Disconnection 7:21
Right Engine Mounting Bracket Removal 7:45
Coolant Hose Removal 15:16
Thermostat Bolts Loosening 16:49
Right Coolant Reserve Tank Mounting Bracket Removal 17:47
Cylinder Head Cover Removal 18:30
Three Steps to Remove the Cylinder Head Cover 22:42
Notes about Engine Top End Accessibility 25:52
Timing Plugs Removal 28:08
Direction of Normal Engine Rotation 29:57
Showing How the Cam Lobes Open the Valves 30:41
Inspecting Valve Clearance on Cylinder #1 31:29
Feeler Gauge Information 34:24
Inspecting Clearance on Leftmost Intake Valve on Cyl #1 36:17
Printing Out Valve Clearance Record Sheet 37:35
Inspecting Valve Clearance on Cylinder #2 38:43
Valve Clearance Inspection Results (before adjustment) 41:01
Valve Clearance Explanation and Diagrams 41:16
Camshaft Removal 41:44
Three Things to Do Before Removing the Camshafts 42:09
Cam Chain Tensioner Removal 44:22
Five Rules for the Cam Chain Tensioner 44:34
Camshaft Caps Removal 50:33 (continued in part 3)
13
views