Old Is Gold
310 Followers
Verified
Follow
All
Videos
Live
About
14:51
20:54
21:48
15:19
22:00
18:44
24:43
9:31
31:16
14:55
27:03
22:57
20:35
12:09
35:35
8:36
14:11
20:33
20:27
8:35
10:48
28:07
23:55
17:51
9:17
1
2
3
4
...
20
Prev
Next
Rumble logo
Sign In
Sign Up
Home
Browse
Editor Picks
Trending
Shop
Latest
Library
Watch History
Watch Later
Featured Channels
Featured
NEWSMAX
528
Lofi Girl
63
Price of Reason
Russell Brand
Pop Culture Crisis
JustPearlyThings
UnchartedX
Winston Marshall
The Official Steve Harvey
SLS - Street League Skateboarding
vivafrei
Geeks + Gamers
JoBlo Originals
Ben Shapiro
Steven Crowder
The Rubin Report
The StoneZONE with Roger Stone
The Osbournes
VSiNLive
The Brett Cooper Show
Bare Knuckle Fighting Championship
Dr. Drew
Donald Trump Jr.
SB Mowing
Roseanne Barr
VINCE
Vivek Ramaswamy
Anthony Pompliano
Breaking Points
Donald J. Trump
Dr Disrespect
Iggy Azalea
Candace Show Podcast
The Sage Steele Show
Tucker Carlson
Drew Hernandez
Bitcoin Magazine
Devin Nunes
DeVory Darkins
Redacted News
Stephen Gardner
CAMELOT331
Adam Carolla
The White House
Major League Fishing
Bitcoin.com
Darkhorse Podcast
Bannons War Room
Barry Cunningham
Daily Caller News Foundation
Theme
System Default
Dark Mode
Light Mode


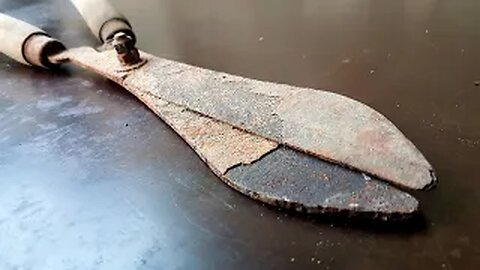
![Scissors Restoration [ With Amazing Hand Embroidery ]](https://1a-1791.com/video/s8/1/7/M/f/o/7Mfoq.oq1b.2-small-Scissors-Restoration-With-A.jpg)