Premium Only Content

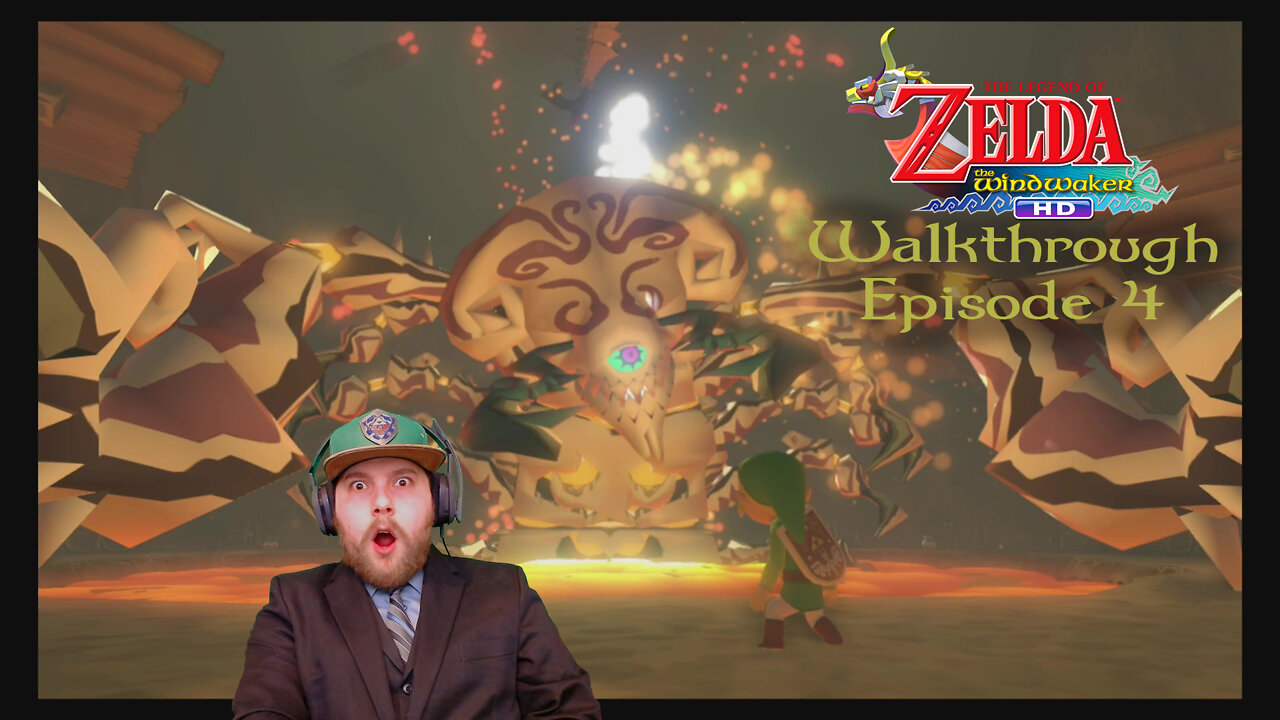
The Legend of Zelda: Wind Waker HD - Walkthrough - Episode 4 (Dragon Roost Cavern)
This episode, I guide the audience through Dragon Roost Cavern and demonstrate the mechanics of the Windfall Night Auction. In this series, I am guiding the audience through the Wii U video game "The Legend of Zelda: Wind Waker HD". I really hope you enjoy it! (I would appreciate any constructive criticism in the comments.) What did you think of this video? What would you like to see more/less of?
Wind Waker HD Episode 4 Timestamps of Note:
0:00:00 - Start of the Video
0:00:49 - Greetings and Walkthrough Intro
0:01:20 - Obtaining Dragon Roost Cavern Small Key #1
0:02:25 - Main Hub Lava Room
0:03:33 - Water Jugs Aplenty
0:03:47 - Obtaining the Dragon Roost Cavern Dungeon Map
0:04:41 - The Ambush Room
0:05:12 - Obtaining Dragon Roost Cavern Small Key #2
0:05:38 - Throwing Stuff at Bombs (Always a Good Idea)
0:06:27 - Burning Beams
0:07:12 - Outside, at last!
0:08:50 - Block Staircase/Secret Tunnel Room
0:09:49 - Merchant Mice
0:11:13 - Obtaining the Dragon Roost Cavern Compass and Small Key #3
0:12:05 - Back Outside
0:12:17 - Obtaining Dragon Roost Cavern Small Key #4
0:12:49 - Darker Than My House During a Power Outage
0:13:28 - Obtaining a Joy Pendant from a Chest
0:13:46 - Bombing the Second Teleportation Pot
0:14:17 - Hide 'n' Seek with the Bokoblin Buddies
0:15:07 - Obtaining Treasure Chart #39
0:15:46 - More Water Jugs
0:16:32 - De-Rocking the Third and Final Teleportation Pot
0:17:24 - Ah, fresh air!
0:17:53 - Finding Medli
0:18:11 - Monster Massacre
0:18:44 - Reuniting with Medli and Obtaining the Grappling Hook
0:20:46 - Finding the Dragon Roost Cavern Big Key
0:25:31 - The Dragon Roost Cavern Big Key Room
0:25:34 - Obtaining the Dragon Roost Cavern Big Key
0:26:21 - Returning to the Boss-Room-Adjacent Room
0:27:49 - I love jugs!
0:28:01 - Continuing to the Boss-Room-Adjacent Room
0:28:52 - Making a Quick Detour to Get Another Treasure Chart
0:29:44 - Obtaining Treasure Chart #11 (Piece of Heart)
0:30:08 - Backtracking to the Boss-Room-Adjacent Room
0:31:22 - Obtaining Our First Knight's Crest
0:32:04 - Clumsy's Fairy Catching Guide
0:33:06 - Dragon Roost Cavern Boss - Gohma
0:36:09 - Obtaining Heart Container #2
0:36:28 - Recieving Thanks from Medli, Valoo, and Komali and Obtaining Din's Pearl
0:39:21 - Obtaining the "Wind's Requiem"
0:41:31 - Tying Up Loose Ends on Dragon Roost Island
0:44:05 - The Carl Exposition Hour with Clumsy Ninja Guy
0:45:08 - Obtaining the Dragon Roost Island Sea Chart
0:48:27 - Obtaining the Pawprint Isle Sea Chart
0:50:10 - Obtaining the Windfall Island Sea Chart
0:51:36 - Learning the "Song of Passing" from Tott
0:54:56 - Letter from Kashiko (Baito's Mother) (Obtaining Piece of Heart #5)
0:55:45 - Windfall Island Night Auction
1:00:08 - Windfall Island Night Auction (Obtaining Piece of Heart #6)
1:03:26 - Plans for Next Episode
1:03:46 - Annoying YouTuber Calls to Action
1:04:26 - Financial Supporter Benefits Lists (End of Video)
Links for anyone interested in supporting me financially:
Subscribestar: https://www.subscribestar.com/clumsyninjaguy
Patreon: https://www.patreon.com/clumsyninjaguy
Silent Film Title Card Vectors by Vecteezya
https://www.vecteezy.com/free-vector/silent-film
Music in this episode:
"Local Forecast - Slower"
"Work is Work FX"
"Scheming Weasel - Faster"
"Fluffing a Duck"
"Happy Alley"
"Look Busy"
"Club Seamus"
"Overworld"
"Adventure Meme"
"The Show Must Be Go"
"Comic Hero"
"March of the Spoons"
"Jerry Five"
"Sneaky Snitch"
and
"Jaunty Gumption" Kevin MacLeod (incompetech.com)
Licensed under Creative Commons: By Attribution 3.0
http://creativecommons.org/licenses/by/3.0/
"Secret Tunnel" by The "Avatar, The Last Airbender" Team
and
"Ominous" by Anthony Marquis
-
 LIVE
LIVE
The HotSeat
35 minutes agoWhy Christians Should Lead With Grace, Not Condemnation | Where's JOY?
208 watching -
![[Ep 712] Art of the Deal on Steroids – Trump Trade Wins! | Fed Reserve Building Fraud & Lies](https://1a-1791.com/video/fww1/4e/s8/1/i/U/W/4/iUW4y.0kob.2-small-Ep-712-Art-of-the-Deal-on-S.jpg) UPCOMING
UPCOMING
The Nunn Report - w/ Dan Nunn
45 minutes ago[Ep 712] Art of the Deal on Steroids – Trump Trade Wins! | Fed Reserve Building Fraud & Lies
8 -
 1:34:28
Russell Brand
4 hours agoTrump Accuses Obama of TREASON, Calls For CRIMINAL Charges - Epstein Deflection? - SF619
144K51 -
 LIVE
LIVE
Jeff Ahern
1 hour agoNever Woke Wednesday with Jeff Ahern
122 watching -
 6:09
6:09
Rena Malik, M.D.
6 hours ago $0.23 earnedKidney Cancer Symptoms, Diagnosis and Treatment
3.05K4 -
 27:05
27:05
IsaacButterfield
10 hours ago $0.29 earnedThis Vegan Comedian Absolutely Lost Her Mind
3.26K4 -
 1:43:29
Tucker Carlson
6 hours agoHow Wall Street & the FBI Colluded to Destroy Trevor Milton After His Tech Threatened Big Oil
79.3K47 -
 1:03:40
Sean Unpaved
3 hours agoBrown's QB Battle, Indy's Offense, & RedZone's Hot Sale
38.4K -
 1:43:31
The White House
3 hours agoPress Secretary Karoline Leavitt Briefs Members of the Media, July 23, 2025
36.3K20 -
 LIVE
LIVE
RalliedLIVE
3 hours ago $1.04 earned10 WINS WITH THE SHOTTY BOYS
109 watching