CPX1 Faceplate
An announcement video showing you how you can have a customized CPX1 face plate for your 2GIG GC2 control panel.
The 2Gig GC2 control panel will have the ability to extend your brand. You can order a face plate cover with your logo or picture on it that will easily attach to your control panel.
The GC2 panel has a new, sleek design that will attract attention for it’s beauty as well as it’s functionality. Now, it also comes with customized face plates. You can add your company logo, photo of your kids or dogs or even yourself!
This ability will enable your company to extend its brand in the security marketplace. Anywhere your company or organization installs the GC2 panels, you can be assured that your brand will be there. This not only adds credibility but also helps advertising, word of mouth spread from, and reliability to, the end user.
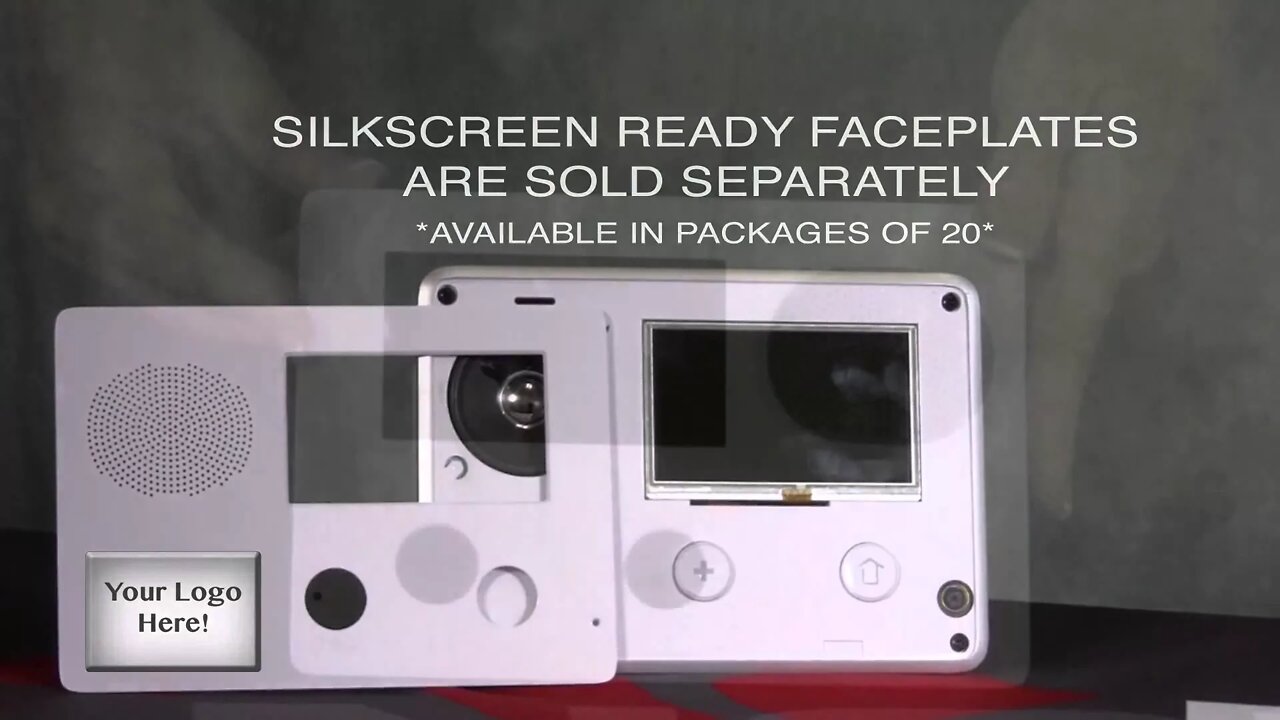
As our video explains, you also have the ability to order the GC2 unit without a face plate and separately order a CPX1 face plate to customize the unit yourself. The face plates are silkscreen ready, sold separately and come in packs of 20.
They ship ready for you or your company’s cutomization. To install the customized face plate, as you will see in our video, you simply peel and stick. Ensure that the mounting surface is free from debris and oils or grease. Thoroughly dry the mounting surface on the GC2 control panel unit and peel off the adhesive backing.
This will expose the adhesive on the face plate. Do not remove the adhesive backing until you are ready to mount the face plate to the control panel. Align the face plate with the panel ensuring that it lines up correctly. Our video will show you the proper procedure.
Firmly press the face plate, as the video shows, onto the unit taking extra care to press along all the edges, around the openings and in the corners.
Warning: The adhesive is a single use adhesive. If the alignment is not correct the face plate must be removed and discarded. Take extra care to align the face plate the first time. In the event of a misalignment, completely remove the face plate and scrape off the adhesive.
Once the GC2 unit mounting surface is clean and dry, you can make the attempt again using a new face plate. Follow the video procedures to ensure the mounting is secure and aligned.
With the face plate installed you are ready to mount the GC2 control panel and the rest of the security system. Your customized unit will now extend your brand and leave a lasting impression on your clients and end users.
The face plates are durable, clean easily with a damp towel and will last for years under normal circumstances. You can take pride in your installations and your customers will feel secure knowing your company has done a professional job.
-
 10:19
10:19
Alarm Grid Home Security DIY Videos
1 year agoPROA7 or PROA7PLUS: Awareness Zone Types
32 -
 5:33
5:33
The American Cyanide Show
4 years agoFaceplate for the Ages
13 -
 37:32
37:32
Electronicles
4 years ago010 - Sony TC-WR535 tape deck fixed after 7 years in pieces, it lives again!
43 -
 17:51
17:51
Retro Repair Guy
4 years agoRestoring a 1977 Vintage Audio Amplifier | Retro Repair Guy Episode 2
200 -
 9:24
9:24
Discount Vape Pen
4 years ago $0.01 earnedOoze Duplex Dual Extract Vaporizer Review
2.79K -
 LIVE
LIVE
FusedAegisTV
19 hours agoHollow Knight Silksong Waiting Room ~~ pt. I
70 watching -
 8:37
8:37
Warren Smith - Secret Scholar Society
7 hours agoJesse Lee Peterson EXPOSES How Stupid David Pakman Really Is
19.3K11 -
 44:44
44:44
Scammer Payback
9 hours agoCrazy Confrontation with Hacked Scammer Group
14.5K3 -
 1:09:00
vivafrei
4 hours agoKamala Harris Security Being "Pulled"? Kilmar Wants Trump Admin GAGGED! Fake News GALORE & MORE!
70.5K35 -
 1:33:32
The Quartering
6 hours agoContest Winners Picked, More Trans Attacks, SNL Collapsing, Raja Jackson STILL Not Arrested!
207K173