Honeywell VISTA: Adding New Keypads, Enabling New Addresses
This video tutorial covers how to add new keypads to your existing system, and explains the benefits of doing so.
Honeywell VISTA 21iP: http://alrm.gd/honeywell-vista-21ip
Honeywell VISTA 20P: http://alrm.gd/honeywell-vista-20p
Honeywell VISTA 20P: http://alrm.gd/honeywell-vista-15p
Get Monitored: http://alrm.gd/get-monitored
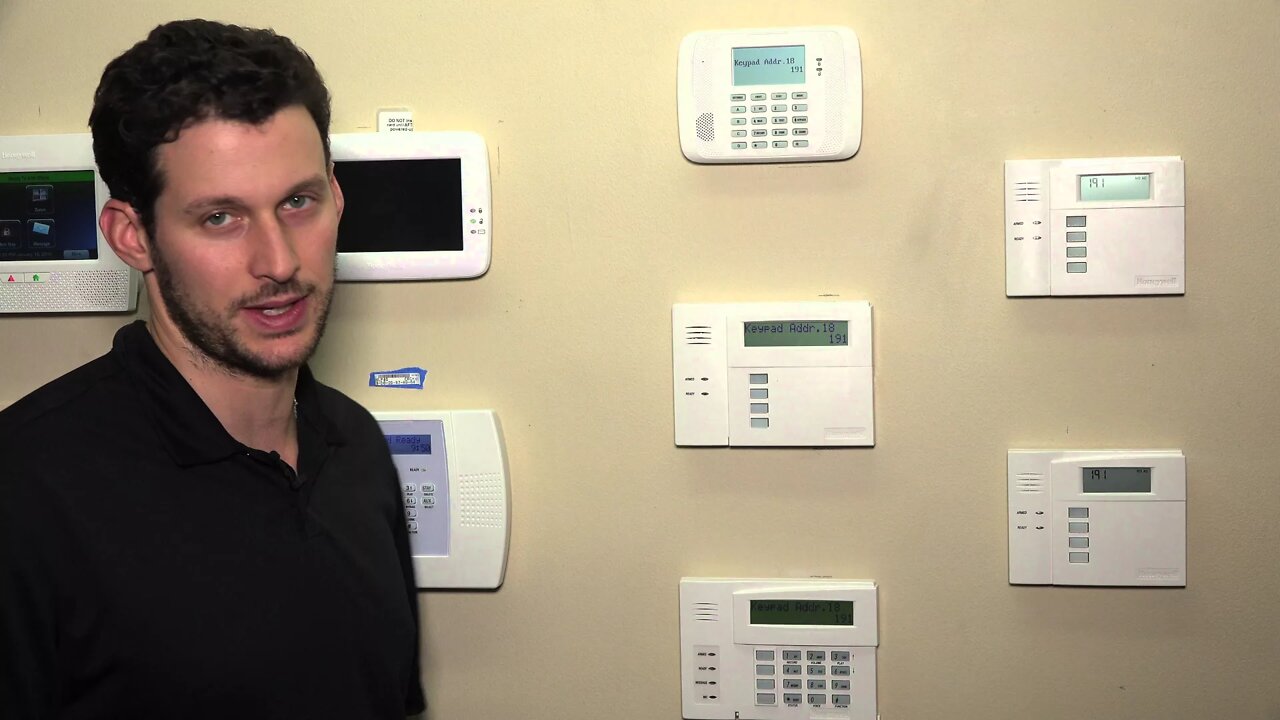
Your home security system can be easily expanded and upgraded to fit the size and needs of practically any location. If you have a larger space, multiple floors or numerous entry points, you might want to connect multiple keypads to your system. This video tutorial details how to add new keyboards and enable new addresses for the Honeywell VISTA security system.
When your alarm system is armed, you need to input your Master Code into the control panel. The system will have a delay between the entry breach and alarm activation. If your control panel is near your front door (or another primary entry point) then reaching the control panel quickly is probably no big deal.
But what if you have two entry points on opposite sides of the location? What if a flight of stairs or other features makes reaching the control panel difficult? Adding additional control panels is often an effective solution.
The control panels themselves are relatively inexpensive. Plus, you already have the working sensors set up throughout the location. All you have to do is power up the new keypads and connect them to the system.
Every new sensor needs to be addressed to the system. This opens up the line of communication between the keypad and the alarm system. Addresses are numbered within the alarm system starting at number 16.
New keypads are pre-set at number 31. This isn’t a number which can be recognized by the alarm system. Instead, the address must be set to an accepted number.
We recommend adding your first keypad to the default address of 16. Then add each subsequent key pad to 17, 18 and so on. This helps the keypads organized within the system.
The video shows you the steps for adding new keypads. You need your system’s installer code. The default code is 4112. From there you’ll enter *190 to access address 17. From there you’ll need to make two selections.
First, you’ll need to tell the system what partition the keypad should be added to. Partitioning is a way to use one keypad across multiple alarm systems. Most alarm systems use just one partition, so you’ll want to keep everything on Partition One.
Next, you’ll select the type of sound suppression you want. There are four options. The keypad can beep and chime, chime without keypad beeps, beep without chimes, and make no sound at all. The video shows you how to set both sound suppression type and partition.
Adding more than one keypad is an easy way to increase the reach of your alarm system. If you need to cover multiple entry points, or handle other location-specific issues, addressing new keypads can be the perfect solution.
-
 6:05
6:05
Alarm Grid Home Security DIY Videos
1 year agoPROA7 or PROA7PLUS: Using Lyric Sensors
22 -
 6:23
6:23
Alarm Grid Home Security DIY Videos
4 years ago $0.01 earnedHoneywell Home PROA7PLUS: Adding a Z Wave Lock
12 -
 2:12
2:12
KJRH
3 years agoMuskogee County Adding New Jobs
7 -
 4:59
4:59
Alarm Grid Home Security DIY Videos
4 years ago $0.01 earnedHoneywell VISTA System: Factory Defaulting
28 -
 1:23
1:23
LizzyNizex
3 years agoLizzy CRM - Adding a New Contact
22 -
 24:08
24:08
ChristopherTaylor
3 years agoAdding new fish to the tank.
22 -
 2:11
2:11
AfricanNewsAgency
3 years agoMalema addresses supporters
7 -
 0:05
0:05
Pinili
3 years agoAdding 3D
19 -
 2:10
2:10
AfricanNewsAgency
3 years agoMalema addresses supporters (1)
1 -
 0:13
0:13
Travels of Epic Proportions
3 years agoRock Creek Vista
15