2GIG GC3: Adjust Entry/Exit Delay Periods
Delay periods allow you to enter and exit the house without disrupting the alarm system. Here’s how to select entry/exit delay periods.
2GIG GC3: http://alrm.gd/2gig-gc3
Get Monitored: http://alrm.gd/get-monitored
A secure home doesn’t need to be a hassle to live in. Nobody wants to race between the door and the alarm panel. Fortunately, adjusting the entry/exit delay period is easy. Our video has everything you need to know.
When a door opens in the house, an alarm code must be entered into the system within a set amount of time. This delay period doesn’t need to be so short that you feel like you’re racing against the clock, but you also don’t want to leave your house needlessly unguarded.
The exact delay period for your household will vary based on the location of your doorways in relation to your control panel. Aside from the external doors of your house, you can also attach a sensor to a garage door.
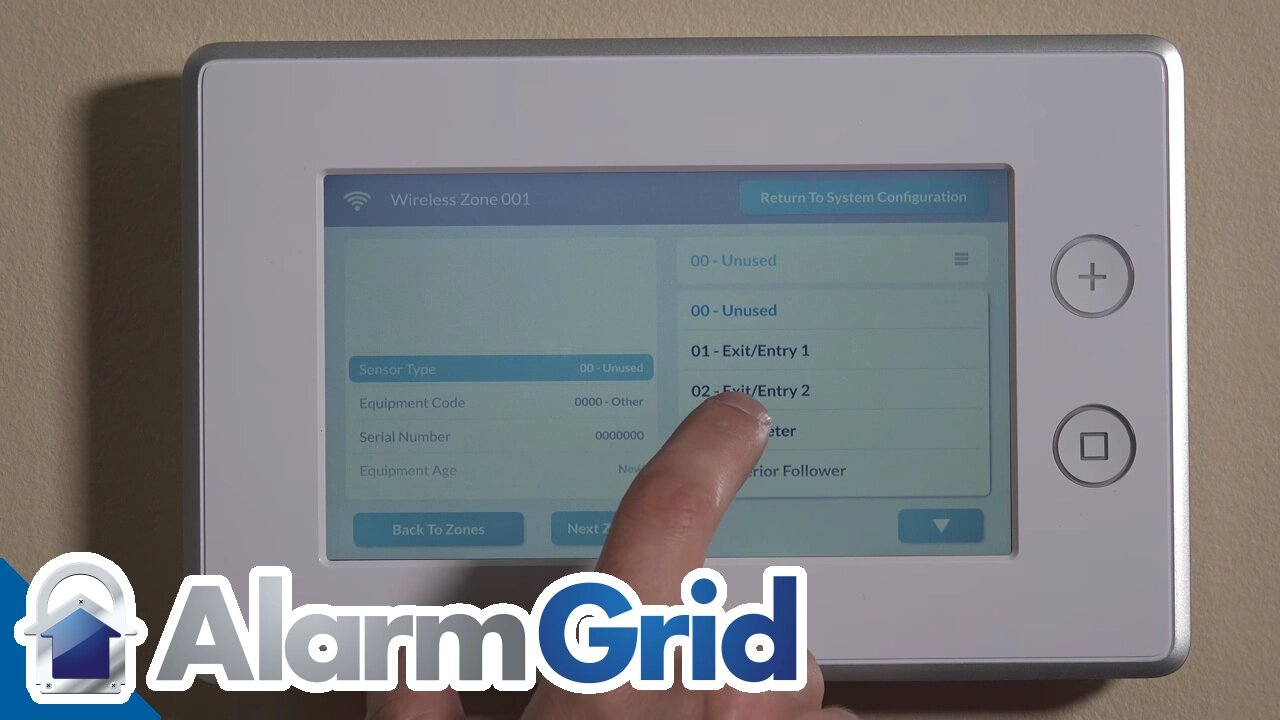
The GC3 has three delay periods you’ll want to set: Entry Delay 1, Entry Delay 2 and Exit Delay. Each entry delay is associated with a separate door, such as a front door and a side door. The exit delay is a global setting which affects both doors.
The exit times can be set between 45 and 120 seconds. This is usually more than enough time to arm the system and then walk out the door. The default time is set at 60 seconds. The video shows you how to increase or decrease the time.
Entry times for either door can be set between 30 and 240 seconds (which is four minutes). If the control panel is near your door, a short entry time will probably be all you need. Longer times are necessary if the control panel is far away from one or more doors. Note you don’t have to set both entry times for the same duration.
Keep in mind you want entry delay periods to be as short as comfortably possible. If an intruder enters your home, you don’t want to provide enough time for them to potentially tamper with the control panel.
The default time is 30 seconds, which we recommend for the main entry point. Entry Delay 2 might need to be longer, especially if this entry point is in a garage where you have to account for exiting a vehicle.
The video walks you through the steps for setting each delay period. You’ll hit the 2GIG logo in the upper right corner of the home screen. After entering your Installer Code, you’ll be taken to the Installer Toolbox. As the tutorial shows, you’ll adjust delay times through Q4, Q5 and Q6 in the Panel Programming section.
Any changes to delay periods need to be saved before they’ll be implemented. Our tutorial will guide you through the saving process. Plus, we’ll show you how to confirm your delay settings for each zone.
The right delay period keeps your house secure while still letting you comfortably walk in and out of the door.
-
 4:37
4:37
Alarm Grid Home Security DIY Videos
2 years agoQolsys IQ Panel 4: Change the Master Code
34 -
 LIVE
LIVE
Badlands Media
8 hours agoBaseless Conspiracies Ep. 156
12,164 watching -
 LIVE
LIVE
Inverted World Live
3 hours ago700 Scientists and Faith Leaders Warn About Super-Intelligent AI, "Time is Running Out" | Ep. 130
2,993 watching -
 LIVE
LIVE
TimcastIRL
2 hours agoFOOD STAMPS OVER, Ending Nov 1, Food RIOTS May Spark Trump INSURRECTION ACT | Timcast IRL
7,235 watching -
 2:18:46
Tucker Carlson
3 hours agoTucker Carlson Interviews Nick Fuentes
39.6K181 -
 LIVE
LIVE
Drew Hernandez
12 hours agoCANDACE OWENS CALLS CHARLIE KIRK STAFF INTO QUESTION?
1,107 watching -
 47:03
47:03
Barry Cunningham
5 hours agoPRESIDENT TRUMP MEETS WITH THE PRIME MINISTER OF JAPAN!! AND MORE NEWS!
22.4K17 -
 LIVE
LIVE
Flyover Conservatives
21 hours agoThe Dollar Devaluation Playbook: Gold, Bitcoin… and the “Genius Act” - Andy Schectman | FOC Show
571 watching -
 LIVE
LIVE
SpartakusLIVE
5 hours agoWZ Tonight || Battlefield 6 BATTLE ROYALE Tomorrow!
129 watching -
 LIVE
LIVE
megimu32
2 hours agoON THE SUBJECT: Halloween Nostalgia! LET’S GET SPOOKY! 👻
61 watching