Premium Only Content

2GIG GC3 or GC3e: Properly Replacing a Bad Sensor
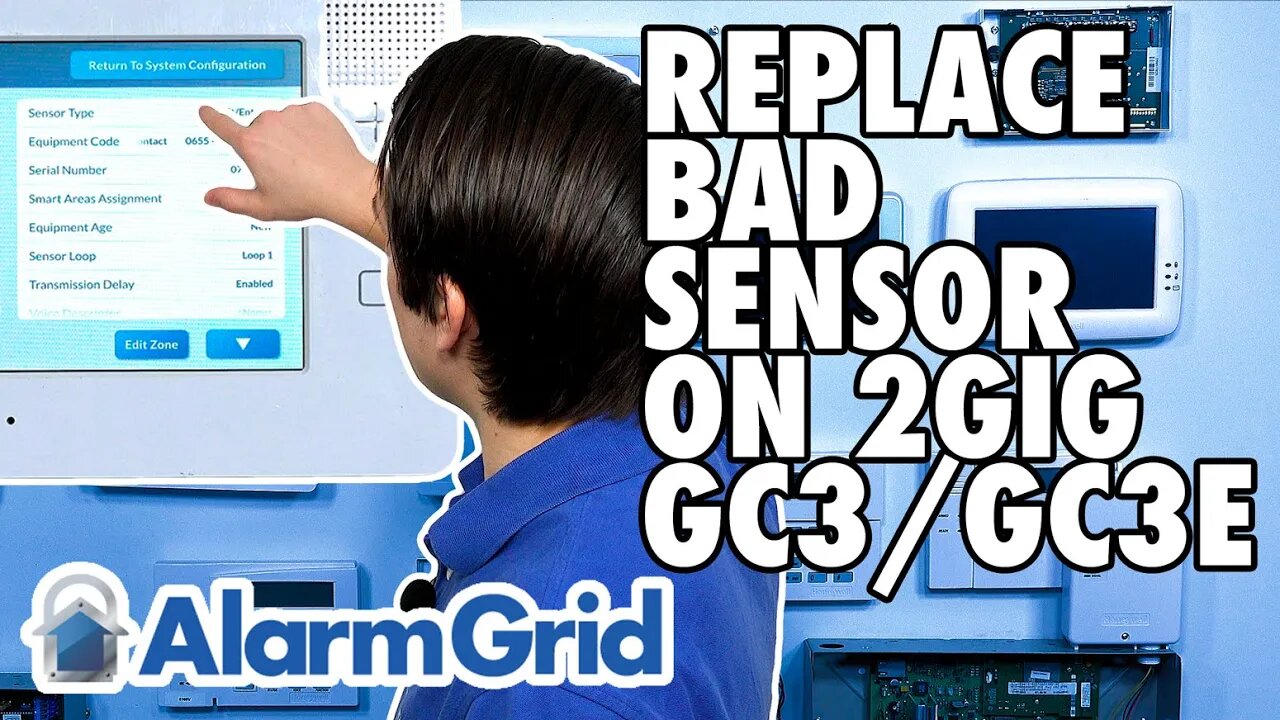
In this video, Jarrett from Alarm Grid shows you how to properly replace a bad sensor on a 2GIG GC3 or 2GIG GC3e. This process involves clearing the wireless zone entirely and then reprogramming the zone from scratch. A user will typically find that if they just delete the old Serial Number from the sensor being replaced and then enter the Serial Number for the new sensor, then they will get a "bypassed at device" error for the zone.
Any user who needs to replace a sensor on their GC3 or GC3e should clear out the zone and then reprogram the zone from scratch. While this does require more time, it will save you trouble by not encounter the "bypassed at device" status. This condition results in the sensor being ignored by the system and the system not taking any action when the sensor is faulted. While the "bypassed at device" condition is what we have seen, it's possible that other abnormal zone status messages or zone responses may appear when a sensor is not properly replaced. After replacing a sensor, you should test the newly enrolled one to ensure that the system responds in the proper manner.
Both the 2GIG GC3 and 2GIG GC3e follow the same general programming steps. But there are some things to keep in mind when programming sensors. First, you will need the Installer Code for the system to enter programming so that you can delete zones and set up new ones. The default Installer Code on a GC3 or GC3e is 1561, and we recommend keeping the code at the default so that you do not become locked out of programming later on. Second, remember that using the correct Equipment Code is extremely important when you are enrolling 2GIG eSeries Encrypted Sensors on a 2GIG GC3e. Failing to use the proper code can result in issues.
https://www.alarmgrid.com/faq/how-do-i-properly-replace-a-bad-sensor-on-my-gc3-or-gc3e
-
 6:05
6:05
Alarm Grid Home Security DIY Videos
2 years agoPROA7 or PROA7PLUS: Using Lyric Sensors
23 -
 23:42
23:42
The Kevin Trudeau Show Limitless
1 day agoThe Brotherhood’s Ancient Mirror Code Revealed
1.62K2 -
 11:21
11:21
Degenerate Jay
1 day ago $1.61 earnedSilent Hill's New Movie Could Be A Bad Idea...
2.18K2 -
![[Ep 801] Dems Setup & Disgusting Response to DC Tragedy | Giving Thanks With Rush](https://1a-1791.com/video/fwe2/79/s8/1/2/t/F/D/2tFDz.0kob-small-Ep-801-Dems-Setup-and-Disgu.jpg) LIVE
LIVE
The Nunn Report - w/ Dan Nunn
2 hours ago[Ep 801] Dems Setup & Disgusting Response to DC Tragedy | Giving Thanks With Rush
184 watching -
 20:23
20:23
Neil McCoy-Ward
4 hours ago🚨 She Wasn’t Ready for This (TOTAL PUBLIC HUMILIATION!)
9.54K7 -
 18:46
18:46
ThinkStory
1 day agoIT: WELCOME TO DERRY Episode 5 Breakdown, Theories, & Details You Missed!
14.9K -
 2:23:05
Badlands Media
12 hours agoBadlands Daily – Nov. 27, 2025
113K34 -
 LIVE
LIVE
FusedAegisTV
6 hours agoFUSEDAEGIS | They Put A Freakin' Blue Mage In THIS | Expedition 33 PART V
194 watching -
 1:16:04
Rebel News
4 hours agoHealth-care collapsing, Bloc says Quebec sends Alberta $, US Ambassador's advice | Rebel Roundup
19.5K20 -
 1:44:03
The Shannon Joy Show
4 hours agoThe BEST Of Shannon Joy 2025! Special Thanksgiving Holiday Compilation
25.4K