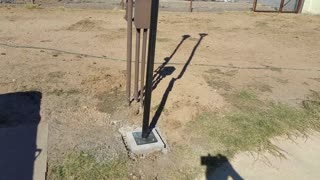
What is this pole for? Part 2
Enjoyed this video? Join my Locals community for exclusive content at
familyfriendlygaming.locals.com!
2 years ago
28
Family Friendly Gaming (http://www.familyfriendlygaming.com/) is pleased to share this video for What is this pole for? Part 2.
Want to help Family Friendly Gaming?
http://www.familyfriendlygaming.com/How-you-can-help.html
Loading comments...
-
 0:14
0:14
FamilyFriendlyGaming
2 years ago $0.01 earnedWhat is this pole for?
261 -
 6:44
6:44
LearnRumble
2 years ago $0.01 earnedSay What!! DuckDuckGo- Part 1
137 -
 1:50
1:50
potterfarm
2 years ago $0.01 earnedLight pole and solar light Part 2
43 -
 0:40
0:40
Brandon News Network
2 years ago $0.02 earnedWHAT LEADERSHIP LOOKS LIKE PART 1
84 -
 1:40
1:40
Brandon News Network
2 years ago $0.02 earnedWHAT LEADERSHIP LOOKS LIKE, PART 2
1371 -
 1:15:27
JoBlo Originals
22 hours agoFriday Night Flicks!
42.8K7 -
 1:00:41
Trumpet Daily
1 day ago $6.79 earnedJoe Biden’s Demeanor Is ‘Not of This Earth’ - Trumpet Daily | July 5, 2024
63.7K92 -
 12:05
12:05
Space Ice
1 day agoStar Wars The Acolyte Is So Good The Fans Failed The Critics - Best Movie Ever
58K96 -
 30:57
30:57
Degenerate Plays
1 day agoDid Gaming Peak Back Then? - Stellar Blade : Part 6
62.1K -
 8:03
8:03
Kicking Mustang
1 day ago $1.68 earnedUsing my Ghillie Suit to Sneak Attack Clueless Enemies..
60.7K14