Premium Only Content
This video is only available to Rumble Premium subscribers. Subscribe to
enjoy exclusive content and ad-free viewing.

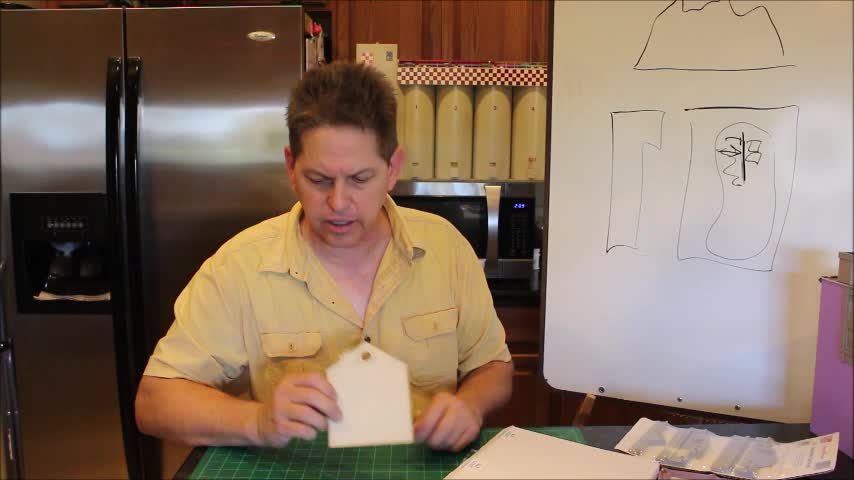
O gauge Train layout basics From start to finish, Part 2
4 years ago
101
Lionel Train Trains Legacy MTH Premier Empire Rail King
O gauge scale Layout Crane Boxcar Engine locomotive
Bridge explosion Mine Ore
ZW 773 Fire tunnel GP-7
GP-20 GG1 Fastrak repair electric toy old shay layout accidents hudson postwar
big boy standard
neil young prewar tinplate model railroad Miller engineering
open box unboxing Techniques city canyon hill terrain Modeling DIY
O gauge Train layout basics From start to finish, Part 2, O gauge buildings. This video has information for the beginner starting out into the O gauge train hobby.
Loading comments...
-
 17:50
17:50
All about All kinds of Trains
4 years agoO gauge Train layout basics From start to finish, Part 1
461 -
 20:50
20:50
All about All kinds of Trains
4 years agoO gauge Train layout basics From start to finish, Miller Engineering neon signs Part 3
88 -
 9:33
9:33
rcmortyhobbies
4 years agoHo train layout update
731 -
 9:33
9:33
rcmortyhobbies
4 years ago $0.02 earnedHo train layout updates
581 -
 9:35
9:35
ViralHog
4 years ago $0.08 earnedFailed SpaceX SN9 From Start to Finish
6454 -
 3:27
3:27
KJRH
4 years agoCloudy Start, Some Sun to Finish
60 -
 0:04
0:04
Christina Renee Animal Art
4 years agoQuick Change Clay Art from Start to Finish
92 -
 2:02:57
Badlands Media
11 hours agoBadlands Daily: 12/4/25
32.2K6 -
 2:14:23
Matt Kohrs
14 hours agoLive Trading Stock Market Open (Futures & Options) || The Matt Kohrs Show
32K -
 2:59:21
Wendy Bell Radio
7 hours agoEnemy of the State
58.8K80