My DIY Mini Wooden Risers
I love risers! I’ve made risers (runners) before but never small ones I could use in my tiered trays or other small scaled decorating. Check out how easy these are to put together!
Supplies I Used for my DIY Wooden risers
E6000 craft glue
Hot Glue gun and glue
Dixie Belle Black Wax and clean rag
American white acrylic craft paint
Paper plate
FIRST RISER: BIRCH
1 birch coaster approximately 4″ in diameter
3 or 4 medium birch discs
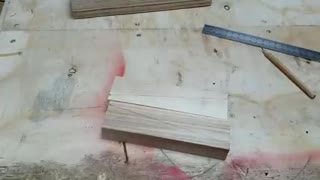
SECOND RISER: RECTANGLE
2 plywood rectangles
Wooden beads: I used leftover beads from a unfinished sign for this riser
4 doll pin stands
THIRD RISER: ROUND
2 plywood circles
Wooden beads:
4 medium birch discs
I love Brooke Riley of ReFabbed crafts, style and personality!
And I hope someday to get to meet her.
But to be honest, I try so hard to stay away from other crafters, because I want to come up with my own ideas!
However, when I saw this, I had to give it a try and then I thought, I can put my own twist on it!
Be sure to check out Brooke’s version and let her know I sent ya! Click here!
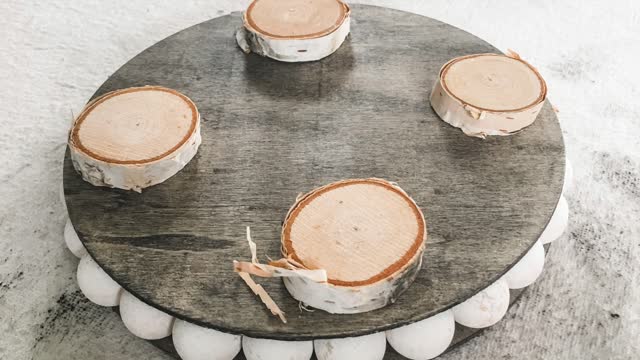
MY BIRCH WOODEN RISER
This riser has to be the easiest of them all!
Once I found the diameter of birch cutout I wanted to use, I looked through my birch discs and found three of similar heights, (next time I’ll try four).
I grabbed my E6000 glue, applied a small dollop on the bottom of each birch disc, then added a small amount of hot glue.
Then I glued each one in place and flipped them over and set a jar of paint on the riser until the glue cured!
MY RECTANGLE WOODEN RISER
I think this rectangle wooden riser is my favorite!
Before we get started, I placed enough wood beads to complete this riser on a paper plate and squirted almost one tablespoon of paint over them.
I then swirled the plate around, essentially painting the beads!
You gotta check out my blog post on how I came up with this last year, click here!
While these are drying, time to “stain” the wood.
The small rectangle shape will decorate well on both my tiered trays or mantle.
I grabbed my favorite Dixie Belle black wax and clean rag, rubbed the black wax over both pieces of plywood (both sides) and the four doll pin stands.
A great bonus “staining” with wax, over time it will cure and essentially seal the wood.
Once the boards and doll pins are stained it’s time to assemble.
For the sake of neatness, once I had my beads laid out the way I wanted them, I hot glued them in place on the bottom layer.
To apply the second board, I did apply E6000 and then also hot glue and essentially sandwiched them together.
Final step, gluing the doll pins stands on the bottom of the riser.
While the glue cured, I placed something semi-heavy on top.
MY ROUND WOODEN RISER
Now I think you’re getting the idea on how this riser will go together!
This riser is assembled the same way as the rectangle riser.
But instead of doll pin stands for the risers legs, I used four birch discs!
And that is how I made my mini wooden risers!
Let me know what you think and I hope you give this craft a try!
-
 1:57
1:57
MPDtribe
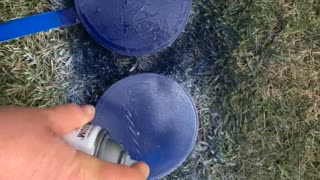
3 years ago $0.01 earnedMy Dollar Tree Garden Stakes
94 -
 0:56
0:56
flopearedmule
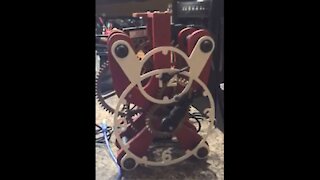
4 years ago $0.01 earnedDIY wooden clock Arduino
88 -
 3:35
3:35
Berlin Builds
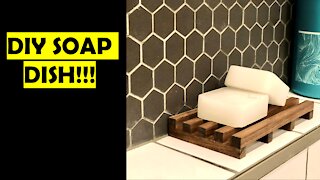
4 years agoDIY Wooden Soap Dish!
49 -
 6:04
6:04
DowellHomestead
4 years agoRev. DIY Simple Wooden Toy Box
53 -
 9:54
9:54
Ron’s Archery
4 years agoBreaking Wooden Arrows
57 -
 3:02
3:02
Rigel2112
4 years ago4k Wooden Shipwrecks
31 -
 5:10
5:10
ShepstoneNOW
4 years ago $0.01 earnedWooden Gas Pipes
540 -
 10:24
10:24
Ash and Stone
4 years agoBuilding Crude Wooden Watchtowers
502 -
 15:33
15:33
ruben1950
4 years agohow to make a wooden corner clamp
341 -
 0:32
0:32
FUNNY MOMENTS
4 years agoHistorical Wooden Statue
29