Premium Only Content
This video is only available to Rumble Premium subscribers. Subscribe to
enjoy exclusive content and ad-free viewing.

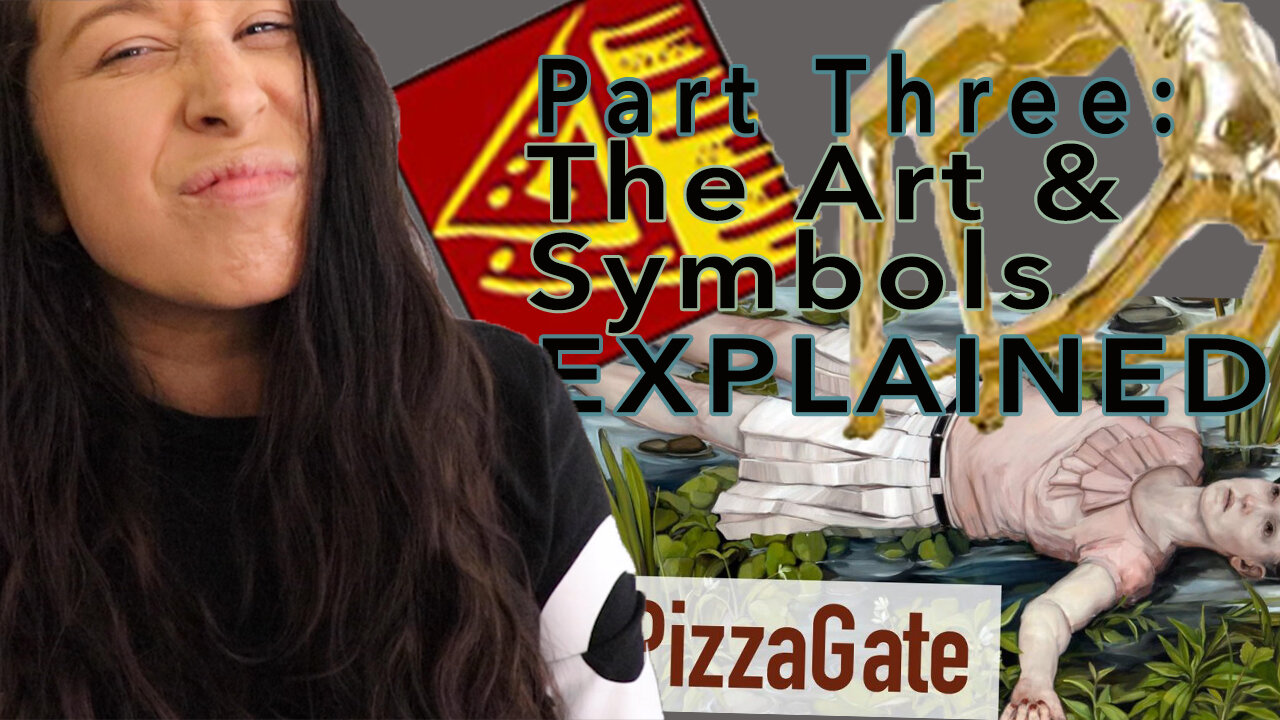
Part Three: The Art and Symbols Explained
Loading 1 comment...
-
 13:53
13:53
PreciousPlasticPh
4 years ago $0.06 earnedBiodegradable Plastics Explained Part 8
270 -
 9:03
9:03
JTRW
4 years ago $0.04 earnedWerewolfentary Part Three ( Werewolf Documentary )
284 -
 8:25
8:25
RENOVATE OTTAWA
4 years agoEPS 28 - A Triplex Renovation Part Three
74 -
 27:51
27:51
Keith Fenner, Career, Hobbies and Life
4 years ago $0.95 earnedTanked Again Part Three
2.32K37 -
 0:05
0:05
DaveeMooOwO
4 years agoGlitchy vaping part three
35 -
 LIVE
LIVE
vivafrei
42 minutes agoLive with Ivan Raiklin! Jan. 6 Pipe Bomber~! Comey & Letitia James Charges Dropped! AND MORE!
1,236 watching -
 LIVE
LIVE
The Quartering
1 hour agoCandace Owens Assassination Plot, Fat Acceptance Is Over, James Comey Indictment Thrown Out
6,029 watching -
 LIVE
LIVE
TheSaltyCracker
1 hour agoSALTcast 11-24-25
3,284 watching -
 7:51
7:51
Dr. Nick Zyrowski
6 days agoHow To Starve Fat Cells - Not Yourself!
36.4K6 -
 1:11:53
DeVory Darkins
2 hours agoBREAKING: Hegseth drops NIGHTMARE NEWS For Mark Kelly with potential court martial
91.6K43