How I Made my LOVE Sign
I LOVE making signs! I don’t do very many personal requests anymore (I am blessedly busy!) but sometimes the bug just bites ya! Check it out, with a few supplies I had on hand and few that I recently purchased I whipped up a new Valentine Sign in no time!
Supplies I Used for my LOVE Sign
Wood Sign: This sign measures 8 x 30. If you can’t find it, a wood board of the same sign would work!
Dixie Belles Cotton and Muscadine Wine Chalk Mineral Paint
Unfinished wood letters
Small Wreath: I found mine at TJ Maxx
Round watercolor brush, regular flat square brushes.
Mod Podge in matte
Hot glue and glue gun
GATHERING OUR LOVE SUPPLIES
Well the girls (my daughter, my sons girlfriend and I) had a shopping day not to long ago and I found this cutest heart shaped wreath at TJ Maxx for less than $8!
I knew I’d use it somewhere and when I dug out this long rectangle sign from the supplies in my craft room, I knew I wanted to make a Valentine sign.
So my next visit to Hobby Lobby I grabbed a few unfinished wood letters, L, V, and E.
Then I went back through my stash again and found a left over Never-ending transfer from Re-Design with Prima, several different designs of scrapbook paper.
Next I grabbed my paint, Cotton and Muscadine Wine.
These are the same colors I used in my last project on my mini houses, click here for the blog post!
Now I just had to figure out how to put it all together!
ASSEMBLING OUR LOVE SIGN
OK! Let’s Craft!
First I started out painting my letters, I painted my L in Cotton and my E in Muscadine wine.
Once these were all covered and dry, I added my Never-ending transfer to my L.
For more detailed instructions, click here to see how I use and apply transfers to projects.
I have several blogs post on how to do this, you basically remove the backing and apply it to your project. rub it really good before removing the top cover!
Super Easy!
Then I added a white and black polka dot scrapbook paper by decoupaging this on to the surface.
If you want to see other projects where I used decoupage, click here!
You just need your favorite glue, mine is matte Mod Podge, a brush and your paper of choice.
Once that was all done, I positioned everything onto my unfinished sign to make sure everything would not only fit, but look good.
Then I grabbed my favorite glue gun and started gluing away!
Later, I realized my E blended in too much with the background and looked too plain, so I went back with a little watered down Cotton and my favorite round watercolor brush and handprinted stripes.
Now it doesn’t get lost!
That is it!
I hope I inspired you to give this a try and if you do, please share!
-
 15:50
15:50
MPDtribe
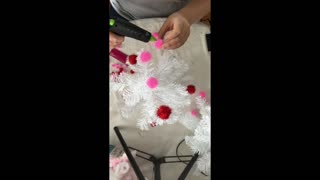
3 years agoCheck out my Valentine Pom Poms Tree
33 -
 19:19
19:19
MPDtribe
3 years ago $0.01 earnedEasy DIY Valentine Day Decor
2941 -
 11:58
11:58
Sharing Paper Smiles
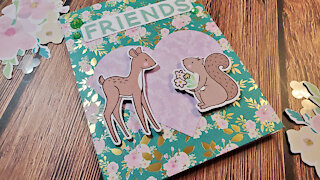
3 years agoFriendship Card
38 -
 9:05
9:05
Sharing Paper Smiles
3 years agoHello Darling Friend Handmade Card
65 -
 6:00
6:00
Sharing Paper Smiles
3 years ago $0.01 earnedTextured Greeting Card
29 -
 37:15
37:15
Crafts with Chris
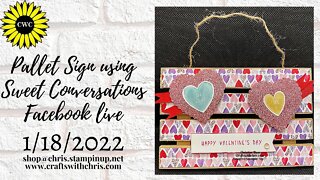
2 years agoMake this adorable Valentines sign to decorate your home with.
21 -
 7:20
7:20
MBGrayDesigns
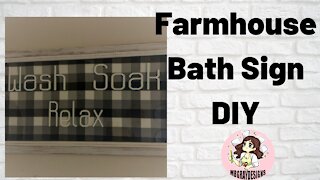
3 years agoTrash to Treasure DIY Bathroom Sign
10 -
 23:34
23:34
DeborahKaye
1 year agoSphere of Love Valentine | Easy Painting Tutorial For Beginners
13 -
 6:35
6:35
Sharing Paper Smiles
3 years agoFollow Your Heart Card
21 -
 11:13
11:13
Sharing Paper Smiles
3 years agoAppreciation Card: Have a Lovely Day
62