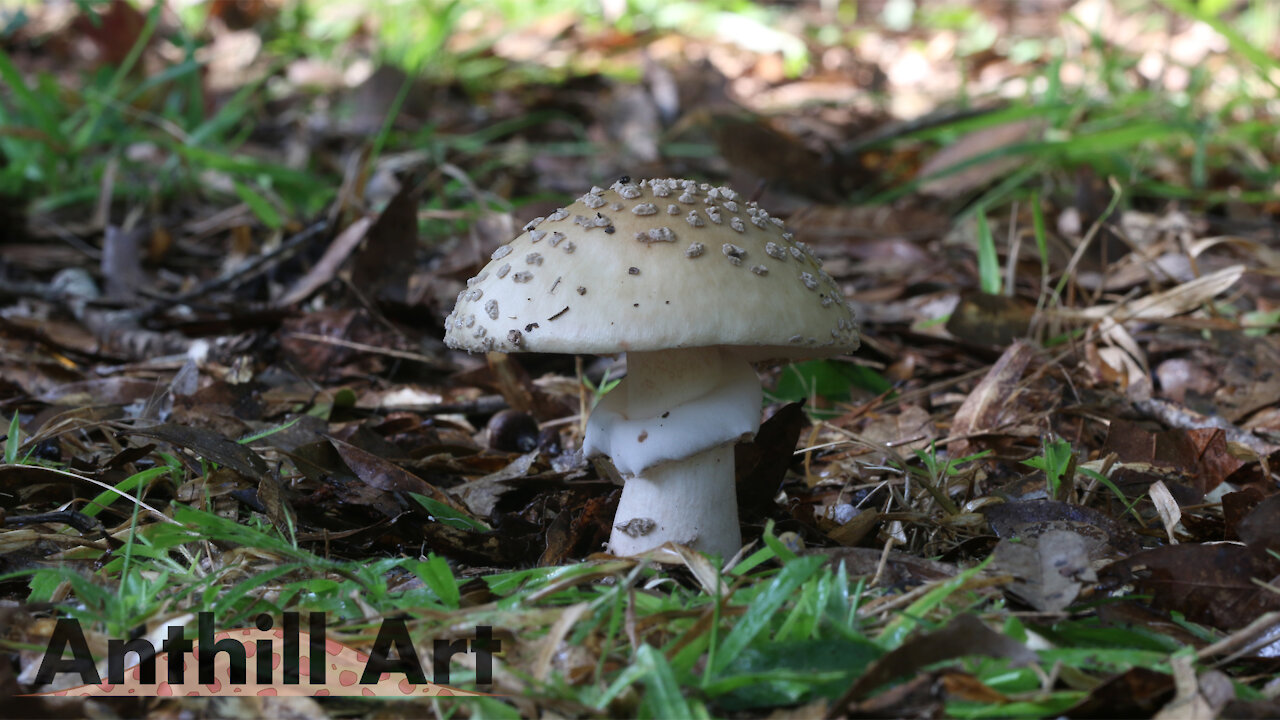
Casting a Mushroom with Molten Aluminum (Cast #091)
I've made a few of these mushroom casts and this one of the better ones that I've made so far. I've been waiting to post a video of this until I got a really good cast. This mushroom looked awesome and the casting went very well, but the back side of the mushroom was starting to decay and split on the back. It split even further during the plaster casting. Another problem was the small cracks that developed in the plaster after it was dry. I put tape around it to keep it from breaking open during aluminum casting but it wasn't cracked enough that it was coming apart. I doubt the tape was even needed, because the plaster was still very solid even after the aluminum pour. A small amount of aluminum did flow into a crack in the plaster near the top, which you can see when I break open the plaster cast. I grinded that part off later.
I set up my camera first and left it taking pictures of the mushroom while I got set up so that I could see how much it was still growing. The resulting time-lapse animation was so cool that I included it at the beginning of the video. The short animation is from pictures taken over 45 minutes, and shows that the cap is still opening fairly rapidly. The plaster pour was about 30 minutes after the last picture, and you can see in the video that it has opened even further by pour time. I also left out the long and tedious process of removing the mushroom debris from the plaster cast.
The detail captured in the cast is amazing and more than I ever expected to get using this method. The raised warts all over the cap, the gills under the cap, and even some of the ring on the stem (remnants of the veil that initially covers the gills) were all cast fairly well.
-
 2:03
2:03
Anthill Art
4 years ago $0.01 earnedCasting a Carpenter Ant Colony with Molten Aluminum (Cast #042)
116 -
 2:45
2:45
Anthill Art
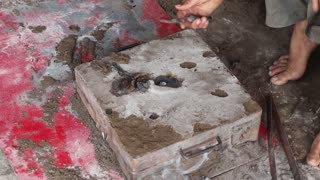
4 years agoCasting a Fire Ant Colony with Molten Aluminum
119 -
 4:47
4:47
Anthill Art
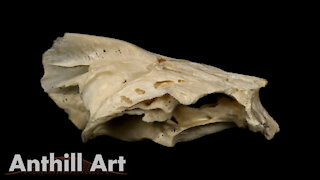
4 years agoCasting the Inside of a Fish Skull with Aluminum Alloy
58 -
 11:18
11:18
ViralHog
5 years ago $0.07 earnedMetal Casting a Cooling Fan Using Molten Aluminum
8.84K2 -
 0:32
0:32
Electronic Investigation
4 years agoCNC aluminum with simple G code -early testing
1083 -
 1:33
1:33
KiwiLimon_EasyRecipes_English
4 years agoMushroom Pancakes with Cheese
98 -
 1:17
1:17
KiwiLimon_SeasonalRecipes_English
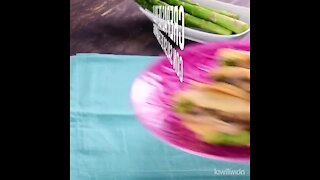
4 years ago $0.01 earnedSpaghetti with Mushroom Sauce
211 -
 1:28
1:28
KiwiLimon_SeasonalRecipes_English
4 years agoMushroom toast with Nopales
18 -
 0:58
0:58
KiwiLimon_MexicanRecipes_English
4 years agoChicken Roll with Mushroom Sauce
40 -
 1:03
1:03
KiwiLimon_SeasonalRecipes_English
4 years agoChicken Crepes with Mushroom Sauce
59