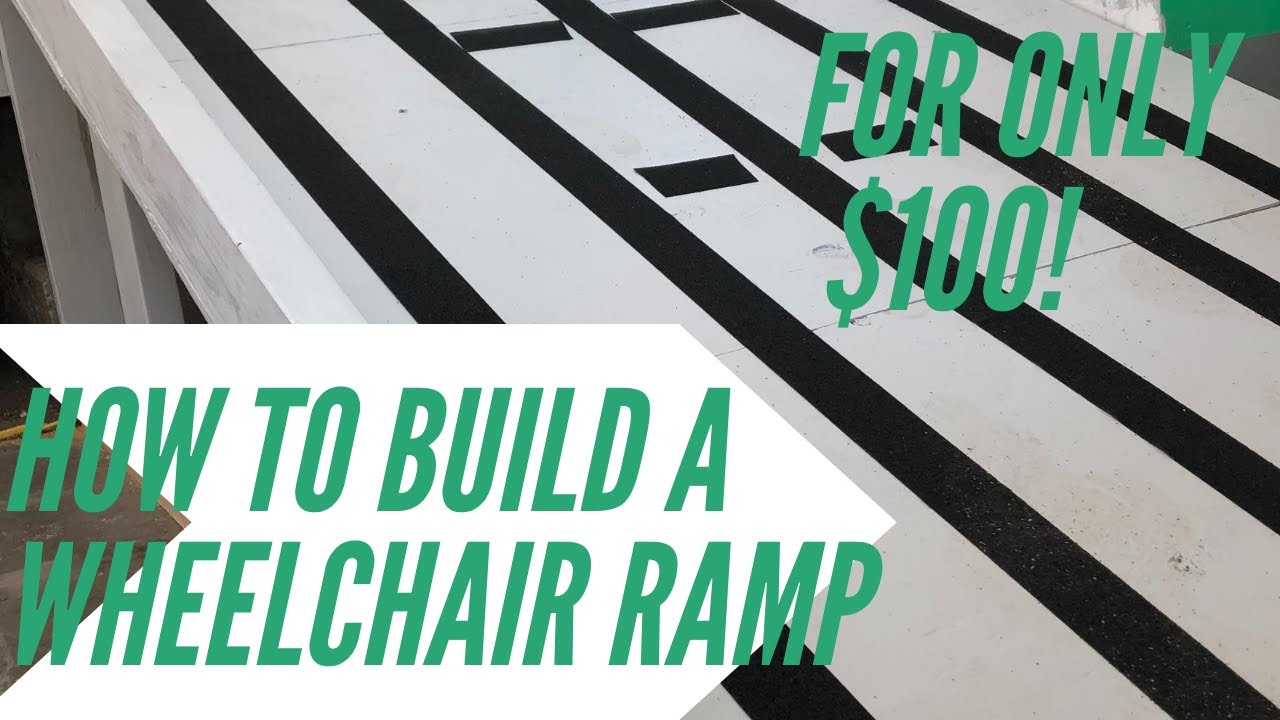
How To Build a Wheelchair Ramp || Simple, Inexpensive, and Easy! || Woodworking
Thank you for watching my How-To video on building a wheelchair ramp! Below you can find my quick guide to building your own ramp and saving money. Again keep in mind that my ramp is of a steep grade so I can still park my vehicles in the garage. This video will still help you no matter how long and low-grade you wish to make your ramp!
1. Measure. Take an accurate look at your space and determine how long you wish to make your ramp. Take into consideration the slope/grade of the ramp. If you wish to consult with the ADA guidelines on ramp length you can check it out here: https://www.ada.gov/descript/reg3a/fig16des.htm Also if you would like some assistance figuring out the angles and lengths of the ramp here is a great calculator: https://www.blocklayer.com/trig/scaleneeng.aspx
2. Cut your boards to length. With your dimensions you should now know the dimensions of the right angle and supportive bracing. With an angle guide and the angle calculator above you can cut miters into your angled boards so they line up.
3. Assemble your Right-Angles. First attach the right angle pieces. You can also add your horizontal spacing along the bottom of the ramp as well at this time.
4. Refine your angle. With the right-angle assembled, this can make it easier to visualize your ramp coming together. You can use this partial assembly to refine the angle needed for the slanted boards you will soon be attaching.
5. Remove old stairs (if you haven’t completed this step yet)
6. Slide the partial ramp in place. This will help you with your last minute calculations as you prepare to place the slanted 2x4s in their proper position
7. Continue Assembly. Continue placing your 2x4 bracing in place as you prepare your ramp to be sturdy enough to hold your plywood sheets on top.
8. Attach the plywood sheets. Drill pilot holes then screw in the sheets firmly to the 2x4s.
9. Cut Plywood to Length. Once attached you can remove the excess wood with a jigsaw or you can cut the before attaching by using a table saw.
10. Round-Over the plywood that is touching the floor.
11. Attach the Wheel Guard. I cut a piece of 2x4 to length and attached it using wood glue and clamps. Simple and effective.
12. Paint!!
13. Add Grip Tape. This will add traction and make getting up and down the ramp a breeze!
----------
Tools & Supplies Used (Affiliate Links)
Skil Jigsaw: https://amzn.to/3glPnmf
Hitachi Miter Saw: https://amzn.to/31kBCjy
Hand Plane: https://amzn.to/3aO6YlD
Ryobi Drill: https://amzn.to/31ikjjc
Ryobi Impact Driver: https://amzn.to/34nJouU
Titebond Glue: https://amzn.to/2Etxk08
Pocket Hole Jig (Recommended): https://amzn.to/3gjCoS7
Coping Saw: https://amzn.to/2FROPbv
----------
SUBSCRIBE to my Channel Here!
https://www.youtube.com/channel/UCGnEChJhnOLONagQp5ENsAA
----------
FOLLOW ME on Social Media!
Instagram: https://www.instagram.com/unruhwoodwork/?hl=en
Facebook: https://www.facebook.com/Unruh-Woodworking-Design-1831874603776779/
Shop: https://unruhwoodworkingdesign.bigcartel.com
Music Attribution:
Song: Elektronomia - Summersong 2018 [NCS Release]
Music provided by NoCopyrightSounds
Free Download/Stream: http://ncs.io/Summersong
Watch: http://youtu.be/HoCw_gaCHXE
Song: NIVIRO - Flashes [NCS Release]
Music provided by NoCopyrightSounds
Free Download/Stream: http://NCS.io/flashes
Watch: http://youtu.be/I8TyTCZ_5jI
-
 10:43
10:43
Games and IT
4 years agoSimple Pleasures Speed Build
64 -
 1:30
1:30
KJRH
4 years agoHome Depot volunteers help build wheelchair ramps
8.92K -
 0:44
0:44
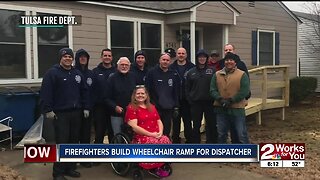
KJRH
5 years agoFirefighters build wheelchair ramp for dispatcher
18 -
 21:08
21:08
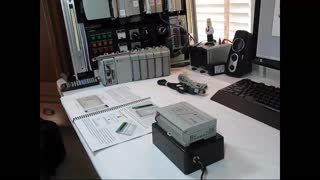
A0-25 Introduction to Programmable Logic Controllers
4 years agoA9 -Learn PLC - Build an Inexpensive PLC Learning Station Pt1
47 -
 19:53
19:53
A0-25 Introduction to Programmable Logic Controllers
4 years ago $0.01 earnedA10 - Learn PLC - Build an Inexpensive PLC Learning Station Pt2
167 -
 5:03
5:03
Lynda Cromar Online Training
4 years agoPower Lead System How To Build a Business Online the Simple Way
31 -
 18:23
18:23
Deb's Kitchen
4 years agoEasy and Simple Top Notch Turkey!
116 -
 7:53
7:53
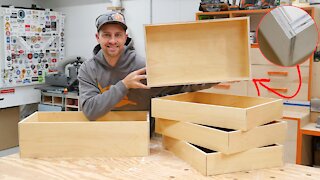
Wood, Metal, Everything
4 years ago $0.02 earnedHow To Build Plywood Drawers, Strong, Easy and FAST!
4392 -
 2:11
2:11
PB Cooking
4 years agoHow to make Brownies. Simple, easy, and fun!! Try it!
63 -
 4:11
4:11
Buffalo Modular Homes
4 years agoHelp! How do I build a Buffalo Modular Home?!? 10 Easy steps!
60