
Moeson Marlin owner
Moeson Violins
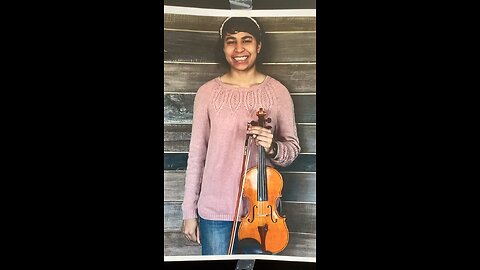
So excited for Kyle White. Expect to see more of her in her exploits as violinist extraordinaire.

Marlin Tryout 2
Moeson Violins
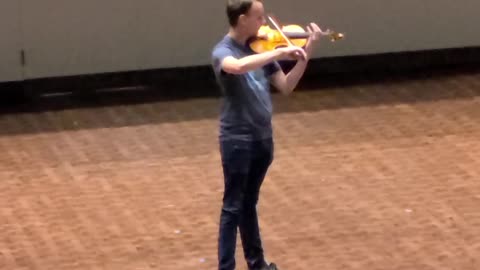
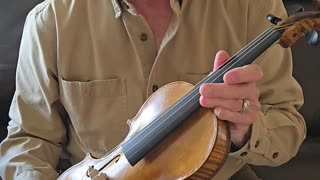
I am with Texas Tech's Assistant Director of Violin, Annie Boyle, at the Hemmle Recital Hall. Her student, Joseph, is playing in this video. You can hear some of her comments in the background. She and her two students present all commented that Marlin's volume and clarity at all levels was impressive.
Violin video 22
Moeson Violins
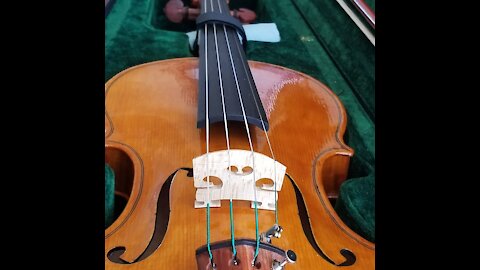
This video shows all the last details to finish this violin. I put the fingerboard and nut on, size and drill the pegs and ream out the pegbox, size and finish the bridge, install the end pin and mount the tailpiece and install the strings and chinrest.
5
comments
Violin Video 20
Moeson Violins
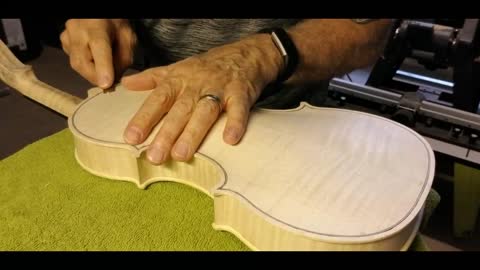
This video shows the removal of clamps, installation and cleanup of the alignment pins, preparation in the violin body for receiving the saddle, installation of the saddle and its final forming.
15
comments
Violin Video 19
Moeson Violins
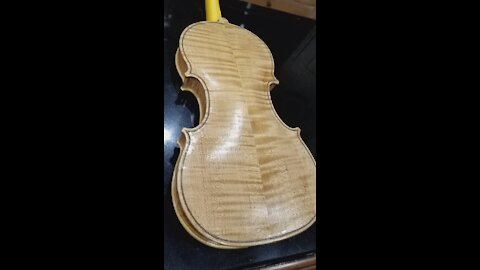
A lot of things packed into this short video. Drilled back alignment holes, prepared the mating edge of the bottom plate, removed the rib form, smoothed the neck heel flush with the rib and blocks, trimmed the blocks, set the fingerboard to its original height with a temp jig, drilled the endpin hole and glued and clamped the back plate on.
1
comment

Violin Video 18
Moeson Violins
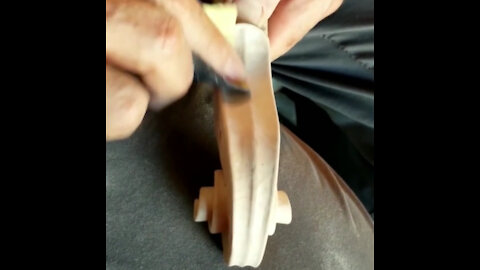
This is to show how I built the fingerboard and attached it to the neck. Then I prepare and assemble the neck assembly to the violin body.
4
comments
Violin Video 17
Moeson Violins
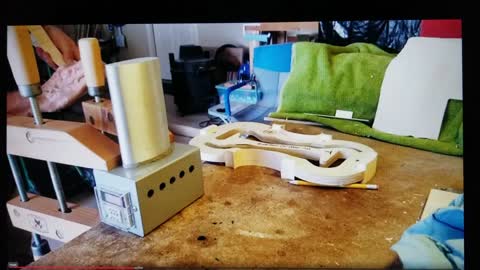
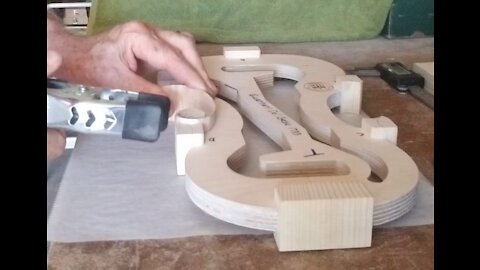
In this video, I glue the belly plate to the rib assembly. I then begin to work on the neck by finishing the scroll and peg box hole and drill preliminary peg holes.
2
comments

Violin Video 16
Moeson Violins
Doing a plate frequency test. Cutting out and finishing f-holes. Installing bass bar and shaping it, and retesting frequency for adjustment if necessary.
1
comment
Violin Video 14
Moeson Violins
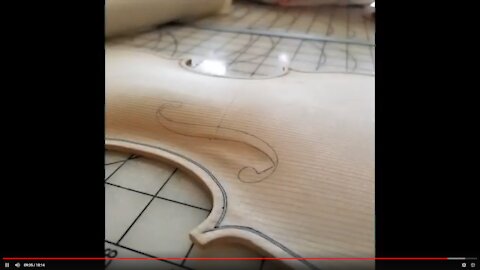
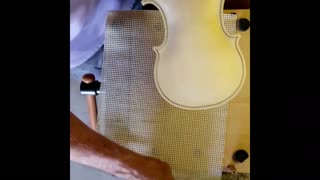
The f-holes are drawn onto the top plate, furrowing is done near the f-holes. The bottom side contouring preparations are made.

Violin Video 13
Moeson Violins
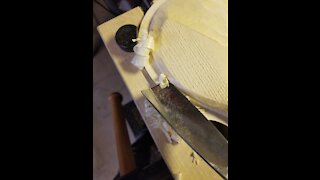
The process is completed in finishing the outside contour of the belly plate.
1
comment

Violin Video 12
Moeson Violins
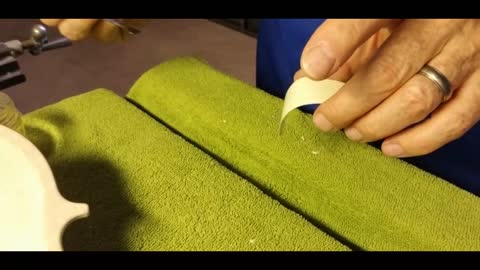
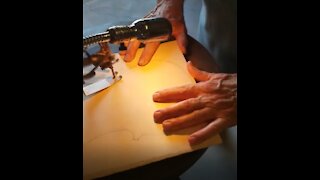
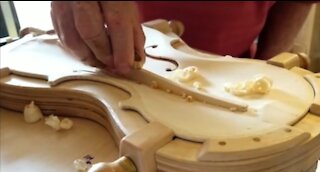
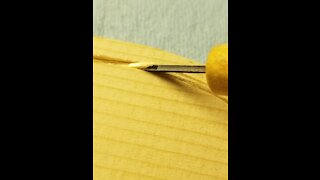
The inlay or purfling is prepared and installed, A groove is cut out all around the periphery and the purfling is cut to length, bent and glued into place.
8
comments

Violin Video 11
Moeson Violins
The top plate sound board or belly outer contour has begun. The edge is prepared for the installation of the edge inlay called purfling.
Violin Video 10
Moeson Violins
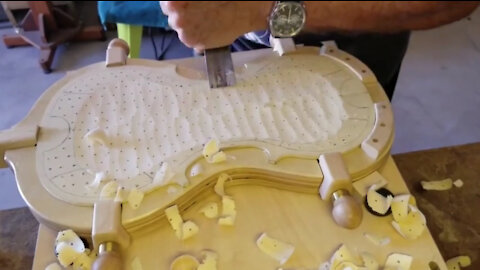
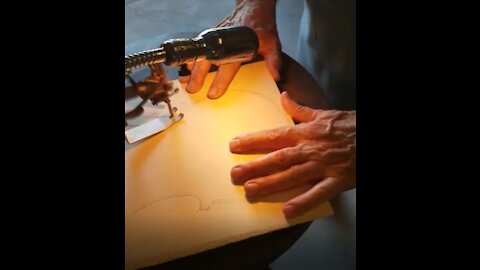
Preparing the upper plate, or belly, from spruce. The halves are joined together, the violin shape is transcribed from the rib contour. It is cut out and sanded to shape.
Violin Video 8
Moeson Violins
Bending of the upper and lower bouts showing how the ribs are bent and the installation of the upper bout rib.
My apologies for the shaking of the video. It was originally posted in a competitor video site and the video refused to download. (I had no other copy). So, I had to record it from my phone as it played.
5
comments
Violin Video 7
Moeson Violins
The installation of the middle bout ribs. It includes a bonus explanation of the hide glue used for attachment.
2
comments
Violin Video 6
Moeson Violins
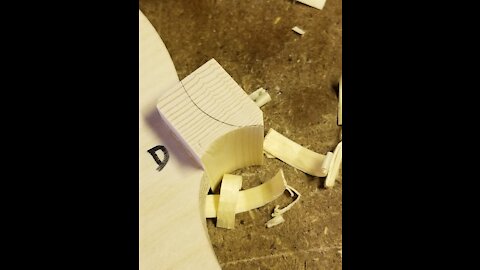
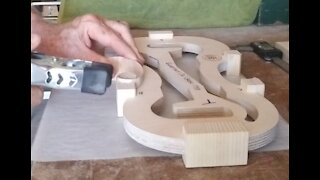
This video shows the process for shaping the corner blocks in preparation of installing the middle bout ribs.
8
comments
Violin Video 5
Moeson Violins
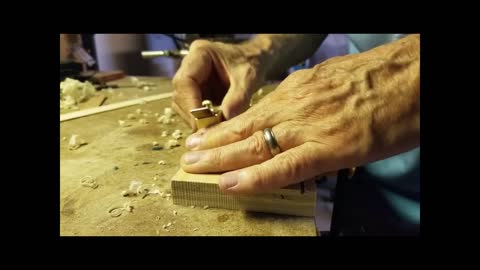
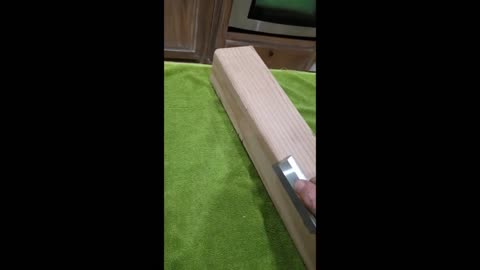
The blocks need to be sanded while on the form to a specific length and taper.
1
comment

Violin video 4
Moeson Violins
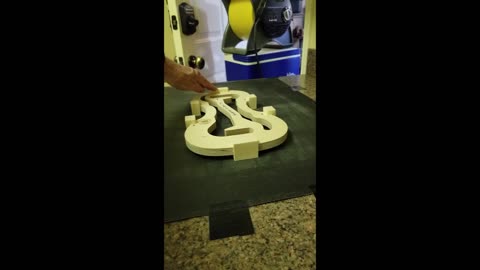
All violins have 4 blocks which act as the bond to hold everything together. Corner blocks and the upper and lower blocks. This describes how they are prepared and temporarily installed onto the template form.
4
comments
Violin Video 3
Moeson Violins
All luthiers need very sharp tools. The tools discussed here are chisels and gouges. This video discusses the method of sharpening them.
3
comments
Violin Video 2
Moeson Violins
The opening and discussion of the wood I will be using. The two types mentioned are curly maple and spruce.
3
comments

Violin Video 1
Moeson Violins
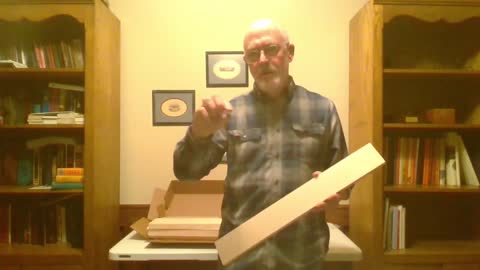
The arrival of my violin templates. Modeled after Guarneri Del Gesu 1733.
9
comments

Making of a violin
Moeson Violins
Personal biography and why I decided to start making violins. The brand name I have given my creations is christened "Moeson". Each model will have it's own model name starting with "Marlin" name after my departed father. The sequential creations will be named after all my grandchildren from the oldest to the youngest.
5
comments
Violin Video 17
Loading 2 comments...
-
 3:06
3:06
Moeson Violins
4 months agoMoeson Aria
113 -
 8:18
8:18
Moeson Violins
4 years agoViolin Video 7
952 -
 8:01
8:01
Moeson Violins
4 years agoViolin Video 10
131 -
 18:51
18:51
Moeson Violins
4 years agoViolin Video 16
901 -
 5:12
5:12
Moeson Violins
4 years agoViolin Video 15
813 -
 10:13
10:13
Moeson Violins
4 years agoViolin Video 14
66 -
 19:07
19:07
Moeson Violins
4 years agoViolin Video 13
591 -
 3:38
3:38
Moeson Violins
4 years agoViolin Video 12
838 -
 4:55
4:55
Moeson Violins
4 years agoViolin Video 11
93 -
 0:08
0:08
Gemini_007
4 years ago $0.08 earnedA driving video
1.44K3