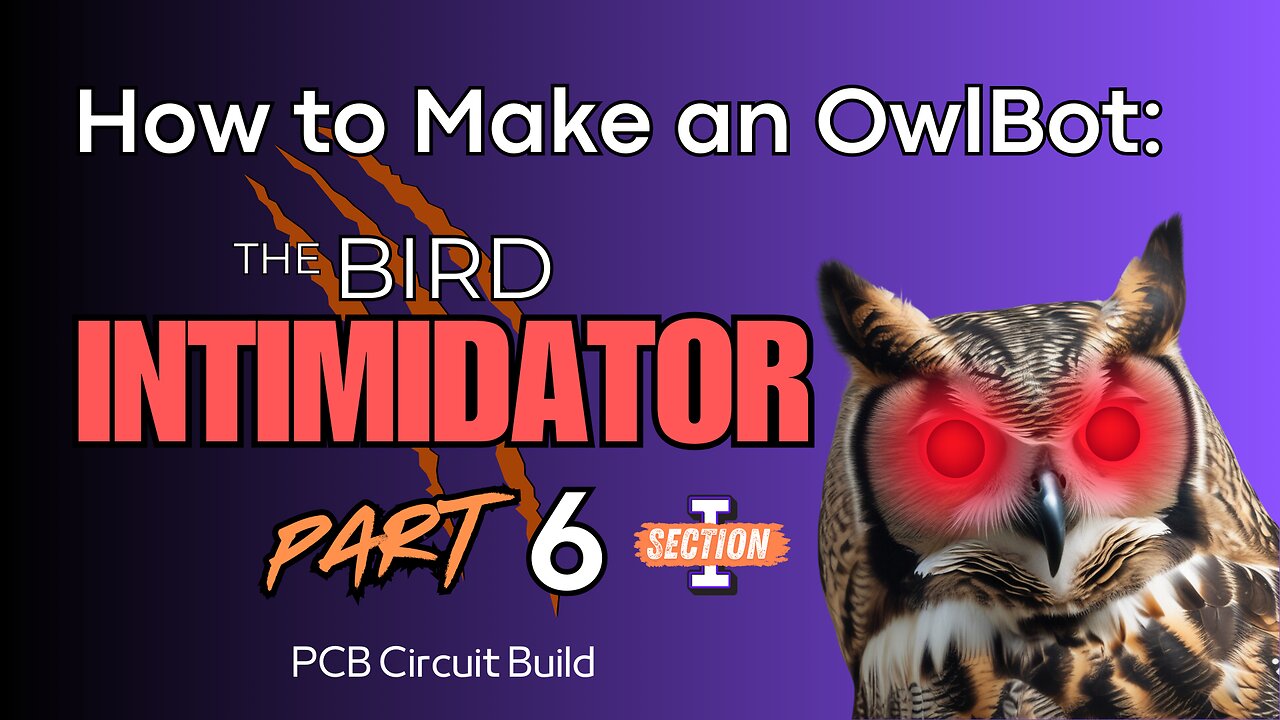
How to Make an OwlBot: The Bird Intimidator - Part 6 (Section I): PCB Circuit Build
This is Part 6 (Section I) of a series of tutorials on how to build an OwlBot.
In this project we’re going to be performing the next step of what will eventually be the OwlBot. The OwlBot will be a device (robot/animatronic) that can be used as a bird intimidation tool to scare away pesky birds in the yard, around the house or barn, at restaurants, or in trees, bushes, and gardens. Hence, the phrase, “The Bird Intimidator”.
For this part of the project build, we're finally putting components from the breadboard to the PCB. Section I, has us doing the preliminary work of getting the Arduino prototype shield board together and adding the MP3 player module to it. We also begin creating our own wire connectors in the section of Part 6.
In Section II, of Part 6 (the next video), we'll continue our process of creating our own wire connectors for the speakers for the MP3 player, and the connections for the PIR sensor. We should have all the electronics working and ready to go, after that - ready for testing and to finally be placed inside our owl figure.
Video for Our Website Page: "How to Make an OwlBot: The Bird Intimidator – Part 6 (Section I): PCB Circuit Build"
Page URL: https://motbots.com/owlbot-part-6-section-1-pcb-circuit-build/
Description: This is a supplemental video for a post made on our website.
Website: https://motbots.com
_________ PROJECT INFO _________
PARTS LIST: OwlBot Part 6 (Section I)
https://motbots.com/owlbot-part-6-section-1-pcb-circuit-build/
Image of Schematic Diagram in Video found here:
https://motbots.com/owlbot-part-6-section-1-pcb-circuit-build/#How_to_Draw_Your_PCB_Schematic_Diagram
The Entire OwlBot Project Series:
https://motbots.com/the-owlbot-project/
CODE FOR OWLBOT (GitHub):
https://github.com/Motbots/owlbot-remote
PLAYLIST (How to Make an OwlBot):
https://www.youtube.com/playlist?list=PLXoXZro7IN0dmwoMepbVo_s12QRUHCB1P
_________ RESOURCES _________
The Ultimate DIY 3220-Point Breadboard:
https://motbots.com/the-ultimate-diy-3220-point-breadboard/
PLAYLIST (The Ultimate DIY 3220-Point Breadboard):
https://www.youtube.com/playlist?list=PLXoXZro7IN0e-cALhowH6yLL0Qi-3BJhe
The Resistor Rundown: A Guide to Resistors
https://motbots.com/resistors/
_________ ITEMS FOR PROJECT _________
🔊 DFRobot DFPlayer Pro Mini MP3 Player (DFR0768):
https://www.dfrobot.com/product-2232.html?tracking=DiKm0pdZdYvxZfZ25Y65e2w67ZjeejfFgPv83GFI28803s1lhS9m96RlSPLoyfsG
🦉 Fake Great Horned Owl Decoy:
https://amzn.to/41AppH5
_________ MORE INFO _________
Chapters:
0:00 - 0:18 - Intro
0:19 - 5:50 - Hand-Drawing the PCB Schematic Diagram
5:51 - 8:19 - Step 1: Making Positive and Negative Supply Connections
8:20 - 9:29 - Step 2: Adding the MP3 Player Module
9:30 - 13:07 - Step 3: Continuing Positive and Negative Supply Connections
13:08 - 15:59 - Step 4: Adding the Resistors for the LEDs and RX Pin
16:00 - 22:11 - Step 5: Making Connections to the RX and TX Pins of the MP3
22:12 - 29:03 - Step 6: Adding Connectors and Header Pins
29:04 - 36:20 - Step 7: Assembling a 4-Wire Connector for the Speakers
36:21 - 48:50 - Step 8: Assembling the Wire Connectors for the LEDs
48:51 - 49:56 - Outro
EARNINGS DISCLAIMER:
Motbots may earn an affiliate commission if you purchase something through recommended links.
-
 2:07:06
Side Scrollers Podcast
18 hours agoHasan Piker CAUGHT LYING AGAIN + Twitch URGES LEFTIST IDEOLOGY + More | Side Scrollers
45.8K8 -
 8:40
8:40
MattMorseTV
14 hours ago $5.67 earnedSchumer just KICKED OFF the Left-Wing CIVIL WAR.
7.59K24 -
 21:39
21:39
Nikko Ortiz
2 days agoI Take A North Korean Shooting
9.51K4 -
 1:46:26
The Michelle Moore Show
17 hours ago'The Religion Invasion In the U.S. and the Deep State Agenda' Guest, Mark Taylor: The Michelle Moore Show (Nov 3, 2025)
16.7K21 -
 LIVE
LIVE
TruthStream with Joe and Scott
5 days agoSovereign Codes & Cosmic Infrastructure,Ufo's, UAP's, Monads, Matrix Satellites, Interstellar Visitors, SYRONA #505
244 watching -
 LIVE
LIVE
Lofi Girl
2 years agoSynthwave Radio 🌌 - beats to chill/game to
149 watching -
 5:55:11
MattMorseTV
10 hours ago $89.30 earned🔴Trump's '60 Minutes' INTERVIEW + MUCH MORE.🔴
152K40 -
 2:02:36
Badlands Media
15 hours agoBaseless Conspiracies Ep. 157: Jack the Ripper, the Crash & the Great Disclosure Countdown
31.6K20 -
 2:06:09
Inverted World Live
11 hours agoMysterious Crash at Area 51 | Ep. 134
36.3K14 -
 2:48:59
TimcastIRL
9 hours agoTrump Endorses Cuomo, Says NO COMMIE MAMDANI, Obama REFUSES To Endorse Mamdani | Timcast IRL
271K192