Word 365/2021 Modules 1-3: SAM RSA Capstone Project 1a | Sasha's Restaurant (Update 2025)
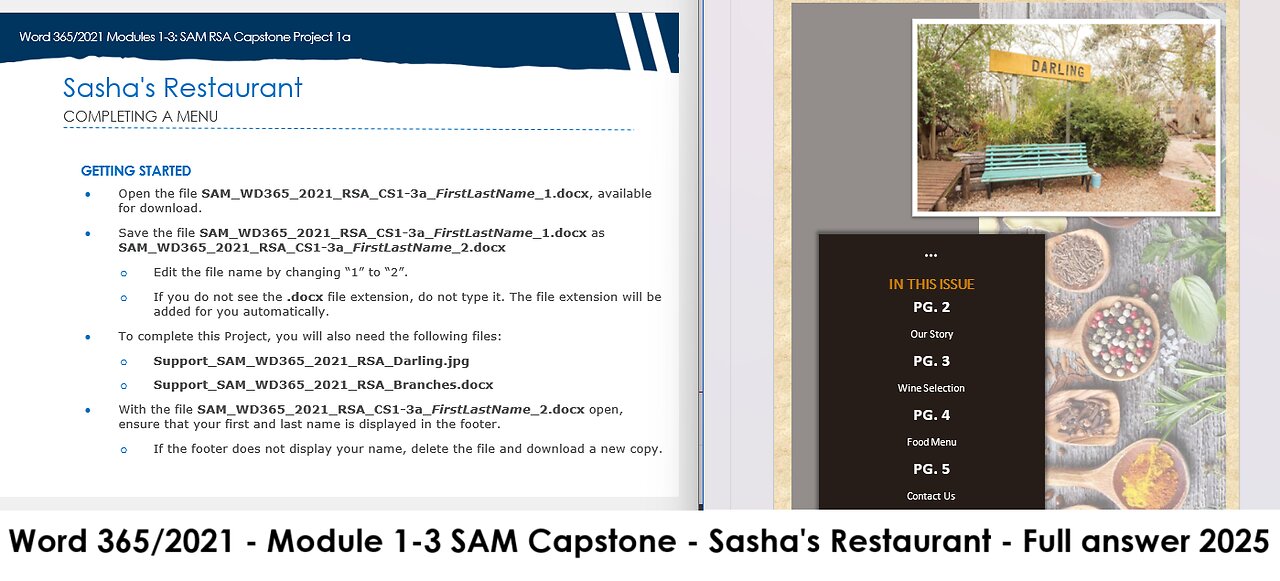
Word 365/2021 Modules 1-3: SAM RSA Capstone Project 1a
Sasha's Restaurant
COMPLETING A MENU
GETTING STARTED
• Open the file SAM_WD365_2021_RSA_CS1-3a_FirstLastName_1.docx, available for download.
• Save the file SAM_WD365_2021_RSA_CS1-3a_FirstLastName_1.docx as SAM_WD365_2021_RSA_CS1-3a_FirstLastName_2.docx
o Edit the file name by changing “1” to “2”.
o If you do not see the .docx file extension, do not type it. The file extension will be added for you automatically.
• To complete this Project, you will also need the following files:
o Support_SAM_WD365_2021_RSA_Darling.jpg
o Support_SAM_WD365_2021_RSA_Branches.docx
• With the file SAM_WD365_2021_RSA_CS1-3a_FirstLastName_2.docx open, ensure that your first and last name is displayed in the footer.
o If the footer does not display your name, delete the file and download a new copy.
PROJECT STEPS
1. You are a sous chef at Sasha's, a restaurant located in Darling, Western Cape, and are completing a new menu for the restaurant. Change the theme colours to Yellow Orange to coordinate with the company's colours.
2. On page 1, change the case of the "Sasha's" title to sentence case and apply a 72-point font size.
3. Format the title by applying the Fill: Black, Text Colour 1; Shadow quick style.
4. Insert a text box as follows:
a. Near the lower-right corner of page 1, draw a text box. Type Darling, Western Cape into the new text box.
b. Resize the new text box to a height of 2" and a width of 4".
c. Apply the Semitransparent – Orange, Accent 1, No Outline shape style to the text box.
d. Position the text box using the Bottom Center with Square Text Wrapping option.
5. Modify the text in the text box as follows:
a. On a new line below "Darling, Western Cape" type Since 2003 into the text box.
b. Apply a 26-point font size.
c. Center align the text.
6. Apply the Fill: Light Yellow, Background Colour 2; Inner Shadow quick style to the text in the text box, and then align it to the middle of the shape.
7. Add an image to page 2 as follows:
a. Insert the Support_SAM_WD365_2021_RSA_Darling.jpg image on page 2.
b. Uncheck the Lock Aspect Ratio check box.
c. Resize the image to a height of 3.5" and a width of 5.5".
d. Position the image using the Top Right with Square Text Wrapping option.
e. Apply the Simple Frame, White picture style to the image.
8. Near the middle of page 2, apply the Heading 1 style to the title "In This Issue". Modify the title as follows, then update the Heading 1 style to match:
a. Apply a 20-point font size.
b. Bold the text.
c. Center align the text.
d. Change the case of the title "In This Issue" to All Caps.
9. On page 3, apply the Heading 1 style to the heading paragraph "Our Story".
10. Justify the three paragraphs under "OUR STORY". (Ctrl+J)
11. Format the wine selection on page 4 as follows:
a. Center-align the text "Barrel Selection" and "KVW Classic".
b. Underline the text "Barrel Selection" and "KVW Classic".
c. Bold the words "Barrel Selection" and "KVW Classic".
12. Set a custom tab stop of 3.5" with right alignment for the paragraphs in the Wine Selection list (beginning with "Stellenbosch Sauvignon Blanc R210" and ending with "KVW Grenache R170").
13. Format the "Specials!" circle on page 4 as follows:
a. On the line below "Specials!", type the following text:
Sunday all you can eat buffet lunch (R150)
b. Press the Enter key, and then type 12:30–15:30 on the next line.
c. Center align the text "Specials! …. 15:30".
d. Italicise the text "Specials! …. 15:30".
14. Format the Specials circle as follows:
a. Apply the Semitransparent – Brown, Accent 4, No Outline shape style to the shape.
b. Apply the Glow: 11 point, Brown, Accent color 3 glow from the Glow Shape Effects gallery.
c. Apply a Square Dot shape outline with a White, Background 1 outline color.
15. Format the table on page 5 as follows:
a. Apply the No Borders option to the table.
b. Select the row containing the "Pasta" and "Mains" headings, and then apply a bottom border with a White, Background 1 color to that row only.
c. Merge and center-align the cell containing "Pasta" and the blank cell to its right.
d. Merge and center-align the cell containing "Mains" and the blank cell to its right.
16. Right-align the menu items and prices in their cells to approve the menu's appearance.
17. On the last page of the document, insert a table with six rows and two columns. Copy and paste the content from the Support_SAM_WD365_2021_RSA_Branches.docx file into the new table.
18. Format the new table as follows:
a. Apply the Grid Table 5 Dark – Accent 3 table style to the table.
b. Autofit the table to its contents.
c. Center-align the text in the table.
d. Align the table to the center of the page. (Hint: Use the cell size area of the ribbon.)
e. Change the font size to 24 point.
19. Merge the cells in the first row, and then change the case of the text "All our branches" to UPPERCASE.
20. On the last page of the document, enter the email address [email protected] in the paragraph below "Contact Us" and above "Darling, Western Cape".
21. Use the Format Painter to apply the formatting of the website "sashasrestaurant.co.za" to the email address.
22. Check the Spelling & Grammar in the document to identify and correct any spelling errors. (Hint: Ignore names and grammar suggestions.) Save your work.
Your document should look like the Final Figure on the following pages. Save your changes, close the document, and then exit Word. Follow the directions on the website to submit your completed project.
Final Figure
© MaraZe/Shutterstock.; © Triff/Shutterstock.; © JulieK2/Shutterstock.; © Shyripa Alexandr/Shutterstock.; © Dionisvera/Shutterstock.; © Liliya Kandrashevich/Shutterstock.; © Brent Hofacker/Shutterstock.; © Grobler du Preez/Shutterstock.com
-
 LIVE
LIVE
SpartakusLIVE
3 hours ago#1 Challenge CHAMPION of WZ || Ridin' The GRAVY Train w/ GloryJean
481 watching -
 LIVE
LIVE
putther
48 minutes ago⭐ Bounty Hunting on GTA⭐
86 watching -
 58:58
58:58
MattMorseTV
2 hours ago $2.57 earned🔴This NEW INFO changes EVERYTHING.🔴
9.66K13 -
![[MnK] Nighttime Duos w/ Spartakus 🔥 6.7 K/D](https://1a-1791.com/video/fww1/59/s8/1/C/e/8/k/Ce8kz.0kob-small-MnK-Nighttime-Duos-w-Sparta.jpg) LIVE
LIVE
GloryJean
2 hours ago[MnK] Nighttime Duos w/ Spartakus 🔥 6.7 K/D
91 watching -
 LIVE
LIVE
CharleyHornsePlays Gaming & Entertainment
1 hour ago🔴CHP GAMING | Diablo 4 Season 10 Sorcerer
30 watching -
 LIVE
LIVE
LFA TV
21 hours agoBREAKING NEWS: SHOOTER IN DALLAS! | WEDNESDAY 9/24/25
860 watching -
 LIVE
LIVE
Charlotte Winslow
3 hours ago⚔ playing Assassin's Creed Brotherhood for the First Time!
59 watching -
 LIVE
LIVE
Spartan
1 hour agoSilent Hill F
18 watching -
 23:42
23:42
AndresRestart
5 hours agoThe Most Peak Nintendo Direct Of 2025 Hasn't Happened Yet!?
3.17K1 -
 7:24:01
Dr Disrespect
9 hours ago🔴LIVE - DR DISRESPECT - WHAT THE HELL IS THIS GAME?
115K15