Premium Only Content

Hazard Zone Guide - Wuthering Waves (WuWa) - Version 2.2
Hazard Zone Guide - Wuthering Waves (WuWa) - Version 2.2
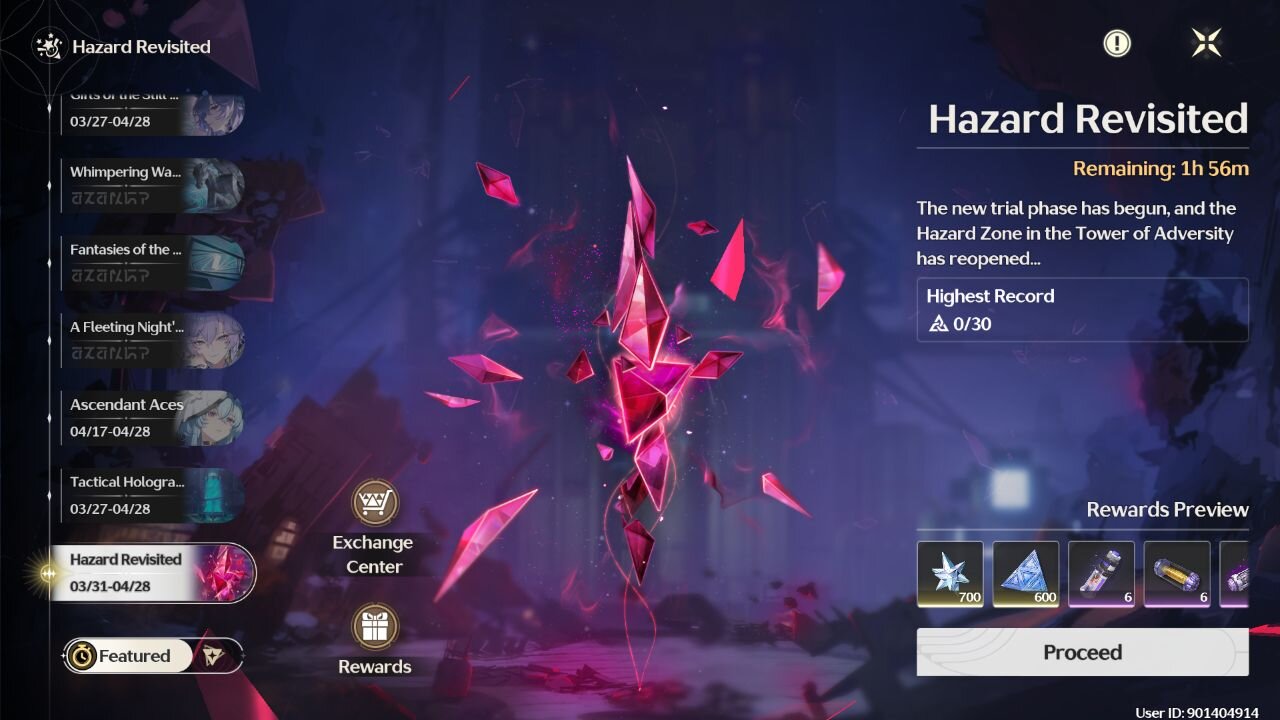
Below is a comprehensive guide to the **Hazard Zone** in **Wuthering Waves (WuWa) Version 2.2**. This guide covers what the Hazard Zone is, how to unlock it, its structure, key mechanics like the Vigor system, strategies for success, and rewards.
---
## **Hazard Zone Guide - Wuthering Waves (WuWa) Version 2.2**
The **Hazard Zone** is the third and most challenging zone in Wuthering Waves' **Tower of Adversity**, an endgame mode designed to test your combat skills and team-building strategies. In Version 2.2, it remains a key feature for players seeking high-level challenges and valuable rewards. This guide will help you understand how to unlock, navigate, and conquer the Hazard Zone.
---
### **What is the Hazard Zone?**
The Hazard Zone is part of the Tower of Adversity, which is divided into three zones:
- **Stable Zone**: The easiest zone, with one tower and four stages.
- **Experimental Zone**: A moderate challenge with two towers, each containing four stages.
- **Hazard Zone**: The most difficult zone, featuring three towers with a total of ten stages and enemies up to level 100.
The Hazard Zone consists of:
- **Resonant Tower**: Four stages.
- **Echoing Tower**: Four stages.
- **Hazard Tower**: Two stages with level 100 enemies.
Unlike the Stable and Experimental Zones, which are permanent, the Hazard Zone **resets every 28 days**, allowing you to attempt it again and collect rewards periodically.
---
### **How to Unlock the Hazard Zone**
To unlock the Hazard Zone, you must:
- Clear all floors in the **Experimental Zone** of the Tower of Adversity.
- To access the Hazard Tower within the Hazard Zone, complete either the Resonant Tower or the Echoing Tower during your first playthrough of the zone.
**Note**: The Tower of Adversity is unlocked after reaching **Union Level 15** and completing the **Alone in the Abyss** quest.
---
### **Key Mechanics: The Vigor System**
The Hazard Zone uses the **Vigor system**, which limits how often you can use each character:
- Each character starts with **10 Vigor**.
- Clearing a stage consumes a certain amount of Vigor, depending on the stage’s difficulty (e.g., easier stages consume less, while harder ones like the Hazard Tower consume more).
- Vigor is **shared across all towers in the Hazard Zone**, so you must manage your teams carefully to ensure you have strong characters for later stages.
**Important**: Vigor is zone-specific. Using a character in the Hazard Zone does not affect their Vigor in other zones like the Stable or Experimental Zones.
---
### **Structure of the Hazard Zone**
The Hazard Zone has three towers:
1. **Resonant Tower**: Four stages with increasing difficulty.
2. **Echoing Tower**: Four stages with increasing difficulty.
3. **Hazard Tower**: Two stages with level 100 enemies, making it the most challenging part of the zone.
Each stage has a time limit, and clearing it faster earns you more rewards. The Hazard Tower’s level 100 enemies are particularly tough, so preparation is key.
---
### **Strategies for Success**
Given the high difficulty of the Hazard Zone in Version 2.2, here are some strategies to help you succeed:
#### **1. Build Multiple Strong Teams**
- Due to the Vigor system, you cannot rely on a single team. Aim to build **at least three well-rounded teams** with strong DPS, support, and healing capabilities.
- For the Hazard Tower, which consumes more Vigor, use your strongest characters. Save universal supports like **Shorekeeper** or **Verina** for the toughest stages.
#### **2. Leverage Tower Buffs**
- Each tower has unique buffs (called **Interference**) that boost specific attributes or playstyles.
- In Version 2.2, the Hazard Tower’s buff focuses on **Fusion and Havoc** attributes, with bonuses for using **Echo Skills** to increase Attribute DMG and Crit. DMG.
- Tailor your teams to these buffs. For the Hazard Tower, a **Mono Havoc team** with **Cantarella** in the third slot is highly recommended due to her synergy with the stage mechanics.
#### **3. Manage Vigor Wisely**
- Easier stages in the Resonant and Echoing Towers can often be solo-cleared by a strong DPS character to conserve Vigor for harder stages.
- Split your teams across stages. For example, have one team handle stages 1 and 4 of the Resonant and Echoing Towers, while another handles stages 2 and 3.
#### **4. Focus on Enemy Weaknesses**
- Pay attention to enemy types and resistances. Avoid using Glacio or Fusion DPS against enemies immune to those elements.
- In floors with multiple waves, prioritize high-threat enemies like the **Young Roseshroom** or **Exile Technician**, which can buff or shield other enemies.
#### **5. Master Dodging and Parry Mechanics**
- High-level enemies deal significant damage. Practice dodging and parrying to avoid taking unnecessary hits, especially in the Hazard Tower.
---
### **Rewards**
Clearing stages in the Hazard Zone grants **Hazard Recor
-
 24:39
24:39
GritsGG
15 hours agoINSANE Ranked Game on Warzone!
22.2K2 -
 LIVE
LIVE
Lofi Girl
2 years agoSynthwave Radio 🌌 - beats to chill/game to
617 watching -
 5:52:00
Akademiks
11 hours agoWAR IN ATLANTA Episode 5. YOUNG THUG FIRST INTERVIEW about SNITCHING, GUNNA... BREAKS DOWN CRYING!
165K9 -
 7:30:25
SpartakusLIVE
15 hours agoVerdansk Duos w/ Nicky || Saturday Spartoons - Variety Later?!
62.3K1 -
 1:38:47
Badlands Media
1 day agoDevolution Power Hour Ep. 387: Trump, Epstein, Durham Mysteries, and North Korea Ops
104K26 -
 1:05:23
Man in America
18 hours agoSoaring Gold Exposes the Imminent Crash of the Old System w/ John Perez
61.6K16 -
 2:42:40
TruthStream with Joe and Scott
19 hours agoTHOMAS AND GROK: AI, Bible decodes, The JESUS Cube live 9/6 #487
50.7K11 -
 2:34:46
BlackDiamondGunsandGear
13 hours agoGet Prepped / After Hours Armory / LIVE SHOW /
33.1K2 -
 2:01:39
Tundra Tactical
12 hours ago $11.29 earned🛑LIVE NOW!! This spits in the face of the Second Amendment.🛑
39.9K8 -
 2:34:46
DLDAfterDark
10 hours ago $4.97 earnedIt's SHTF! Do You Have What You Need?? Let's Review Items & Priorities
28.2K6