Hazard Revisited - Hazard Zone - Wuthering Waves (WuWa) 30 March
Hazard Revisited - Hazard Zone - Wuthering Waves (WuWa) 30 March
# Hazard Revisited - Hazard Zone - Wuthering Waves (WuWa)
The Hazard Zone in *Wuthering Waves* (WuWa) is a pinnacle of endgame content, offering both intense challenges and lucrative rewards. This guide will walk you through everything you need to know to unlock, navigate, and conquer the Hazard Zone, including team strategies, Vigor management, and tips to maximize your rewards. With a reset every 28 days, careful planning is key to making the most of each cycle.
---
## Unlocking the Hazard Zone
To access the Hazard Zone, you must first clear the **Experimental Zone** in the Tower of Adversity. This requires completing all stages in the **Stable Zone** followed by the **Experimental Zone**. Once these prerequisites are met, the Hazard Zone unlocks. Ensure your characters are well-leveled and equipped, as you'll face enemies ranging from level 70 to 100.
---
## Structure of the Hazard Zone
The Hazard Zone comprises three distinct towers, each with unique challenges:
- **Resonant Tower**: 4 stages, enemies up to level 90.
- **Echoing Tower**: 4 stages, enemies up to level 90.
- **Tower of Hazard**: 2 stages, enemies at level 100.
You must complete either the Resonant Tower or the Echoing Tower before tackling the Tower of Hazard. Each tower features **interference buffs** that can influence your strategy, so adapt your team accordingly.
---
## Vigor System and Team Management
The **Vigor system** governs character usage in the Hazard Zone. Each character starts with **10 Vigor points**, which are consumed based on stage difficulty:
- **Resonant and Echoing Towers**: 1-4 Vigor per stage.
- **Tower of Hazard**: 5 Vigor per stage.
Vigor is shared across all towers, so strategic allocation is critical. Here’s a practical approach:
- Use **mid-tier characters** for easier stages (1-3 Vigor) to conserve Vigor.
- Reserve **top-tier DPS and supports** for harder stages, especially the Tower of Hazard (5 Vigor) and final stages of other towers (4 Vigor).
- You can reset a stage to recover Vigor, but this forfeits rewards, so plan ahead.
---
## Strategies for Each Tower
### Resonant Tower
- **Stages 1-2**: Enemies are manageable (level 70-80). A solo character like **Sanhua** with decent gear can clear these, saving Vigor for later.
- **Stages 3-4**: Enemies reach level 90. Deploy a full team, such as **Jinhsi** (DPS), **Spectro-Rover** (support), and **Shorekeeper** (healer), to handle increased difficulty.
### Echoing Tower
- **Stages 1-2**: Similar to Resonant Tower, these can be soloed by a strong character like **Chixia**, who thrives with the tower’s Fusion RES shred buff.
- **Stages 3-4**: Use a full team for level 90 enemies. A quickswap lineup like **Encore** (DPS), **Changli** (sub-DPS), and **Verina** (healer) works well, but monitor Vigor for supports.
### Tower of Hazard
- **Stages 1-2**: The toughest challenge with level 100 enemies. Bring your best team, such as **Phoebe** (Eternal Radiance build), **Spectro-Rover**, and **Shorekeeper**. The Spectro Frazzle buff enhances Phoebe’s Spectro damage, making her ideal here.
---
## Interference Buffs and Team Recommendations
Each tower’s interference buffs can dictate your team choices:
- **Resonant Tower**: Buffs may boost specific elements (e.g., Spectro). Use **Jinhsi** or **Sanhua** if Spectro is favored.
- **Echoing Tower**: Often includes Fusion RES shred, favoring **Chixia** or other Fusion DPS.
- **Tower of Hazard**: Spectro Frazzle buff maximizes **Phoebe**’s potential with an Eternal Radiance setup. An Electro team with **Xiangli Yao** can work but may not fully leverage the buff.
**Sample Teams:**
- **Resonant Tower**: Sanhua, Spectro-Rover, Shorekeeper.
- **Echoing Tower**: Chixia, Encore, Verina.
- **Tower of Hazard**: Phoebe (Eternal Radiance), Spectro-Rover, Shorekeeper.
---
## Enemy Weaknesses and Combat Tips
- **Elemental Resistances**: Check enemy details in-game—some resist specific elements. Avoid mismatched characters (e.g., don’t use Glacio against Glacio-resistant foes).
- **Dodging and Parrying**: Essential in tough stages. For example, parry **Tempest Mephis** (Tower of Hazard) to break its Vibration Gauge.
- **AoE and Grouping**: In multi-wave stages, use AoE DPS or Aero characters to group enemies for efficient clears.
---
## Vigor Distribution Strategy
Optimize Vigor with a multi-team approach:
- **Team 1 (Top DPS)**: Tower of Hazard Stage 1 (5 Vigor), Resonant Tower Stage 4 (4 Vigor), Echoing Tower Stage 1 (1 Vigor).
- **Team 2 (Mid-tier)**: Resonant Tower Stages 2-3 (2+3 Vigor), Echoing Tower Stages 2-3 (2+3 Vigor).
- **Team 3 (Top DPS)**: Tower of Hazard Stage 2 (5 Vigor), Echoing Tower Stage 4 (4 Vigor), Resonant Tower Stage 1 (1 Vigor).
This ensures your strongest characters tackle the hardest content while conserving Vigor early on.
---
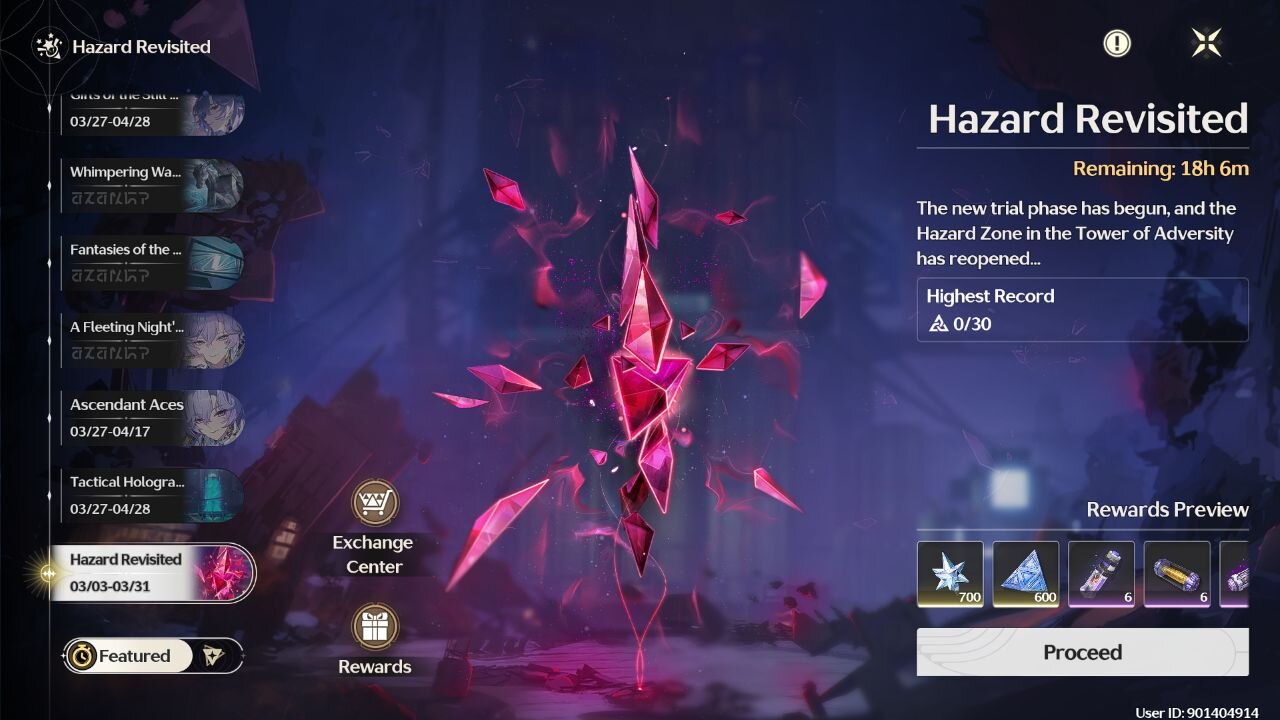
## Rewards and Reset Mechanics
The Hazard Zone resets every **28 days**, offering recurring rewards
-
 LIVE
LIVE
The Rabble Wrangler
8 hours agoBattlefield "Deputy Games" with The Best in the West!
281 watching -
 2:03:43
TimcastIRL
6 hours agoTrump Declares Antifa FOREIGN Terrorists, It Has Begun | Timcast IRL
211K74 -
 LIVE
LIVE
Parallel 8 Media
1 hour agoFriday Night Huddle - Ep 31- Julie Donuts, Rachel & Betsy
658 watching -
 LIVE
LIVE
Illyes Jr Gaming
11 hours agoCall Of Duty Black Ops 7 LAUNCH DAY!!!!
96 watching -
 LIVE
LIVE
Drew Hernandez
20 hours agoTUCKER CLASHES W/ FBI, TRUMP PUSHES EPSTEIN DISCLOSURE AFTER HOAX CLAIM & IS MEGYN KELLY IN DANGER?
1,356 watching -
 LIVE
LIVE
Phyxicx
2 hours agoRumble Spartans Halo Night! - HMR#20 - 11/14/2025
52 watching -
 LIVE
LIVE
FusedAegisTV
1 day ago*NEW F2P MMORPG, SoulsLike/Action Game // Global LAUNCH - EN Servers 🔴 FUSEDAEGIS
156 watching -
 3:31:00
Barry Cunningham
6 hours agoFOOD STAMPS FRAUD | STARBUCKS BARISTAS BIG MAD | MORE NEWS (AND NO REAL ESTATE!)
66.1K20 -
 LIVE
LIVE
Reidboyy
1 day ago $0.07 earned24/7 BO7 Camo Grind! Stream Doesn't End Until I Unlock EVERY Camo in Black Ops 7!
27 watching -
 2:27:02
TheSaltyCracker
4 hours agoTucker Blows Up FBI ReeEEStream 11-14-25
78.5K133