Premium Only Content

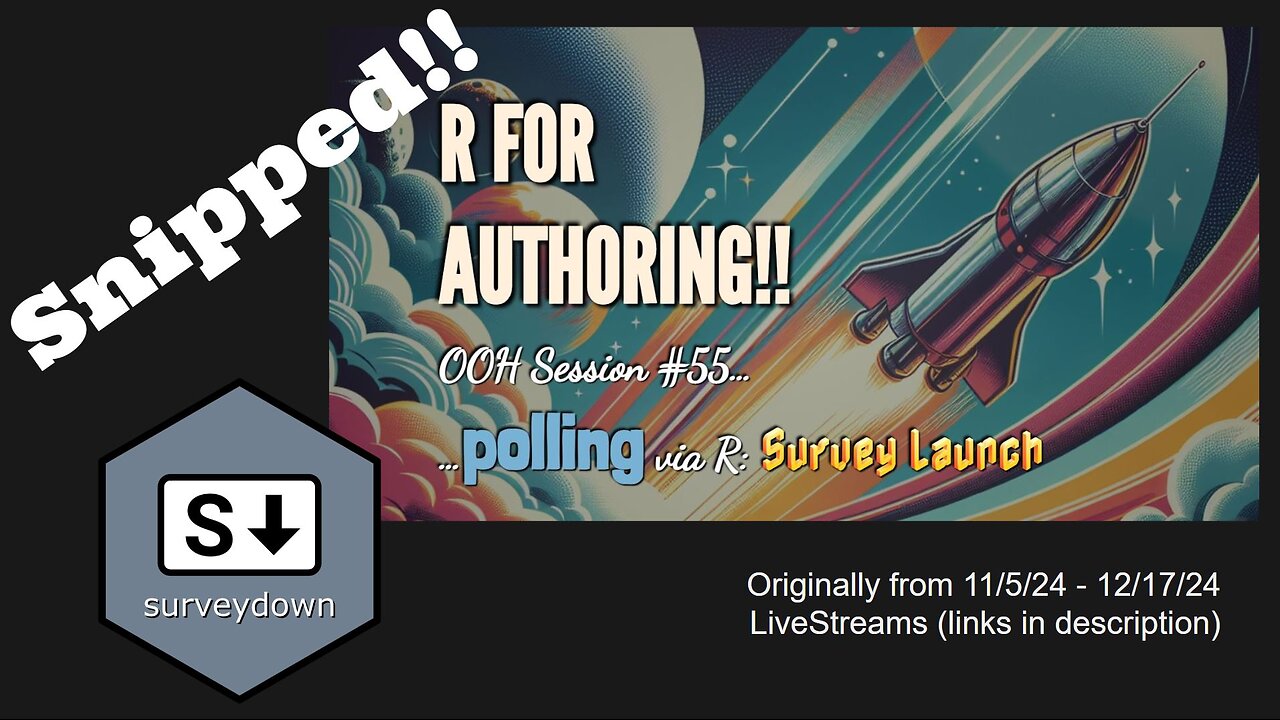
Building and deploying a survey via R
Edited snippets from several different LiveStreams exploring `surveydown`, an R package focused on surveys. We followed the package author recommendations which culminated in 10 tangible steps:
1. install the `surveydown` package from CRAN
2. Create a template survey within an empty project directory (surveydown::sd_create_survey("path/to/folder")
3. Open the project & look for your 2 necessary template files: `survey.qmd` and `app.R`
4. Modify content within the `survey.qmd` file to reflect your survey content (items and responses)
5. Run the `app.R` file template (within your project folder) for a preview of your survey*
6. Create a Supabase account (if that's the service you'd like to use to store your responses)
7. Set the Supabase password within your project folder (surveydown::sd_set_password("your_supabase_password")
8. Transfer the 4 Supabase "Connection Parameters" (Host, Database Name, Port, and User) into your `app.R` file
9. Launch the survey by hosting the rendered survey somewhere (Posit has a few free options for low volume surveys)
10. Access survey responses from Supabase -- look for your named data table
Don't expect the "preview" of your survey content (e.g., a rendering of the `survey.qmd` file) to be an accurate representation of what your survey will "look like" from the perspective of the respondents.
Extra bits:
A) CSS can be applied for customization of item styling (e.g., font, color, background, etc)
B) Conditional logic (e.g., skip question administration) can be built into the `app.R` file -- check out the "Survey Tinkering" LiveStream for an application: • R for Authoring Open Office Hours #56...
More information on `surveydown` is available at https://surveydown.org/ -- their workflow is changing but backwards-compatible, so your content specifications can be made more & more efficient if you wish
Original (unedited) LiveStreams documenting our exploration into `surveydown` can be accessed below:
• https://www.youtube.com/watch?v=4wyejw96PM8 (intro)
• https://www.youtube.com/watch?v=gG_dS6Xfn4Q (.qmd)
• https://www.youtube.com/watch?v=CmXjSxoELao (Shiny)
• https://www.youtube.com/watch?v=-K1ChH--bqM&t=15s (data)
• https://www.youtube.com/watch?v=GgW87oQKGQ8&t=664s (deploy)
There's an additional video on tinkering and tweaking (e.g., conditional logic) that we did not include in the current summary:
• https://www.youtube.com/watch?v=MB_31sKVys0&t=4s (tweaking and tinkering)
00:00 - Setup (Installations)
01:12 - Item specifications (.qmd)
01:37 - Add response options (.qmd)
01:53 - Respondent view
02:32 - Render .qmd via Shiny
03:04 - Tweak survey appearance
04:16 - Overview
04:54 - Data storage (Supabase)
05:50 - app.R content from Supabase
07:00 - publishing via shinyapps
07:19 - Ian provides survey responses
07:42 - retrieving responses from Supabase
08:08 - exporting .csv from Supabase
08:17 - reading in .csv and looking at data
-
 LIVE
LIVE
IamNibz
7 hours ago $0.77 earned6-7 Minecraft Stream
66 watching -
 36:53
36:53
daniellesmithab
3 days agoSupporting Alberta's Teachers and Students
109K23 -
 1:25:28
VapinGamers
2 hours ago $0.44 earnedTools of the Trade - Lights, Camera, Go Live with Joker - !rumbot !music
6.32K2 -
 14:38
14:38
Nikko Ortiz
21 hours agoADHD vs Autism
71.2K48 -
 LIVE
LIVE
TonYGaMinG
2 hours ago🟢 INDUSTRIA 2 PLAYTEST / ACTIVE MATTER LATER
77 watching -
 LIVE
LIVE
FoeDubb
2 hours ago🏰KINGDOM MENU: 🎮SHORT SATURDAY SESH ON DECK DILLY DILLY!!
89 watching -
 2:09:04
GlizzyPrinceChristian
2 hours agoCOD SATURDAYS DIGGY DIGGY DIGGY| We Testing Out This Beta
5.91K2 -
 LIVE
LIVE
MrR4ger
5 hours agoSCARETOBER DAY 4 - AMNESIA: THE BUNKER - ACTIVE MATTER WITH GUMO AN TONY #PARTNERED STREAM
25 watching -
 6:29:28
FyrBorne
15 hours ago🔴Warzone/Black Ops 7 M&K Sniping: From the Zone to Zombs
28.3K1 -
 LIVE
LIVE
blackfox87
5 hours ago🟢 SUBATHON DAY 3 | Premium Creator | #DisabledVeteran
76 watching
