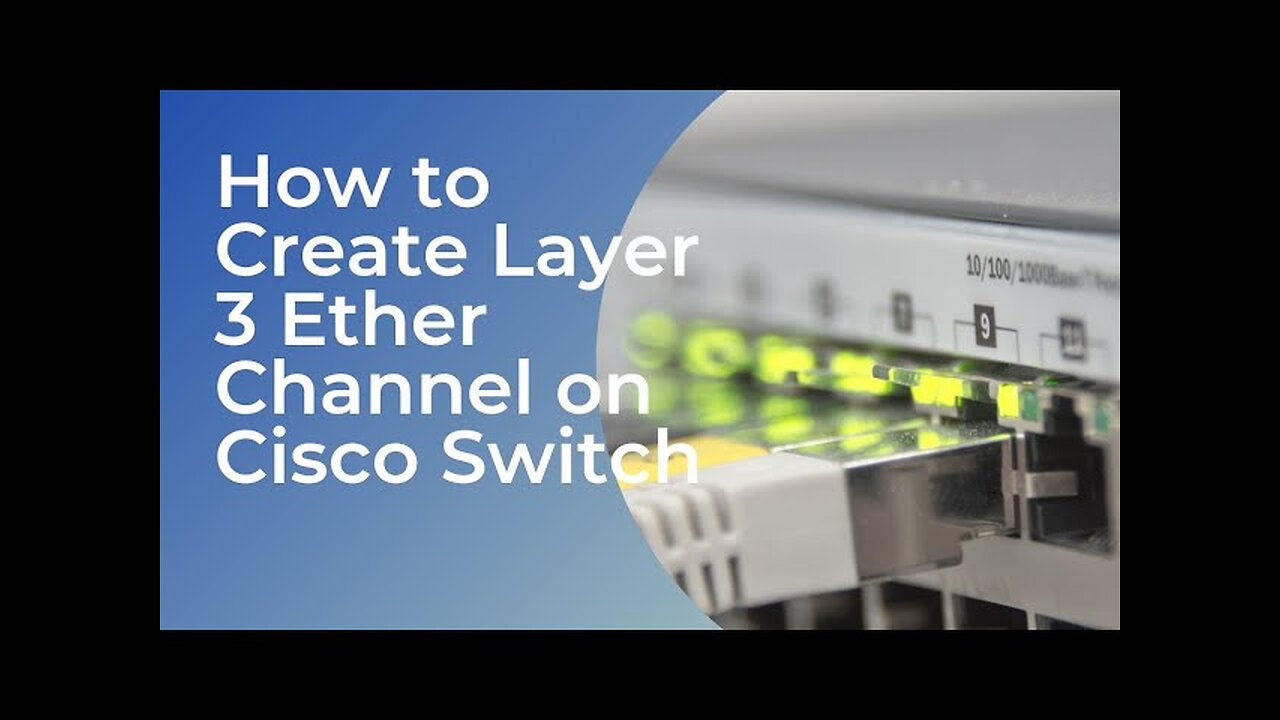
How to Create Layer 3 Ether Channel on Cisco Switch
In this video, the presenter demonstrates how to create a Layer 3 EtherChannel on Cisco switches. The process begins with the creation of VLANs 2 and 3 on two switches, assigning ports to these VLANs, and giving them IP addresses for management. The VLAN interfaces are confirmed to be up. To set up the Layer 3 EtherChannel, the presenter converts the Layer 2 ports to Layer 3 ports using the "no switchport" command. A static EtherChannel is created using the "channel-group" command, and an IP address is assigned to the port channel interface rather than the physical interfaces to avoid routing issues. The same steps are repeated on the second switch, ensuring both switches have the Layer 3 EtherChannel configured. The status of the EtherChannel can be checked with the "show etherchannel summary" command, which indicates that the Layer 3 EtherChannel is active. To enable communication between VLAN 2 and VLAN 3, IP routing must be enabled on both switches, followed by adding appropriate routes. The presenter concludes by demonstrating a ping test between two PCs, noting that the first ping may time out as the ARP table is being built. The video wraps up with a reminder to check the routing path using traceroute.
**Timestamps**
00:00 Intro to Layer 3 EtherChannel
00:08 Topology Overview and VLANs
00:15 Creating VLANs on Switches
01:02 Assigning IP Addresses to VLANs
02:42 Creating Layer 3 EtherChannel
03:10 Converting Layer 2 Ports to Layer 3
04:25 Configuring IP Address on Port Channel
05:07 Setting Up Routed Ports on Second Switch
06:04 Checking EtherChannel Status
06:20 Enabling Routing Between VLANs
07:34 Pinging Between PCs
08:07 Traceroute Explanation
08:15 Conclusion and Thanks
-
 2:25:16
Demons Row
12 hours ago $3.17 earnedEx Hells Angels MC President: Charles “Peewee”Goldsmith (Full Interview)
8.52K3 -
 3:35
3:35
Gamazda
10 hours ago $4.13 earnedThe Darkest Piano Theme?
13.6K18 -
 13:42
13:42
Nate The Lawyer
19 hours ago $3.07 earnedINSANE Judge REMOVED For Lying Under Oath, Insurance Fraud & Stolen Valor
10.3K14 -
 38:32
38:32
Code Blue Cam
1 day agoHow Police Stopped a Potential Church Massacre...
42.8K12 -
 24:26
24:26
Actual Justice Warrior
1 day agoWelfare Queens RAGE OUT Over Food Stamp Cuts
16.5K49 -
 3:05:11
Inverted World Live
11 hours agoThe Halloween Special with Drea De Matteo and Sam Tripoli | Ep. 133
365K16 -
 2:57:52
Laura Loomer
13 hours agoEP154: Naturalized US Navy Medic From GAZA Exposed For Ties To Hamas
50.2K29 -
 35:45
35:45
Stephen Gardner
16 hours ago🔴BREAKING: Election Auditor EXPOSES Democrat Election Fraud Evidence!
57.4K75 -
 15:48
15:48
Sponsored By Jesus Podcast
20 hours agoHow to Stop Being JEALOUS | When Comparison Steals Your Joy
24.8K13 -
 3:56:59
DLDAfterDark
11 hours ago $20.79 earnedDon't Worry - Things Will Get SO Much Worse! Sometimes It Be Like That
40.1K9