Premium Only Content
This video is only available to Rumble Premium subscribers. Subscribe to
enjoy exclusive content and ad-free viewing.

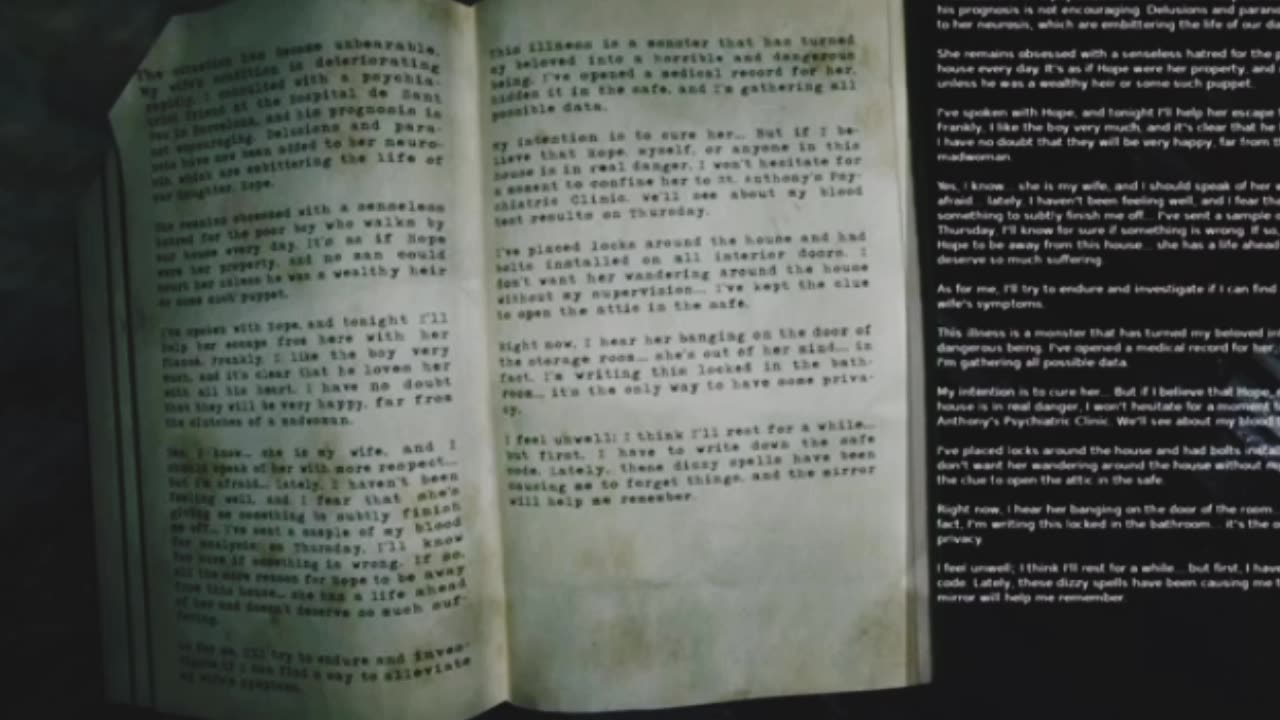
Portrait of a Torn Walkthrough: Part 2
9 days ago
12
Entertainment
Weird Mysteries
Portrait of a Torn
walkthrough
no commentary
horror
creepypasta
horror story
"Portrait of a Torn" walkthrough with no commentary.
Loading 1 comment...
-
 1:36:20
The Quartering
4 hours agoCybertruck Psyop? Fishy New Orleans Video & FBI BUSTED In Major Coverup!
31.6K28 -
 2:08:45
Tucker Carlson
4 hours agoBernard Hudson: New Orleans Attack, Cybertruck Explosion, CIA Corruption, & Tusli Gabbard
93K123 -
 8:33
8:33
Chef Donny
2 hours agoWarm Up With Some Delicious Wild Rice Soup| Tasty Tailgating Ep. 16 Presented By Pepsi
2.52K3 -
 9:35
9:35
SLS - Street League Skateboarding
10 days agoHow Sora Shirai Won SLS Tokyo 2024 | Best Tricks
5.74K2 -
 LIVE
LIVE
GingerDonkey
3 hours agoThe DONKEY Barn is open for business
438 watching -
 40:12
40:12
jessedalba
17 hours ago $0.44 earnedRumble Movie:“Riding an Electric Harley 2,500 Miles to Sturgis… What Could Go Wrong?!”
7.45K9 -
 10:22
10:22
Dr Disrespect
3 days agoDR DISRESPECT - 2024 RECAP
50.7K78 -
 18:03
18:03
Neil McCoy-Ward
6 hours agoThe US 'INCIDENTS' Are just The Tip Of The Iceberg...
12.1K4 -
 1:33:19
Tactical Advisor
6 hours agoThe Vault Room Podcast 007 | Terrorist Attacks Update
46.3K3 -
 18:08
18:08
ROSE UNPLUGGED
23 hours agoAn Air of Optimism for 2025: Can You Feel It?
8.95K4