Premium Only Content

Daisy 853 Air Rifle - Repair, Refinish, and General Overhaul
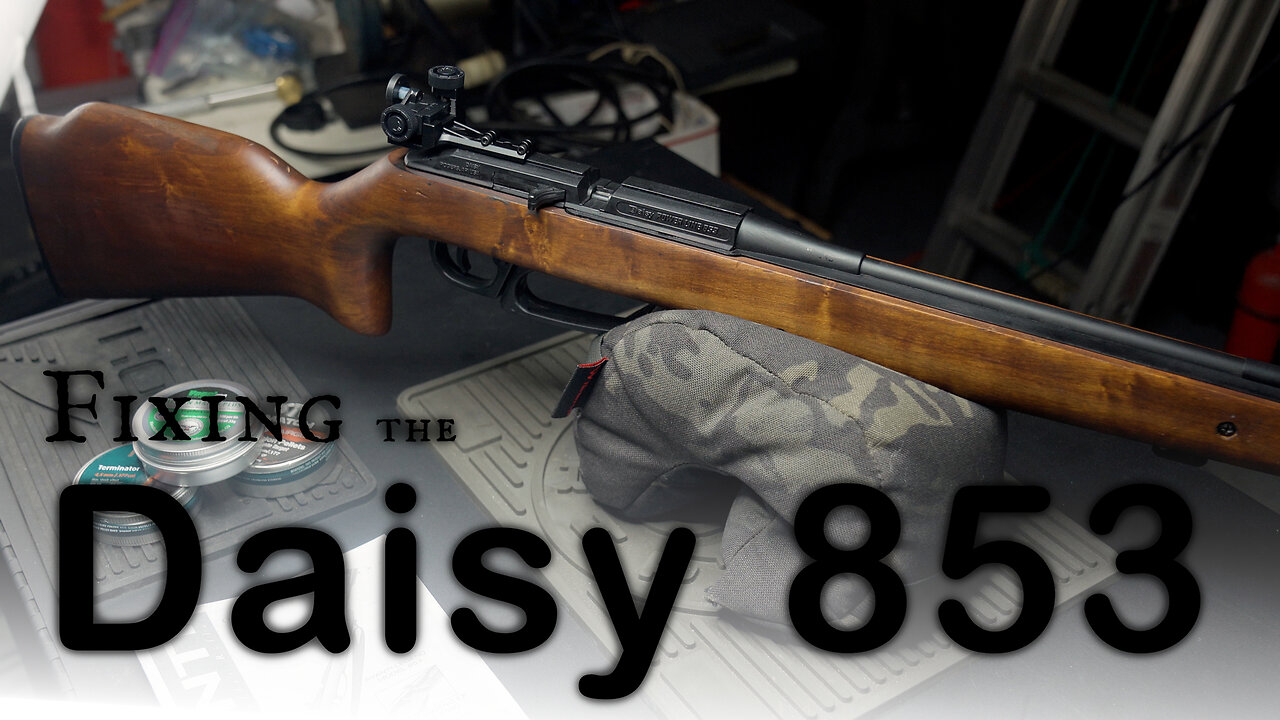
For today’s fare, I present: Overhauling a Daisy 853.
This rifle was purchased in used and refurbished condition. By all accounts, it was in fine firing form and could have run with no issues. I had noticed a few minor issues that I wanted to correct, and decided that it would be a good opportunity to pull the air rifle apart to see what made it tick.
The issues that I wanted to correct:
Loose or damaged screws
Receiver that did not seat properly
Cracked stock
Upon opening up the rifle, I also noticed that one of the trigger springs was not seated properly. It was added to the list subsequently. While I was adding repairs to the list, I decided to also add a complete refinish in my preferred color scheme (not so dark and dull as the pre-existing finish on the rifle).
The next step is, of course, Disassembly.
The stock separates from the metal parts with the removal of two screws sets. One screw back behind the trigger, one screw (and catcher) about midway down the forend. Once both are removed, the safety needs to be moved to a halfway position, neither safe nor fire. That provides enough clearance to pull the receiver out. Finally, the pump handle needs to be opened partially so that the handle doesn’t catch on the stock’s spacing bridge.
With the stock free, repairing the crack would take priority. I didn’t want there to be an accident that cracked the stock further, especially without any metal to hold everything together. Two small chunks of wood were removed, then the stock forced open to provide room for glue to get into the crack. I probably used more glue than was strictly necessary, but I wanted to be sure the crack wouldn’t reform.
(Glue : Gorilla wood glue)
I’ve had a bad experience repairing a cracked stock on an old shotgun, and I wanted to be extra sure that it wouldn’t reappear. To that end, I threw a couple of brass screws into the mix. They were also affixed with extra glue.
With the stock in relatively stable condition, the minor issues with the action were simple to fix. I used a sharp piece of metal to poke the spring into place. A sizing issue adjacent to the trigger (the cause of the split) took a few moments with a dremel to fix. The bridge also needed two grooves to prevent compression of the air tank's sheathe now that everything sat a bit lower.
Now the biggest segment of work was ready to begin. I wanted to take the existing finish off, but I didn't want to thin the fore-end out too much. The left and right sides of the grip were rather thin and long, and they don't have much material to lose.
I started with sandpaper, at 220 grit. Not too rough, with plenty of control. I even made my own sandpaper-holder with a foam backer so I could sand on contours without much pressure. After going over with the 220, I switched to 400. Damaged regions of the stock still held onto a bit of finish, but not enough to detract from the color I was going for.
After the sandpaper was the razor. Using a utility razor, I scraped the wood smooth. A good blade can provide a smoother surface than sandpaper, which always leaves minor grooves in the wood. Luckily, this was a fairly soft wood and easily yielded the remainder of the finish.
My wood stain was applied in 3 coats. I used a mixture of instant coffee, coffee concentrate, and Iroshizuku 'yama-guri' fountain pen ink. The pen ink provides a subtle red-brown coloration, while the coffee lends a sedimentary brown. With both in a water suspension, I trusted the stain to settle in fairly evenly.
Bonus: my rifle now smells like coffee.
Once the stain dried, I put a bit of my preferred sealant on - Howard Feed-N-Wax. It's a fairly natural sealant and conditioner, mostly beeswax and turpentine. Two coats were all the wood needed.
Reassembly was straightforward, and the reverse of the steps needed to disassemble. Everything went together tight, which was exactly what I wanted.
This Daisy 853 air rifle is ready for target practice.
00:00 Intro
00:37 Examination
01:12 Removal
02:33 Assessment
03:08 Corrections
09:39 Refinish
13:39 Assembly
15:25 Final Look
Hi-Lux On Social Media:
► Like on Facebook: https://www.facebook.com/LeatherwoodHiLuxOptics
► Follow on Instagram: https://www.instagram.com/leatherwoodoptics
► Subscribe on Youtube: https://www.youtube.com/c/hiluxinc
-
 28:36
28:36
Afshin Rattansi's Going Underground
1 day agoDoug Bandow: ENORMOUS DAMAGE Done to US’ Reputation Over Gaza, Trump ‘Easily Manipulated’ by Israel
12.9K22 -
 2:45:13
Barry Cunningham
11 hours agoCBS CAUGHT AGAIN! CHICAGO A MESS! LISA COOK IS COOKED AND MORE LABOR DAY NEWS!
82.9K38 -
 LIVE
LIVE
StevieTLIVE
5 hours agoMASSIVE Warzone Wins on Labor Day w/ Spartakus
137 watching -
 10:46:42
Rallied
11 hours ago $12.73 earnedWarzone Challenges w/ Doc & Bob
177K3 -
 3:26:25
Joe Donuts Live
4 hours ago🟢 Lost in Space with My Clones: The Alters Adventure Begins
21.6K -
 7:20:22
Dr Disrespect
13 hours ago🔴LIVE - DR DISRESPECT - TRIPLE THREAT CHALLENGE - WINNING AT EVERYTHING
203K12 -
 2:35:33
Chrono
5 hours agoBirthday-eve Stream | Helldivers II
18.4K1 -
 54:40
54:40
BonginoReport
1 day agoLABOR DAY SPECIAL! The Best of Nightly Scroll - Nightly Scroll w/ Hayley Caronia (Ep.124)
119K14 -
 2:39:21
Joker Effect
3 hours agoReviewing the downfall of Kick Streaming. Kick streamers welcome to Rumble! Stake bombshell found!
27.9K1 -
 1:06:10
Russell Brand
13 hours agoThe Greatest Lie Ever Told? - SF625
92K110