Premium Only Content

16 Page Target Tutorial - PrintMyTargets
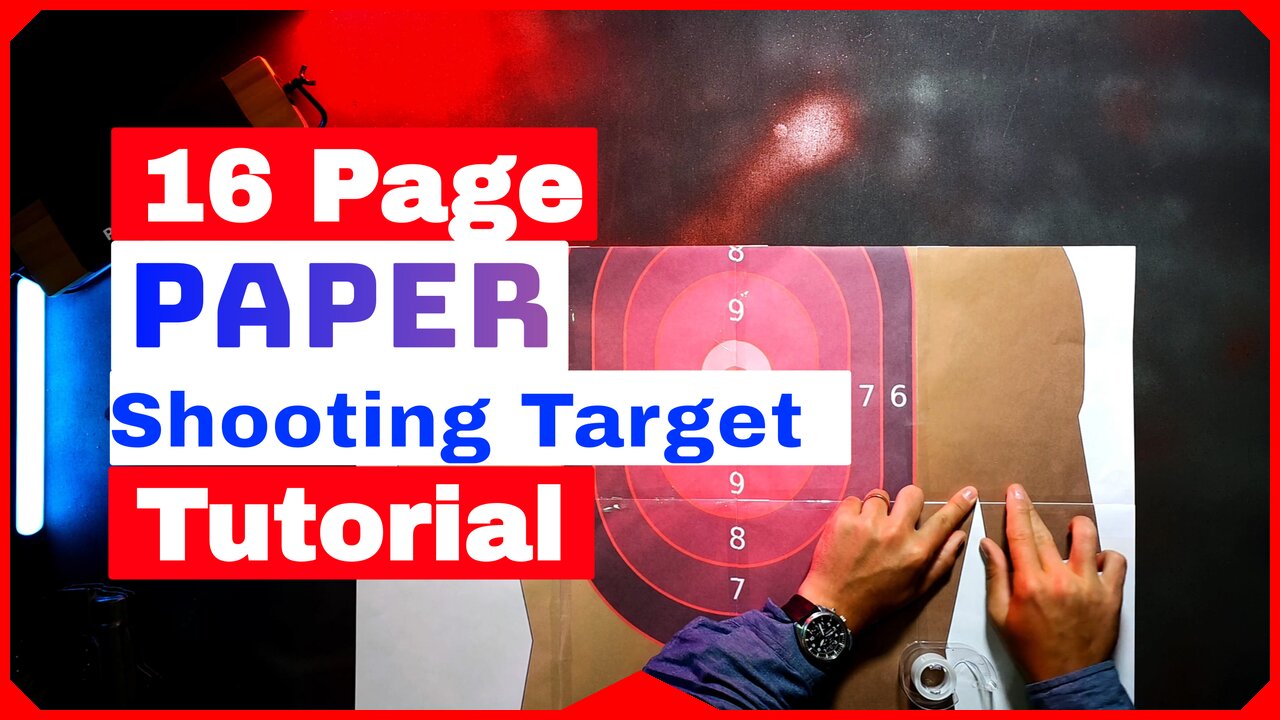
Our 16-Page target can be printed and assembled right at home. It is a much larger target version than the 1-page or 4-page targets (life size). All you need is the printed target and some tape. When printing the 16-Page PDF files, we recommend using 8.5x11" (US Letter) sized printing paper.
Check out our Step-by-Step Guide on Our Website: https://printmytargets.com/tutorials/16-page-paper-target-tutorial.html
Like the Target in the Video? Get it here:
https://printmytargets.com/product.html?product=766697379
Browse more of our targets by heading over to our website: https://printmytargets.com
What Materials Are Needed?
16 Page Paper Target & Transparent Tape
Estimated Time: 10-20 Minutes Depending on Experience
Step 1
Please assemble the 4th row (bottom row) of pages in order. The row and page numbers for each page are in the bottom right-hand corner of each page.
Step 2
Next, please fold the paper on the red dotted lines as shown in the example below. While the red dotted lines may not reach the very edge of the paper, please ensure you fold the full length of the paper when folding.
Step 3
Now, let's tape the pages together after all 4 have been properly folded. Please ensure that you tape the top and bottom edges of the paper. The middle of the page can also be taped for extra strength (recommended).
Once you are finished, please set the row to the side.
Step 4
Once you have completed row 4, you will now need to repeat the process for row 3. Please fold your pages on the red dotted lines and then tape them together.
Once you are finished, please set this completed row to the side.
Step 5
Great job. Now, you will now need to repeat the process for row 2. Please fold your pages on the red dotted lines and then tape them together.
Once you are finished, please set this completed row to the side.
Step 6
Now, please repeat the process and complete row 1 (the final row). Please fold your pages on the red dotted lines and then tape them together. Row 1 will have less folds than the previous rows had (only 3 folds).
Once you are finished, please set this completed row to the side.
Step 7
Now, please tape row 1 and row 2 together as shown in the images below. Row 2 will sit on top of the logos and text of row 1. Once you have lined up the rows and images, please tape the rows in place.
Tip: Try positioning the tape so that it sticks to 4 pages rather than just 2. This will help your target hold together much better when used at the shooting range.
And remember to tape your right and left edges.
Once you are finished, please set this completed half to the side.
Step 8
Now, please tape row 3 and row 4 together, similar to how you taped row 1 and row 2 together. (see step 7 for specific directions)
Step 9
Great, now we can finally tape the two halves together to complete our large sized (16 page) shooting target. Once again, please try positioning the tape so that it sticks to 4 pages rather than just 2. This will help your target hold together much better when used at the shooting range.
And remember to tape your left and right edges so that your target holds together properly.
Step 10 (optional)
Now that the target is complete, additional tape can be added to the backside of the target for extra durability.
Note: Adding a few strips of duct tape on the backside of the target can help make the target extremely durable.
All Done.
-
 LIVE
LIVE
Man in America
6 hours agoLIVE: Digital ID & the DEATH of Freedom—An URGENT Warning
619 watching -
 LIVE
LIVE
Tundra Tactical
2 hours ago🛑LIVE NOW!! FBI Gets Caught LYING About Good Guys With Guns For 10 YEARS!!!!
320 watching -
 LIVE
LIVE
Mally_Mouse
5 hours ago🌶️ 🥵Spicy BITE Saturday!! 🥵🌶️- Let's Play: Phasmophobia
263 watching -
 LIVE
LIVE
iCkEdMeL
1 hour agoChaos Explodes in Chicago & Portland | Feds Clash with Protesters!
446 watching -
 21:54
21:54
Exploring With Nug
1 day ago $5.97 earnedScuba Diving Missing Person Search Leads to Discovery of Classic Cars!
31.7K4 -
 LIVE
LIVE
Phyxicx
5 hours agoStar Wars: Movie Battles II Community Event hosted by ReaperAF95 - 10/4/2025
114 watching -
 1:19:51
World2Briggs
4 hours ago $1.11 earnedThe US This Week
15K2 -
 LIVE
LIVE
Joker Effect
1 hour ago"MAKE STREAMING GREAT AGAIN" - Brands Step Up Finally. Birth of Rumble Community. Taking Leadership
448 watching -
 LIVE
LIVE
Illyes Jr Gaming
5 hours ago"Machine Gun" Takes On BLACK OPS 7 Beta DAY 3!!!
27 watching -
 LIVE
LIVE
Damysus Gaming
1 hour agoBorderlands 4 - AMON Vs Timekeeper!! Lets Grind This OUT!!
19 watching
