Premium Only Content

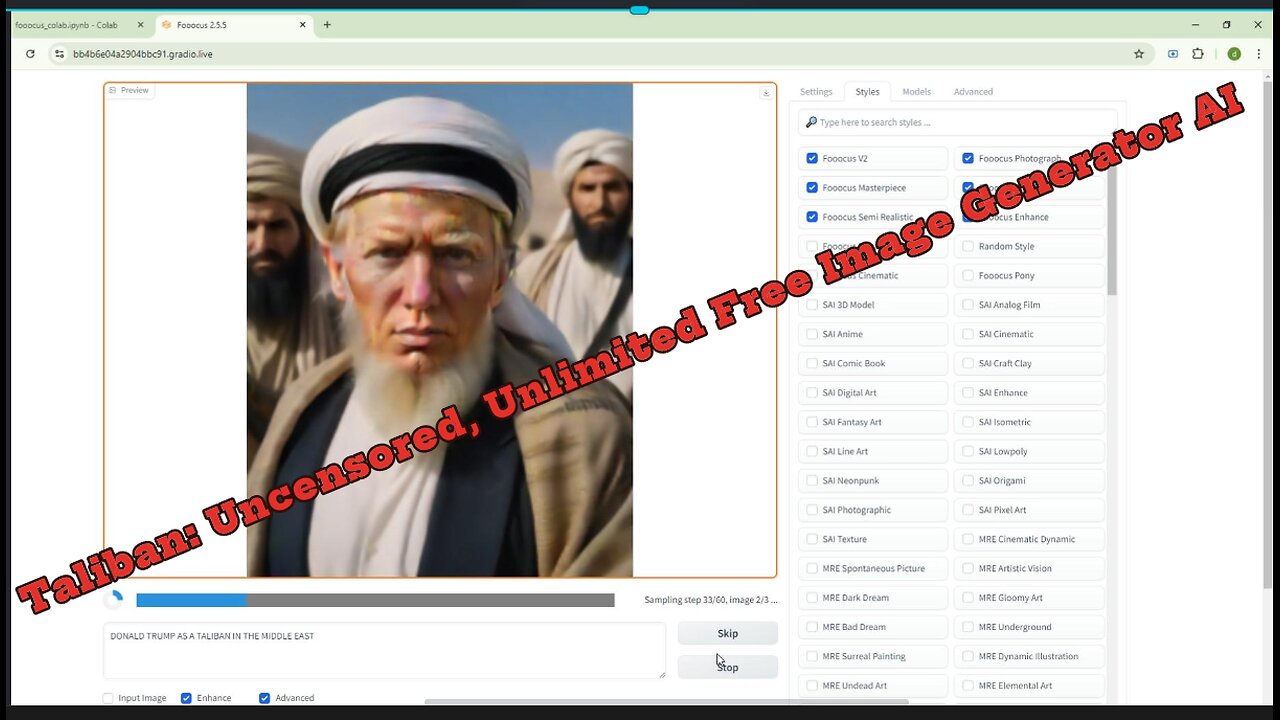
UNCENSORED AI IMAGE GENERATOR: You can Generate Image Using any Prompt You Want!!
To set up Fooocus on Google Colab for generating unlimited free uncensored AI images without needing coding knowledge, here’s a simplified step-by-step guide:
Step-by-Step Guide:
Go to the Fooocus Colab GitHub Repository:
Search for a Colab link directly from the Fooocus GitHub repository or any discussion forums. Typically, the author provides links to Colab notebooks that are already pre-configured.
Here's how you might find it:
Open the Fooocus GitHub repository (search "Fooocus GitHub" on Google).
Look in the README section or under Releases for Colab links. The links might look like this: https://colab.research.google.com/xyz.
Open the Google Colab Notebook:
Once you find the Colab notebook link, click on it. This will open Google Colab with a pre-made script.
You don't need to write any code! Everything is already set up for you.
Connect to a GPU:
At the top of the Colab page, click the "Connect" button. This connects you to a virtual machine with a GPU, which is necessary for AI image generation.
Run the Notebook Cells:
Colab notebooks are divided into cells, and each cell contains code. Since you don’t need to understand the code, just do the following:
Click on the Play button (triangle) next to the first cell to start running it.
If any pop-up messages appear asking for permissions or confirmations, simply agree or click “Run Anyway” to allow the notebook to run.
Login to Hugging Face (If Needed):
Some notebooks will require a Hugging Face account to download the models (such as Stable Diffusion) for image generation.
If prompted:
Go to Hugging Face, create an account, and navigate to your profile settings.
Generate an Access Token in your account settings.
Copy the token and paste it into the Colab notebook when prompted.
Set Image Generation Parameters:
The notebook will usually include options where you can enter a prompt (description of the image you want).
Look for sections that ask for input, such as:
Prompt: Describe what kind of image you want. For example, "a beautiful mountain landscape at sunset."
Number of images: Set how many images you want to generate.
Resolution: You can leave this at default if you don’t need high-resolution images.
Start Generating Images:
After setting up the parameters, find the cell that starts the image generation (usually near the bottom of the notebook). Click Run to start generating images.
The images will be displayed directly in the notebook when they are ready.
Download Images:
Once the images are generated, there will be an option to download them directly to your computer. Just click the download button next to the generated images.
-
 LIVE
LIVE
Dr. Eric Berg
4 days agoThe Dr. Berg Show LIVE October 10, 2025
252 watching -
 LIVE
LIVE
LFA TV
12 hours agoLIVE & BREAKING NEWS! | FRIDAY 10/10/25
3,927 watching -
 59:17
59:17
VINCE
3 hours agoBig Tish Gets A Taste Of Her Own Medicine | Episode 144 - 10/10/25
134K126 -
 1:57:56
Right Side Broadcasting Network
3 hours agoLIVE REPLAY: First Lady Melania Trump Makes an Announcement - 10/10/25
32.9K28 -
 LIVE
LIVE
Caleb Hammer
3 hours agoHe's So F*cked (I brought in his mom) | Financial Audit
140 watching -
 LIVE
LIVE
The Big Mig™
3 hours agoLetitia James Indicted FINALLY! More Indictments Coming
5,208 watching -
 LIVE
LIVE
Bannons War Room
7 months agoWarRoom Live
11,821 watching -
 1:01:19
Benny Johnson
2 hours ago🚨TRUMP CURSE: Letitia James INDICTED For CRIMINAL Bank Fraud, Headed to PRISON?! | 'DC in PANIC'
29.1K23 -
 1:07:15
Dear America
3 hours ago30 Days Since Charlie’s Martyrdom — Where Is America Headed? | Exclusive with SecWar Pete Hegseth!
99.4K57 -
 LIVE
LIVE
Badlands Media
12 hours agoBadlands Daily: October 10, 2025
2,272 watching