Premium Only Content

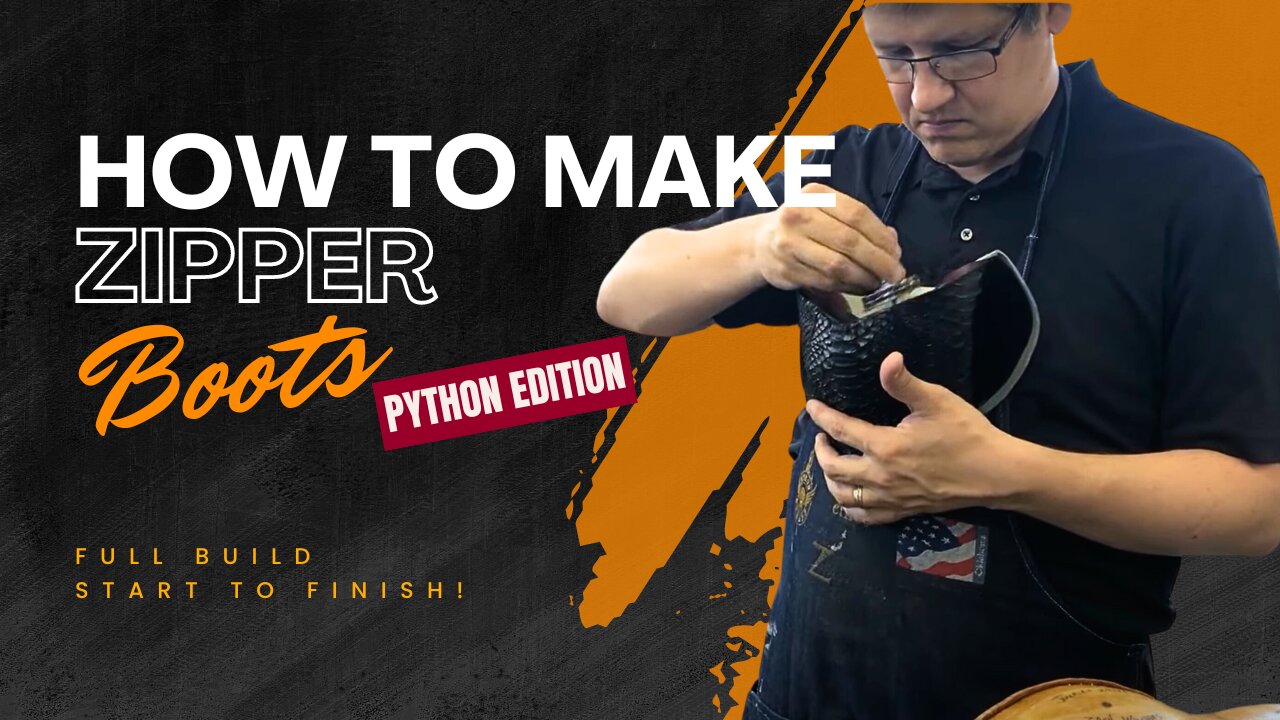
Building Custom Python Boots- Start to Finish
Go through each step of building a pair of custom python zipper boots with Bootmaker, Chad Little, from Old Boot Factory and Eradawn Entertainment. In this video, Chad hones in on each step of the process, and lets the camera do the talking.
Contents of video.
00:00 - Intro
00:58 - Tracing The Patterns
02:10 - Cutting Patterns
03:00 - Cutting Out The Backed Patterns
04:38 - Skiving Patterns
05:30 - Making The Piping
07:13 - Cutting and Skiving Straps
09:28 - Sewing Straps
10:23 - Sewing The Heel Area
11:20 - Gluing The Piping
12:24 - Cutting Out The Counter Covers
13:16 - Gluing The Counter Covers
14:00 - Sewing The Counter Cover
15:16 - Tying Off The Thread
16:02 - Making The Zipper
17:46 - Gluing Zippers
19:40 - Gluing The Lining
20:00 - Skiving The Inside Flap
20:56 - Skiving The Flaps
22:18 - Sewing Body to Lining
23:25 - Trimming The Lining
25:22 - Cutting Out The Vamp
26:18 - Gluing Vamp to Backing
27:19 - Trimming The Vamp Backing
28:36 - Preparing The Vamps For The Body
29:44 - Skiving The Body
30:46 - Gluing The Vamp to The Body
31:51 - Cutting The Vamp Lining
32:56 - Gluing and Sticking Vamp Lining
34:41 - Trimming Vamp Lining Extra Length
35:02 - Sewing Vamp Lining
36:36 - Fine Trimming of Vamp Lining
37:46 - Getting The Slide Onto The Zipper
38:40 - Gluing Insole on Last
39:10 - Sanding The Hard Counter
40:27 - Cutting The Insole Channel
43:32 - Pre-Punching The Insole
44:47 - Gluing In The Hard Counter
46:34 - Getting The Boot Onto The Last
50:47 - Lasting The Shank Area
51:43 - Attaching The Toe Box
54:13 - Trimming The Toe Box
55:25 - Riveting The Straps
56:50 - Getting The Toe Box Set
59:32 - Trimming The Leather
1:00:49 - Welting
1:03:25 - Removing The Tacks
1:04:12 - Trimming Excess Leather
1:05:20 - Preparing The Shank Spring
1:06:24 - Setting In The Shank Spring
1:07:03 - Skiving and Gluing The Ring Straps
1:08:16 - Lacing In The Shank
1:09:46 - Setting The Ring Straps
1:10:08 - Sole Filler
1:11:51 - Trimming Sole Filler
1:13:06 - Gluing Front and Back Straps
1:13:58 - Gluing Filler
1:15:32 - Setting The Outsole
1:16:29 - Trimming The Sole
1:19:29 - Stitching The Sole
1:20:11 - Prepping The Sole For Pegs
1:21:32 - Pegs
1:22:20 - Gluing The Heel Block
1:23:18 - Nailing On The Heel Block
1:25:51 - Sanding The Heel Block
1:26:14 - Roughing and Gluing The Heel Cap
1:26:51 - Removing The Last
1:27:17 - Shaping The Heel
1:29:31 - Gluing The Chain To The Strap
1:30:16 - Stitching The Chain and Strap
1:32:35 - Trimming The Chain Strap
1:33:17 - Attaching The Chain Strap
1:34:45 - Riveting The Chain Strap
1:35:30 - Sanding The Sole and Heel
1:38:08 - Brushing The Sole
1:39:02 - Stenciling Chain Design
1:40:33 - Airbrushing The Sole
1:42:21 - Finishing
1:45:27 - Final Product
Please like and share, and leave us some comments, suggestions, or any other thoughts you might have!
Shot in HD with Canon 5D Mark II and Mark III by Videographer Cody Beitz of Eradawn Media.
facebook.com/eradawnstraps
eradawnstraps.com
-
 LIVE
LIVE
Drew Hernandez
21 hours agoCANDACE OWENS ASSASSINATION PLOT?
1,367 watching -
 1:05:15
Inverted World Live
6 hours agoOne Big Happy Thanksgiving | Ep. 147
72.3K5 -
 2:44:12
TimcastIRL
5 hours agoCandace Owens OFF AIR, Warns France Trying To KILL HER, Says Feds CONFIRM RECEIPT | Timcast IRL
205K144 -

SpartakusLIVE
6 hours ago#1 King of Content ARRIVES, The Masses UNDULATE with EXCITEMENT
39.3K2 -
 15:51
15:51
Upper Echelon Gamers
7 hours ago $1.27 earned"INFLUENCERS" - House of LIES
16.6K2 -
 1:29:23
Glenn Greenwald
8 hours agoMarco Rubio, Europe Thwart Ukraine Peace Deal; NSA Illegally Leaks Steve Witkoff's Diplomatic Calls; Bari Weiss's Comically Out of Touch Plan for CBS | SYSTEM UPDATE #550
149K90 -
 51:15
51:15
State of the Second Podcast
10 hours agoCan You Trust Paid Gun Reviews? (ft. Tactical Advisor)
31.2K3 -
 8:56
8:56
MetatronGaming
8 hours agoSuper Nintendo NA vs PAL
36.7K8 -
 20:02
20:02
Scammer Payback
10 hours agoHijacking a Scammer Group's Live Video Calls
16.1K4 -
 3:18:30
Nikko Ortiz
8 hours agoArc Raiders 1st Gameplay... | Rumble LIVE
43.2K2