How to Build Your Own Acoustic Panels
#DIY #homerecording #acousticpanel
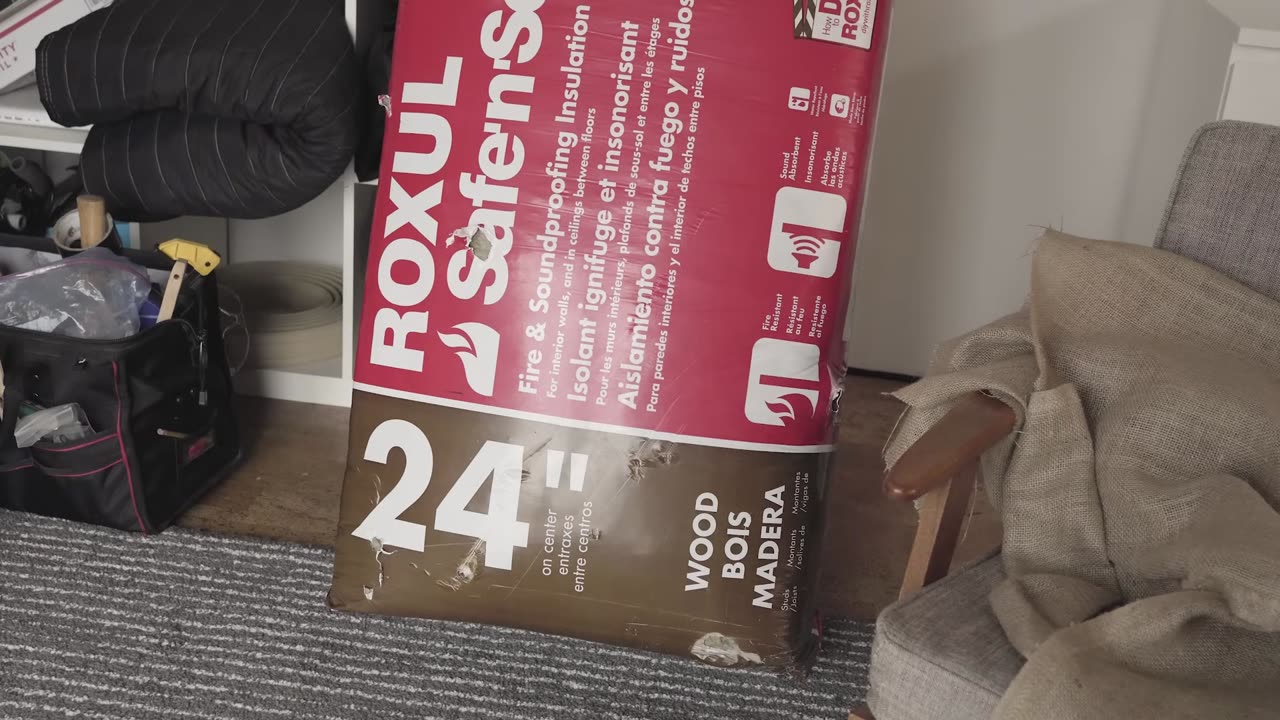
How do you dramatically improve your audio? Record in a space that's treated for sound. Below are all the tools, materials & instructions for building affordable acoustic panels. DIY Kit:
Total cost per panel: ~$25 and weighs 12-13lbs.
Music by PremiumBeat.com.
Tracks:
Blue Notes by: Mattijs Muller
BUILD
Step 1: measure for cuts
Take one of the 1 x 4 x 8 planks and make a mark at 47" inches.
On that same plank, make the next mark at 24.5" and what is left over will be another 24.5" piece.
Repeat the measurements above on another 1 x 4 x 8 plank.
Take another 1 x 4 x8 plank and make marks for two 47" pieces.
Take the 1 x 3 x 10 plank and make a mark every 9 inches. Then make a mark for two 23" pieces.
Start with the top of bottom side, wrap your fabric around the frame and place one staple into the middle and one into each corner.
Go to the opposite side and repeat the same process, remembering to pull tight as you staple.
Go to the side of the panel do this same process, one staple in the middle and each corner.
Turn over the entire panel and make sure your covering is tight across the panel.
Flip the panel back over and proceed to insert one staple approximately every inch, going around the entire panel, pulling tight as you go.
For the corners, fold the excess fabric in half forming a 45 degree angle and wrap it around the top and bottom corners of the panel, pull tight and staple to the back.
Step 5: finishing and hanging
To finish the panel, attach two 1-1/4" cork stoppers to each of the bottom corners of your panel. This will create space between the wall and your panel so that sound reflections can get trapped in the back of the panel.
To attach to the wall, I used one eye lag screw that allowed me to go straight into a stud and another screw with a wall anchor so that I didn't have to worry about finding another stud and could place the screws any distance I needed.
I made two holes in the back of the panel and hung them on the wall screws that I left a couple inches out from the wall to create enough space to create a gap between the panel and the wall.
-
 LIVE
LIVE
Rallied
2 hours ago $0.76 earnedWarzone Solo Challenges
387 watching -
 57:40
57:40
MattMorseTV
2 hours ago $2.84 earned🔴Trump just SHATTERED the RECORD.🔴
9.69K38 -
 LIVE
LIVE
Total Horse Channel
4 hours ago2025 CSI3* A Coruña Porsche - Grand Prix
60 watching -
 UPCOMING
Badlands Media
15 hours agoThe SITREP Ep. 128
8.11K -
 LIVE
LIVE
Mally_Mouse
1 hour agoThrowback Thursday! Let's Play: Cuphead
142 watching -
 LIVE
LIVE
StevieTLIVE
1 hour agoWarzone HYPE Duos with GloryJean
30 watching -
 1:05:11
Donald Trump Jr.
3 hours agoBuilding the Future with American Bitcoin, Plus Eric's Triggered Debut! | TRIGGERED Ep.272
94.2K53 -
 LIVE
LIVE
MissesMaam
6 hours agoLetting a Game from 2009 RageBait Me | Achievement Hunting PVZ 💚✨
37 watching -
 1:01:40
The Nick DiPaolo Show Channel
5 hours agoTrump Waiting On Tariff Ruling | The Nick Di Paolo Show #1788
22.7K21 -
 LIVE
LIVE
jordobombay
2 hours agoWarzone Update, Massive Day For The Unemployed
13 watching