Premium Only Content

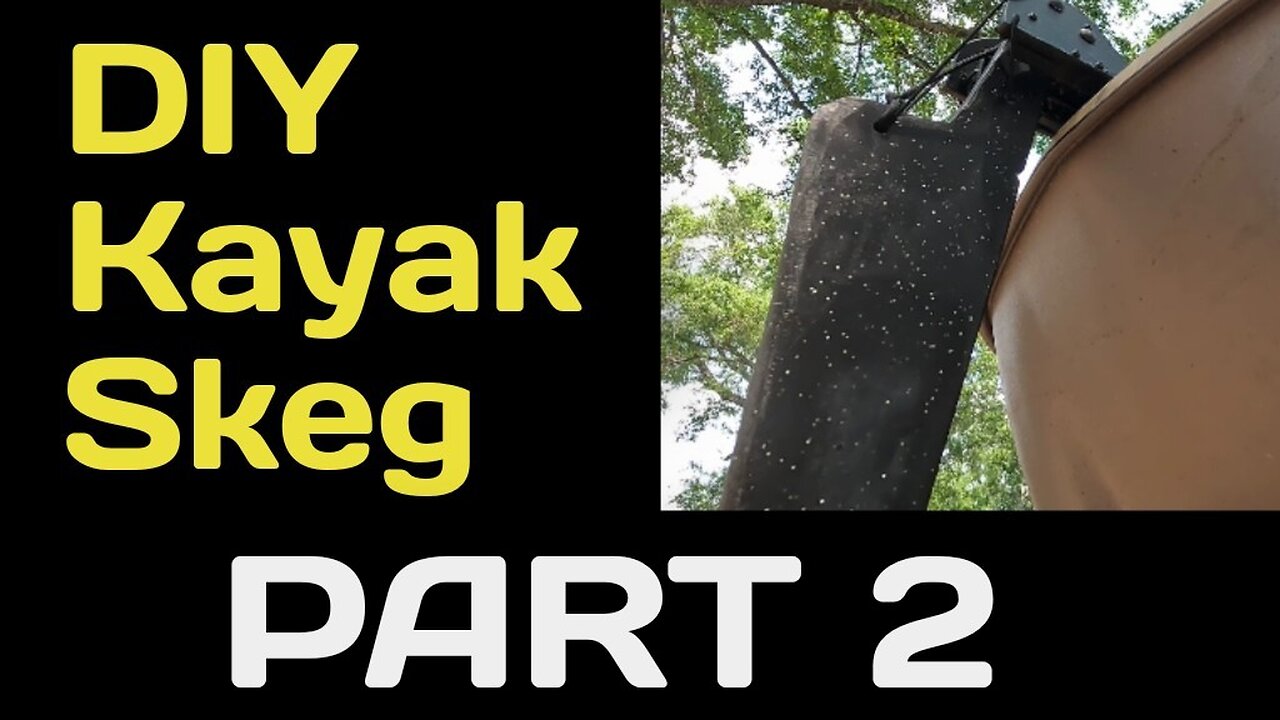
DIY Retractable Kayak Skeg Build {Part 2}
In a previous #kayakfishing video, Ken was talking about how his @PelicanSportVideos #Catch Classic 100 #fishing #kayak was giving him weathercocking issues. Weathercocking is when wind, water currents, and other elements causes a vessel not to run true. In that video, he talked about a trolling motor being a solution. After talking with his neighbor, he decided to go with a #DIY #skeg build instead. In part 1 of a multi-part series, Ken invoked his inner @zoffinger to make a DIY retractable skeg. In part 2 of this series, Ken continues his work.
During this process, he naturally has issues with his @GoPro and #Akaso #actioncamera overheating, causing the ultimate malfunction of multiple micro SD cards.
Remember, this project took multiple weeks to complete. This was not a one or two day job. It is Ken's philosophy that a #doityourselfproject should only be done when it is either cheaper/better than products in the market OR when there isn't a similar product available in the marketplace. In this case, #rudder attachments are available for kayaks but not skegs. The finished product ended up costing Ken what a kayak rudder normally costs on Amazon and elsewhere.
Part 3 of this series will be the conclusion where Ken makes all of the final adjustments, takes the skeg out on a #fishingtrip, and gives a his final thoughts.
Thank you for watching! Please like this video if you find it entertaining and of value. Comment if you have any thoughts as we'd love to hear from you. Remember to subscribe (it's FREE!) if you haven't already and hit that notification bell so you can be alerted when the next part in this series comes out.
Table of Contents
Intro 0:00-00:30
Recap 00:31-06:11
Part 2 of Fitting and Adjusting 06:12-15:21
Skeg Blade Adjustments 15:22-29:45
Stop Right There (Blue Pill Option) 29:46-30:54
Working on the Deployment/Retraction System (Red Pill Option) 30:55-54:12
End 54:13-55:04
-
 14:51
14:51
Ken Johnson Channel
5 days agoUnboxing of the DEZEX 16.5 FT Telescopic Aluminum Work Ladder
151 -
 26:00
26:00
Neil McCoy-Ward
4 hours agoAnd So It Begins… ('Carbon' Food Quotas Are HERE)
3.21K6 -
 LIVE
LIVE
The Big Mig™
3 hours agoWTF? Letitia James & James Comey Charges Dropped
2,766 watching -
 1:09:24
Chad Prather
17 hours agoWe Must Obey God: The Gospel That Cannot Be Silenced
66.1K26 -
 1:04:27
The Mike Schwartz Show
2 hours agoTHE MIKE SCHWARTZ SHOW with DR. MICHAEL J SCHWARTZ 11-25-2025
2.9K6 -
 4:50
4:50
Captain Peach
6 days ago $7.18 earned5 Ways Game Trailers Lie
52.6K4 -
 18:06
18:06
We Got Receipts
20 hours agoLatest EBT Meltdowns That Are Actually Funny!
27.4K27 -
 42:00
42:00
Based Campwith Simone and Malcolm
4 days agoNYT Brands Divorce as the Cool New Trend for Gen Z Girls
31.5K8 -
 11:43
11:43
VSOGunChannel
22 hours ago $3.96 earnedThe Gun Control the Trump Admin is Fighting For
23.7K18 -
 1:03:30
A Cigar Hustlers Podcast Every Day
1 day agoEpisode 416 Epstein Files w/Matt Booth
31.3K