Building a custom PC for _Studying_ (High-end)
Building a custom PC for _Studying_ (High-end)
In this video, we'll be unboxing and building an incredible ProArt PC equipped with top-notch components, perfect for creativity, schoolwork, and a bit of gaming. A big thank you to Intel and Asus for sponsoring this video, and to Team Group for providing the RAM. Let's dive right in!
**Step 1: Unboxing**
1. **Case**: First, we have the ProArt PC case, designed for optimal airflow and aesthetics.
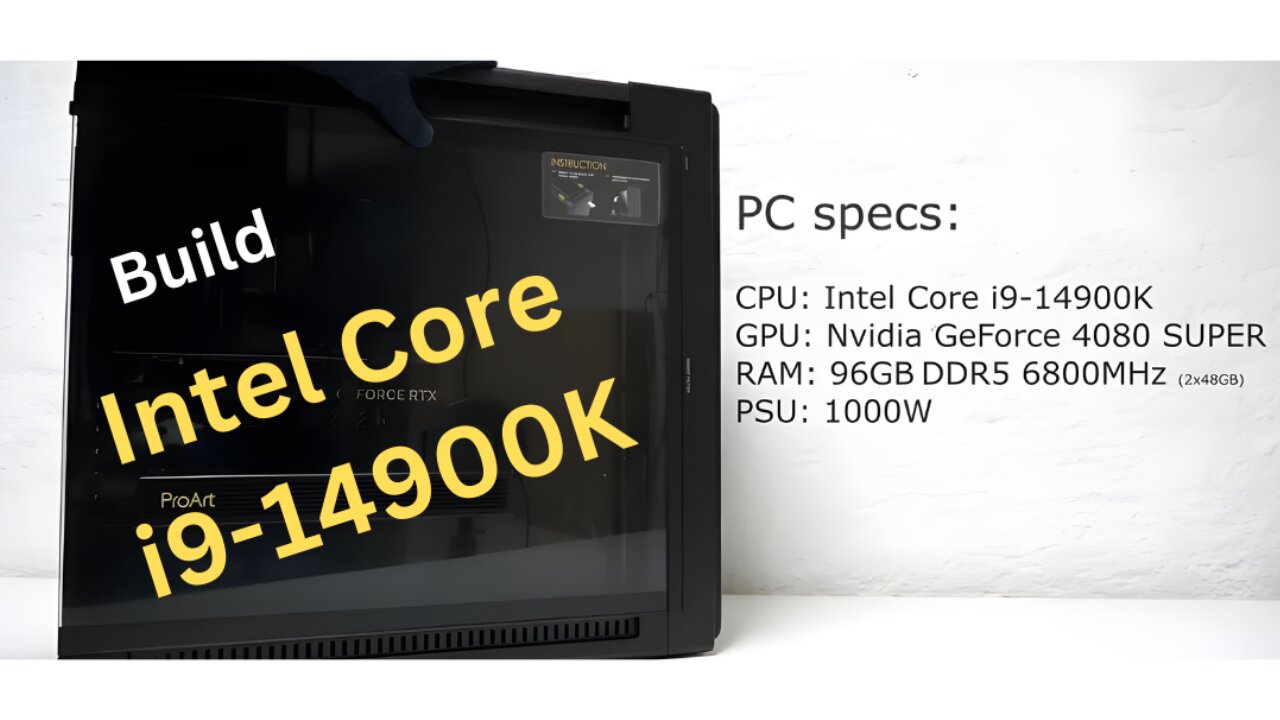
2. **Processor**: The powerhouse of our build, the Intel Core i9-14900K, known for its exceptional performance in both creative and gaming applications.
3. **Graphics Card**: The NVIDIA GeForce RTX 4080 SUPER, a beast for rendering, editing, and gaming at high settings.
4. **Motherboard**: An Asus ProArt series motherboard, built to support high-end components and provide excellent connectivity.
5. **RAM**: Courtesy of Team Group, we have high-speed DDR5 RAM to ensure smooth multitasking and performance.
6. **Storage**: NVMe SSDs for fast boot and load times.
7. **Power Supply**: A reliable, high-wattage PSU to keep everything running smoothly.
8. **Cooling**: A combination of air and liquid cooling solutions to maintain optimal temperatures.
**Step 2: Building the PC**
1. **Preparing the Case**: Open the case and ensure all pre-installed components (like fans) are secure.
2. **Installing the Motherboard**: Carefully place the motherboard into the case and screw it in place.
3. **Installing the CPU**: Gently insert the Intel Core i9-14900K into the CPU socket and secure it.
4. **Installing the RAM**: Insert the Team Group RAM sticks into the DIMM slots, ensuring they click into place.
5. **Installing Storage**: Mount the NVMe SSDs onto the motherboard and secure them.
6. **Mounting the GPU**: Slot the NVIDIA GeForce RTX 4080 SUPER into the PCIe slot and screw it in for stability.
7. **Connecting the Power Supply**: Attach all necessary power cables to the motherboard, GPU, and other components.
8. **Setting Up Cooling**: Install the cooling systems, ensuring proper placement and connection for efficient thermal management.
**Step 3: Final Checks and Booting Up**
1. **Cable Management**: Tidy up the cables to ensure good airflow and a clean look.
2. **Double-Check Connections**: Ensure all components are securely connected and there are no loose wires.
3. **First Boot**: Power on the system and enter the BIOS to check that all components are recognized.
4. **Install OS and Drivers**: Load your operating system and install all necessary drivers for the motherboard, GPU, and other peripherals.
**Conclusion**
With the ProArt PC fully assembled, you're ready to tackle any creative project, schoolwork, or gaming session with ease. This build combines powerful hardware with efficient cooling and aesthetic appeal, making it a versatile and reliable system. Thanks again to Intel, Asus, and Team Group for making this possible. Happy computing!
Don't forget to like, comment, and subscribe for more PC building videos and tech reviews. See you next time!
-
 1:02:50
Flyover Conservatives
12 hours agoEric Trump: America’s Most Subpoenaed Man SPEAKS OUT! | FOC Show
39.1K10 -
 3:36:44
PandaSub2000
1 day agoSuper Mario Galaxy 1 & 2 | ULTRA BEST AT GAMES (Original Live Version)
28.4K3 -
 1:26:04
Glenn Greenwald
10 hours agoJournalist Ken Klippenstein on Trump's New Domestic Terrorism Memo; Glenn Takes Your Questions on Bari Weiss's CBS Role, His Interview with Nick Fuentes, and More | SYSTEM UPDATE #526
95.7K75 -
 3:49:14
SynthTrax & DJ Cheezus Livestreams
2 days agoFriday Night Synthwave 80s 90s Electronica and more DJ MIX Livestream GOTH NIGHT Special Edition
51.8K6 -
 2:20:47
Mally_Mouse
5 days agoFriend Friday!! 🎉 - Let's Play! - Lockdown Protocol
46K1 -
 4:51:04
MissesMaam
7 hours ago*Spicy* Friend Friday LOCKDOWN Protocol!!! :: SpookTober 💚✨
43.9K4 -
 41:36
41:36
MattMorseTV
8 hours ago $20.53 earned🔴Portland just made a BIG MISTAKE.🔴
55.2K86 -
 13:10:23
LFA TV
1 day agoLIVE & BREAKING NEWS! | FRIDAY 10/3/25
173K46 -
 4:07:27
Nerdrotic
12 hours ago $12.24 earnedHollywood is TARIFFied, James Gunn Attacks Fans, Bill Burqa, RoP is Doomed | Friday Night Tights 374
82.2K24 -
 LIVE
LIVE
Eternal_Spartan
16 hours ago🟢 Eternal Spartan Plays Destiny 2 | The Best PVP/PVE Action!| USMC Veteran
29 watching
