Premium Only Content

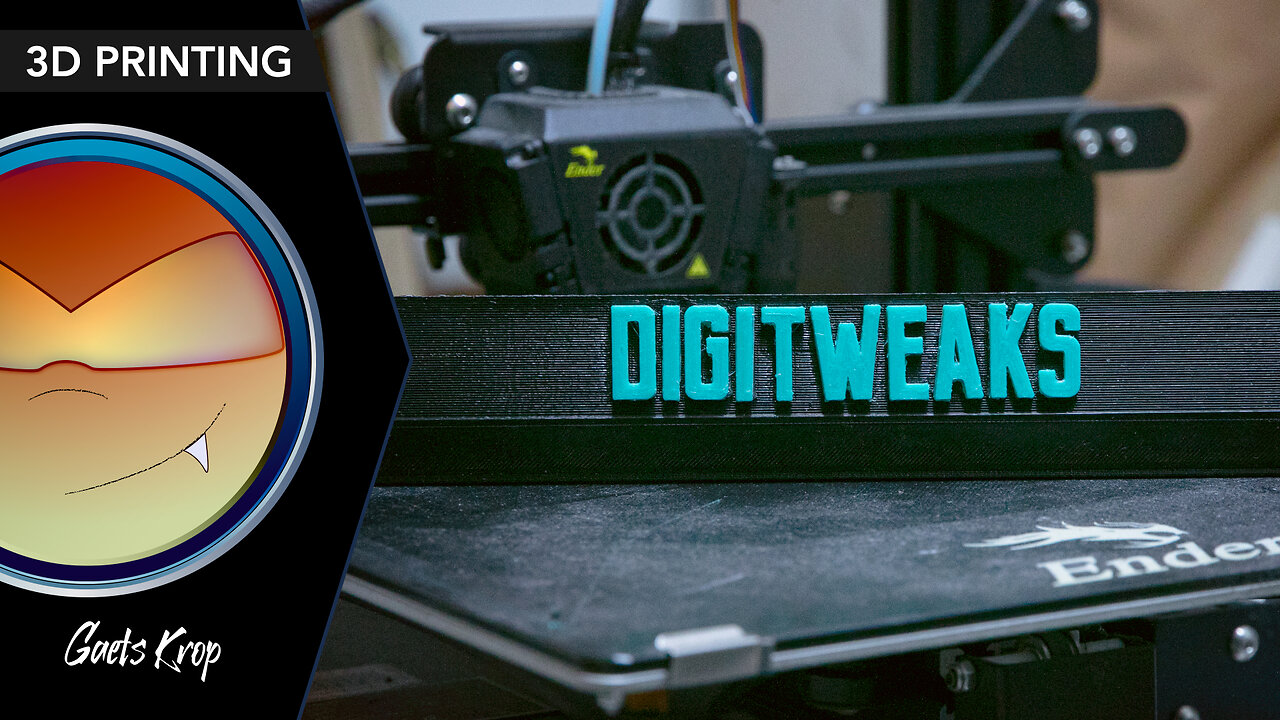
How I designed and 3d printed a logo for my stand up desk with the Creality Ender 3 Max
TIMESTAMPS
00:00 - Intro
00:16 - Taking dimensions
00:27 - Designing the logo display in Cinema 4D
00:50 - Slicing in Ultimaker Cura
01:14 - Printing the multicolor logo
03:08 - Checking if the item is at right dimensions
03:22 - The Panasonic GH4 issue
03:50 - Outro
If there's one thing that annoys me it's holes in which I can lose screws and coins, then searching for these tiny items by moving all the equipment. So instead of keeping the status quo bothering me, I prefer to 3d print an item that will fill that space and display my logo to stylize and even brand my workspace.
So I use an Ender 3 Max with SUNLU PLA 1,75 mm filament for fast prints. I have no mechanical specific requirements, as long as the item fills the space I call trenches. The 3d design is done with Cinema 4d then spliced with Ultimaker Cura.
Filmed with a Panasonic GH4 and a Canon 7d Mark II.
For business inquiries contact us at [email protected]
Whatsapp +34633761802 (Text only)
Digitweaks, Creative agency based in Barcelona
www.digitweaks.com
#digitweaks #3dprinting #3dprint #ender3max #ender3 #ender #creality #creality3d #crealityender3 #cinema4d #c4d #logo #ultimaker #cura #sunlu
-
 7:22:09
Meisters of Madness
8 hours agoOmega Gaiden - Part 4
26.4K1 -
 2:51:18
Barry Cunningham
8 hours agoBREAKING NEWS: NATIONAL GUARD ATTACK PRESS CONFERENCE AND LIVE UPDATES!
76.3K51 -
 LIVE
LIVE
SilverFox
4 hours ago🔴LIVE - ARC AT NIGHT! COME THRU!
329 watching -
 2:46:09
Joker Effect
4 hours agoCLAVICULAR - What the hell is "Looks Maxing"? Asmond Gold is a Demon. KaceyTron. Steve Will do it.
32.7K3 -
 3:31:22
SlingerGames
3 hours agoLIVE - Wumble Wednesday - BIRTHDAY STREAM!
12.6K1 -
 LIVE
LIVE
StevieTLIVE
4 hours agoWarzone Win Streaking BIG Challenges MASSIVE Hype NO Losses LOCK IN
52 watching -
 5:33:40
FrizzleMcDizzle
6 hours agoThis game is scary AF - RESIDENT EVIL 7
5.93K -
 1:03:47
TheCrucible
8 hours agoThe Extravaganza! EP: 66 (11/25/25)
95.5K14 -
 4:23:35
xxTOWERDOGxx
7 hours ago🦃Wobble Wobble, while you Gobble Gobble 🦃🟢Premium Creator🟢🪒No Shave November🪒
3K -
 2:02:38
Blabs Life
7 hours agoPART 4: Peter Jackson's King Kong: The Official Game of the Movie | Noob Plays
20.1K1