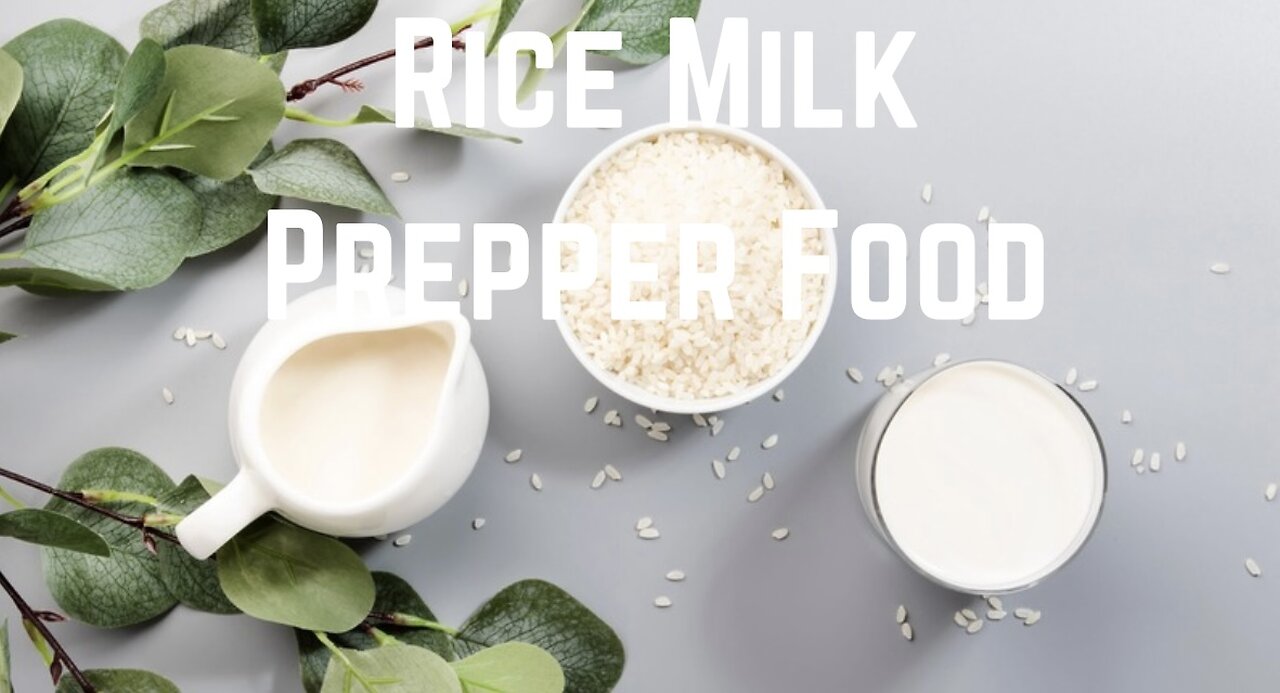
Rice Milk Prepper Food
Ingredients and equipment:
1. 1 cup (340 g) of brown rice of your choice. It can be short grain or long grain (I use long grain jasmine brown rice)
2. A glass jar (I use a quart size or bigger mason jar)
3. A sprouting screen and a band (or a piece of cheesecloth with a rubber band)
4. A container to catch the excess water
5. 4 cups (940 ml) of filtered water.
Note: In the video, I sprouted 2 cups (680 g) of rice and only used half for making the milk. I kept the other half to cook with later.
Instructions:
1. Day 1: In a jar, add the amount of the rice you want to make and cover the jar with the screen. Rinse the rice thoroughly a few times, add filtered water and soak it overnight.
2. Day 2: Dump the water and rinse well. Tilt the jar in a container, and cover it with kitchen towels to keep it dark.
Let it sprout for 2 more days., and repeat the rinsing each day
3. Day 3-4: Repeat the rinsing process.
4. Day 5: You can see tiny sprouts on all of the rice--even the broken parts. Rinse well and let the excess water drain.
5. In a blender, add the sprouted rice with 4 cups (940 ml) of filtered water and blend on high speed until smooth.
Strain it through a cheesecloth and squeeze as much milk as you can. You can add your sweetener while blending or right before drinking it, or drink it plain. I like to use a small amount of Maple Syrup to sweeten mine. If you make more than you can finish at a time, store it in a glass container and keep it refrigerated. It stays fresh up to 3 days.
-
 29:08
29:08
Afshin Rattansi's Going Underground
1 day agoCol. Lawrence Wilkerson: World War 3 is ALREADY HERE, Netanyahu is INTENT on Greater Israel
22.1K23 -
 7:24:49
SpartakusLIVE
8 hours agoNONSTOP Snipes, Rockets, and BICEPS = Monday MOTIVATION
72.4K1 -
 6:31:35
Rallied
10 hours ago $4.25 earnedSolo Challenges All Day
59.7K2 -
 1:27:53
Flyover Conservatives
12 hours agoIs AI Actually Alien Intelligence? Dr. Jason Dean Exposes the Dark Side | FOC Show
48.6K5 -
 1:47:36
Glenn Greenwald
9 hours agoJD Vance and Rand Paul Clash on Due Process: War on Terror Echoes; Has the U.S. Given Up on Confronting China? Ben Shapiro's Latest Falsehoods About Israel | SYSTEM UPDATE #510
114K94 -
 LIVE
LIVE
RaikenNight
6 hours ago $4.81 earnedExploring the Galaxy of No Mans Sky
1,107 watching -
 LIVE
LIVE
Spartan
8 hours agoRanked and Expedition 33 (NG+4 and all enemies Set to 10x health)
145 watching -
 2:54:31
Jokeuhl Gaming and Chat
11 hours agoDARKTIDE - Warhammer 40k w/ Nubes and AoA
22.8K1 -
 2:19:56
Nerdrotic
18 hours ago $4.97 earnedNerdrotic Nooner 513
54.9K4 -

BigTallRedneck
7 hours agoRANKED FINALS W OMEGA
22.1K1