Premium Only Content

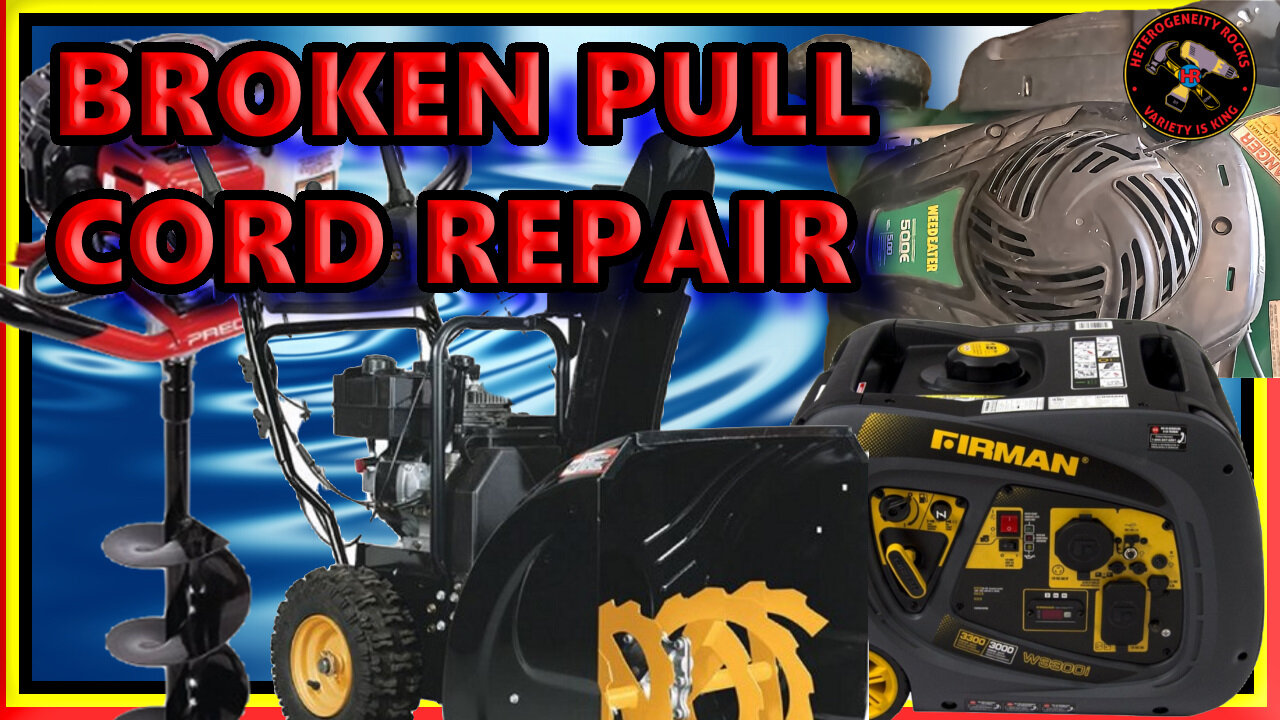
How to Fix a Broken Starter Rope on a Lawnmower or Other Small Engines #LawnmowerRepair
How to Fix a Broken Starter Rope in a Lawnmower or Other Small Engines. Repairing a lawnmower recoil rope, commonly known as the starter rope, involves a few straightforward steps to ensure smooth operation. Begin by assessing the damage to the rope, checking for fraying or breakage. Next, carefully disassemble the recoil mechanism, taking note of the configuration for the reassembly. Once disassembled, remove the old rope and cut a new one to the appropriate length, ensuring it matches the original specifications. After threading the new rope through the pulley and handle, securely knot the ends to prevent unraveling. Reassemble the recoil mechanism, ensuring all components fit snugly, and test the functionality by gently pulling the starter handle. With attention to detail and proper technique, repairing the lawnmower recoil rope restores functionality for hassle-free lawn maintenance. "Hey guys!Have you ever had that frustrating moment when you're about to mow the lawn, but the starter cord just snaps off in your hand? Well, fear not! In this video, I'm going to walk you through how to replace that pesky starter cord.
First off, take a look at all that duct tape holding things together. Yeah, that's not gonna cut it for long. Let's get that replaced.
I start by removing a few screws, and oh, it looks like a nut's missing here. Gotta find one of those later.
Now, before I dive in, do me a solid and hit that subscribe button. Not only does it keep you in the loop, but it also helps spread this helpful content to more folks like you.
Alright, let's assess the damage. Looks like the cord's still intact, thankfully. Now, I'm gonna need a screwdriver to get this job done.
Once I've got the cord lined up with the hole, it's time to thread it through and secure it in place. A little finesse goes a long way here.
Now, let's trim off the excess cord. Out with the old, in with the new.
Alright, time for a quick measurement. Looks like we're dealing with a 3.5 mm cord here.
Now, I know the pros might be cringing at my DIY approach, but hey, it gets the job done.
With the new cord in place, it's time to secure it to the handle. A couple of knots should do the trick.
Now, where's that tiny hole? Ah, there it is. Got it!
A little lubrication goes a long way in keeping things running smoothly. Silicon spray is my go-to for these kinds of jobs.
And there you have it! A brand new starter cord, good as new. Well, almost. I still need to find that missing nut.
If you enjoyed this odd job tutorial, be sure to subscribe for more. Until next time!"
#canada #usa #smallengine #lawncare #smallengine
00:00 Introduction
00:13 taking off shroud
00:50 call to subscribe
01:03 Main repair how to
03:11 Size of rope
03:34 Actual repair
08:33 Reassembly
-
 LIVE
LIVE
The Bubba Army
2 days agoShould RaJa Jackson Be Arrested? - Bubba the Love Sponge® Show | 8/25/25
3,472 watching -
 LIVE
LIVE
FyrBorne
13 hours ago🔴Warzone M&K Sniping: Builds So Strong They Think I'm Hacking
665 watching -
 LIVE
LIVE
BEK TV
2 days agoTrent Loos in the Morning - 8/25/2025
2,018 watching -
 4:23
4:23
Blackstone Griddles
15 hours agoEasy Salmon Dinner on the Blackstone Griddle
27.3K1 -
 8:10
8:10
WhaddoYouMeme
1 day ago $0.06 earnedChristians, Before You See “Testament”, Watch this!
7.36K4 -
 8:42
8:42
Freedom Frontline
14 hours agoDurbin’s Trump Smear Video Just HUMILIATED Him in the Senate
9.21K4 -
 10:56
10:56
ariellescarcella
12 hours agoThe Shocking Divide Among College Voters Sparks Worry For America
7.57K6 -
 13:09
13:09
Forrest Galante
10 hours agoWildlife Expert Reacts To Deadly Australian Animal TikToks
53.5K6 -
 12:08
12:08
Zoufry
2 days agoThe Mystery of Gaddafi's Final 24 Hours
14.7K11 -
 18:25
18:25
Liberty Hangout
13 days agoAnti-Ice Demonstrators Love Poop!
52.4K68